 |
Connect the connector.
DOOR CONTROL RECEIVER (for Hatchback 3 Door) > INSTALLATION |
| 1. INSTALL DOOR CONTROL RECEIVER |
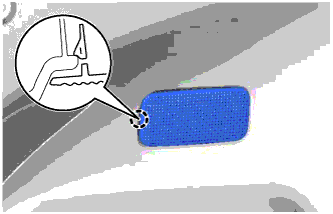
Engage the 2 hooks.
Install the door control receiver with the bolt.
Connect the connector.
| 2. INSTALL ROOF SIDE INNER GARNISH LH |
| 3. INSTALL DECK TRIM SIDE PANEL ASSEMBLY LH |
| 4. INSTALL REAR SEAT 3 POINT TYPE OUTER BELT ASSEMBLY LH |
| 5. INSTALL REAR FLOOR FINISH PLATE |
Engage the 4 guides and the 4 claws to install the rear floor finish plate.
| 6. INSTALL NO. 2 ROOM LIGHT ASSEMBLY |
|
Connect the connector.
Engage the claw to install the No. 2 room light assembly.
| 7. INSTALL FRONT QUARTER TRIM PANEL ASSEMBLY LH |
| 8. INSTALL FRONT SEAT OUTER BELT ASSEMBLY LH |
| 9. INSTALL FRONT DOOR OPENING TRIM WEATHERSTRIP LH |
Install the front door opening trim.
| 10. INSTALL FRONT DOOR SCUFF PLATE LH |
| 11. INSTALL REAR SEAT ASSEMBLY (for 60/40 Split Seat Type LH Side) |
| 12. INSTALL REAR SEAT ASSEMBLY (for 60/40 Split Seat Type RH Side) |
| 13. INSTALL REAR SEAT ASSEMBLY (for Fold Down Seat Type) |
| 14. INSTALL DECK BOARD ASSEMBLY |
Install the deck board.