HEATING / AIR CONDITIONING BLOWER UNIT REMOVAL
CAUTION / NOTICE / HINT
The necessary procedures (adjustment, calibration, initialization, or registration) that must be performed after parts are removed, installed, or replaced during the blower unit removal/installation are shown below.
| Replacement Part or Procedure | Necessary Procedures | Effect/Inoperative Function when Necessary Procedure not Performed | Link |
|---|---|---|---|
| No. 1 blower damper servo sub-assembly | Initialize servo motor (Air Conditioning System) | DTCs are stored | for HV Model:
(  ) for Gasoline Model: ( )
|
- HINT:
- ·
Use the same procedure for RHD and LHD vehicles.
·The following procedure is for LHD vehicles.
PROCEDURE

 1.REMOVE AIR CONDITIONER UNIT ASSEMBLY
82143C
2.REMOVE NO. 3 INSTRUMENT PANEL WIRE (for Cold Area Specification Vehicles)
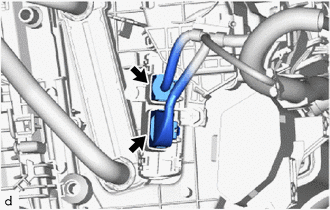
Disconnect the 2 connectors.
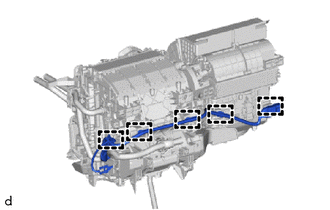
Disengage the guides to remove the No. 3 instrument panel wire.
87130D
3.REMOVE BLOWER ASSEMBLY
for Manual Air Conditioning System Single Layer Type:
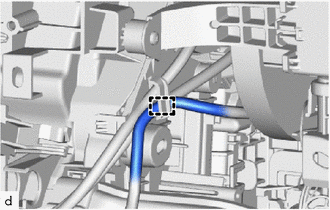
Disengage the guide.
for Automatic Air Conditioning System:
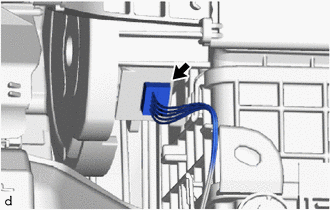
Disconnect the connector.
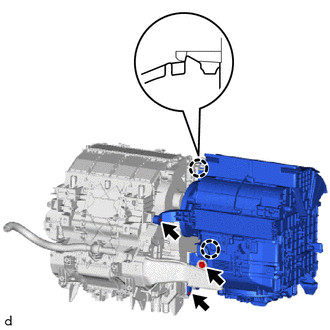
Remove the 3 screws.
Disengage the claws to remove the blower assembly.