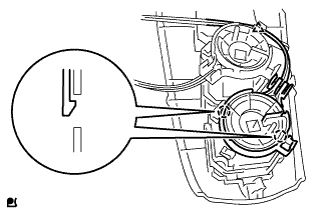
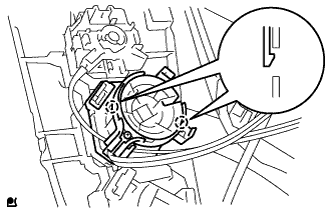
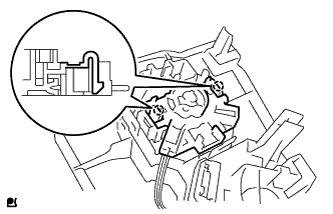
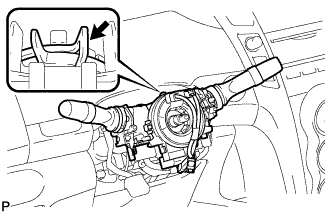
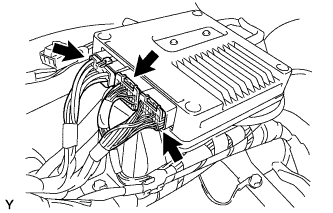
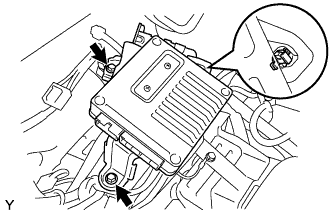
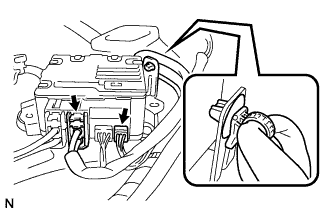
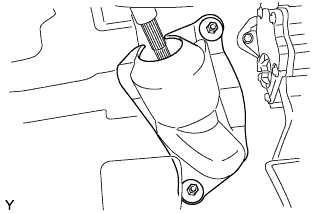
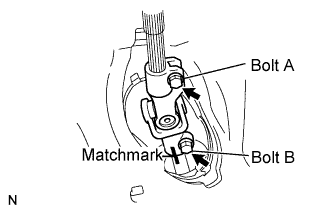
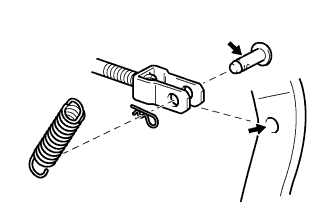
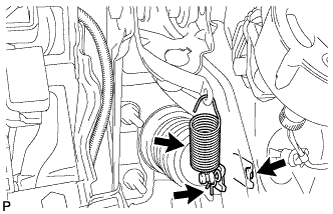
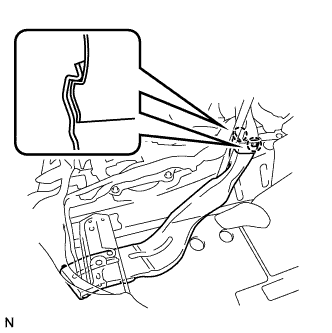
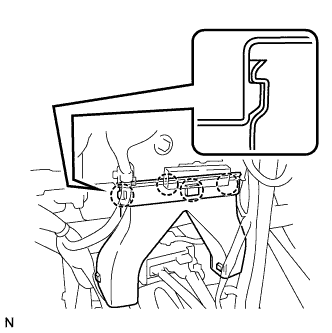
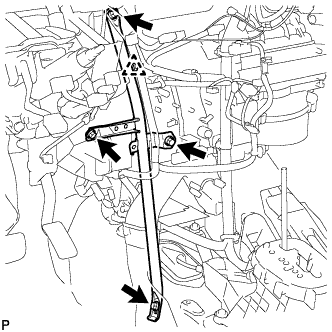
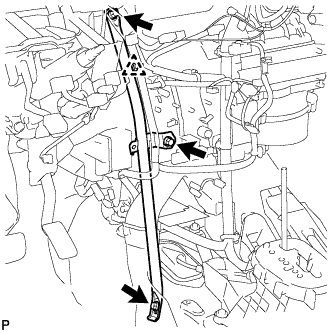
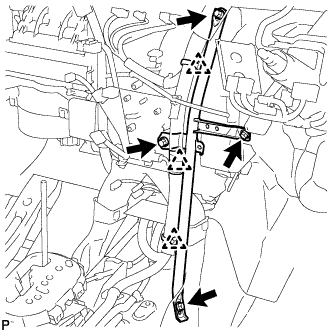
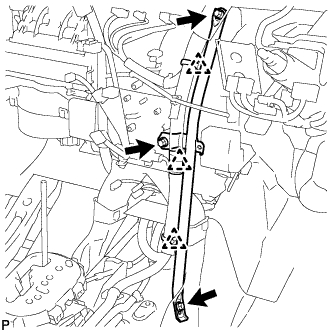
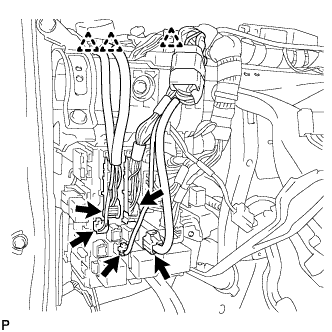
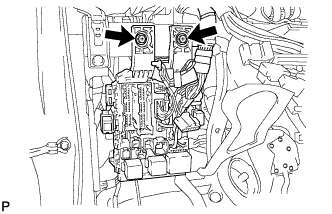
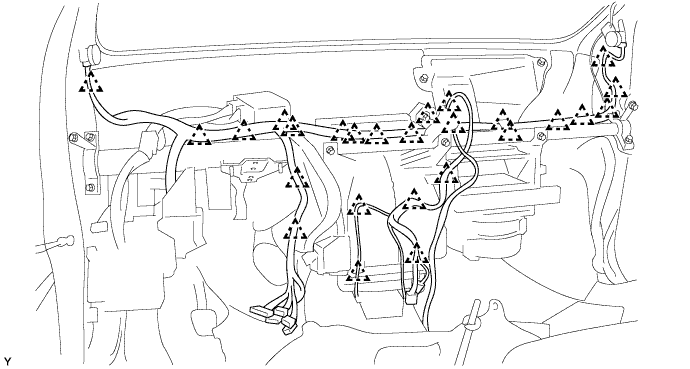
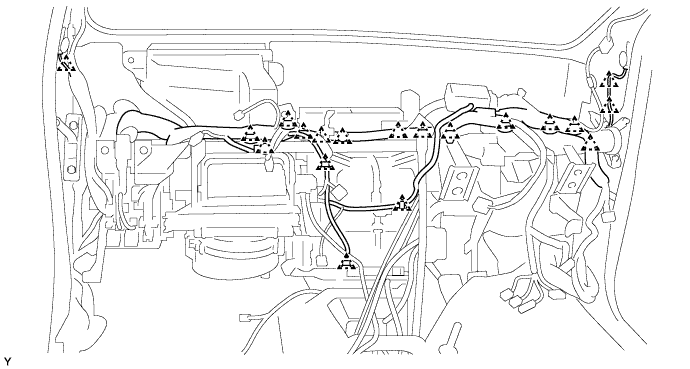
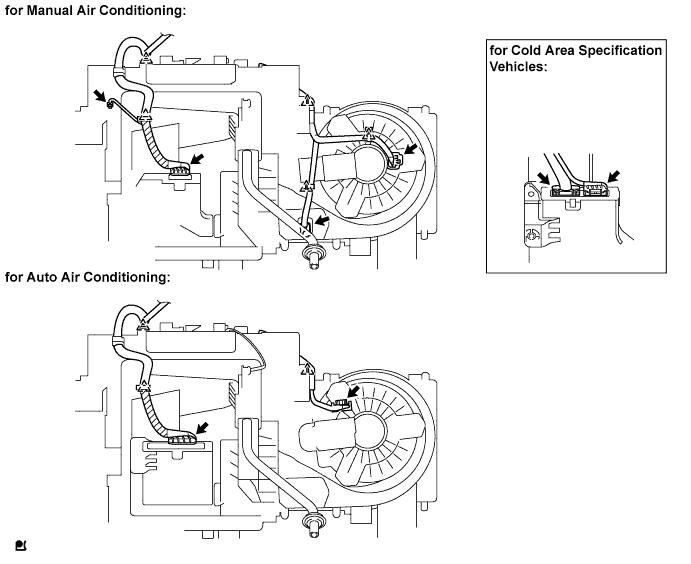
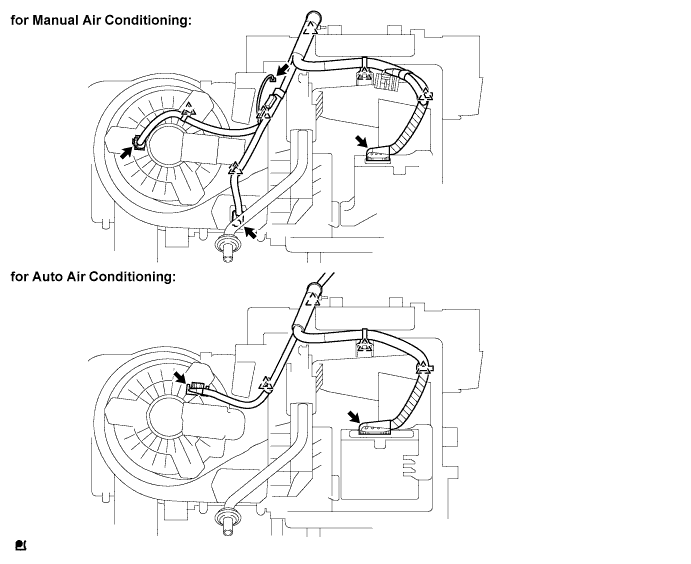
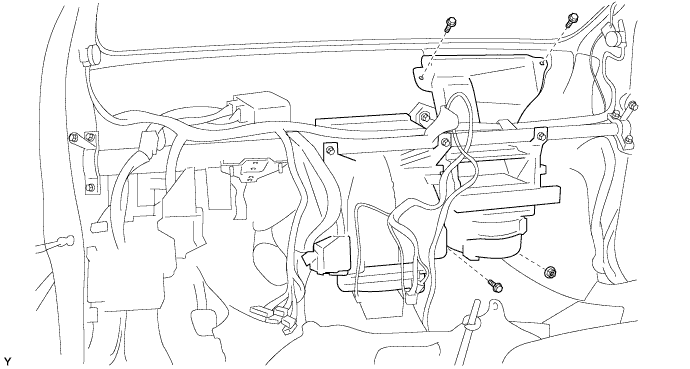
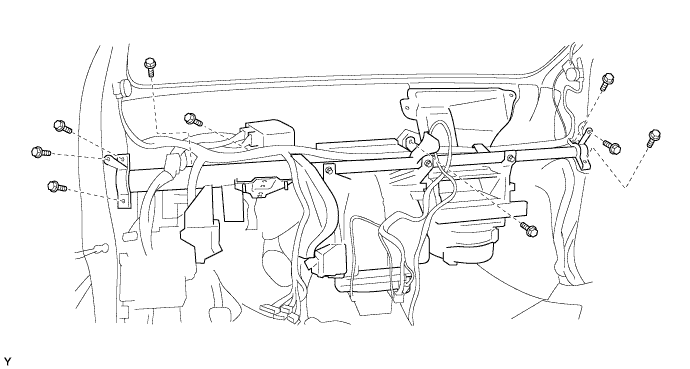
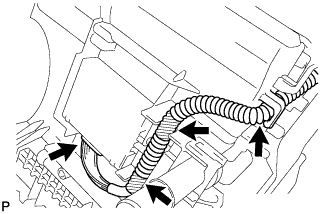
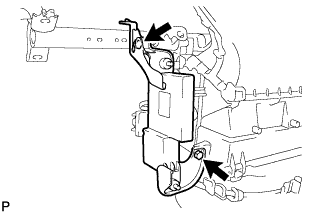
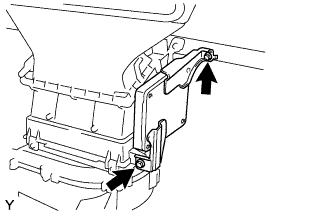
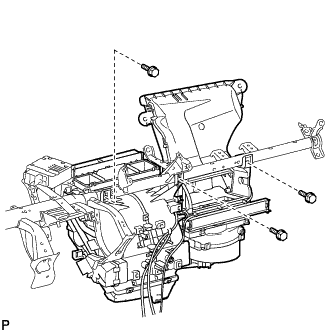
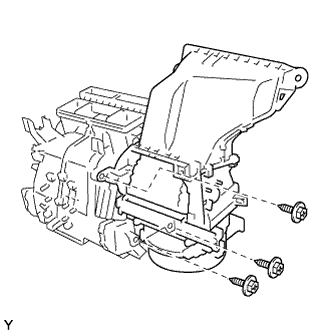
Some of these service operations affect the SRS airbag system. Read the precautionary notices concerning the SRS airbag system before servicing (Click here ).
HINT:
Use the same procedure for both the RH and LH sides.
1.
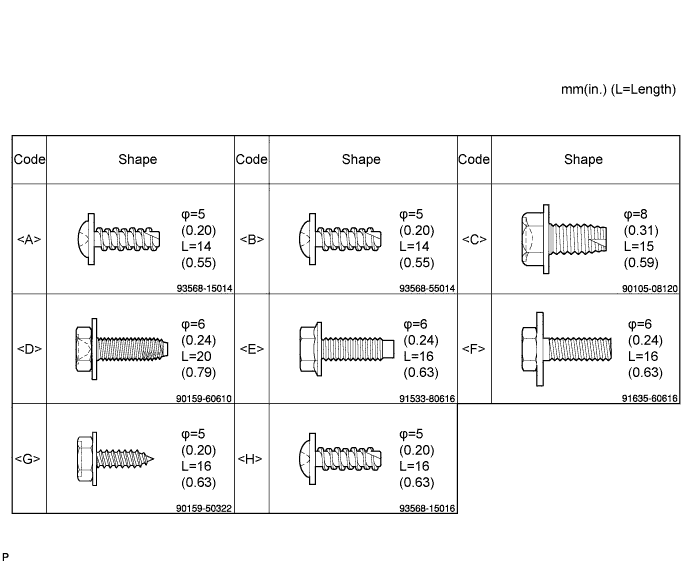
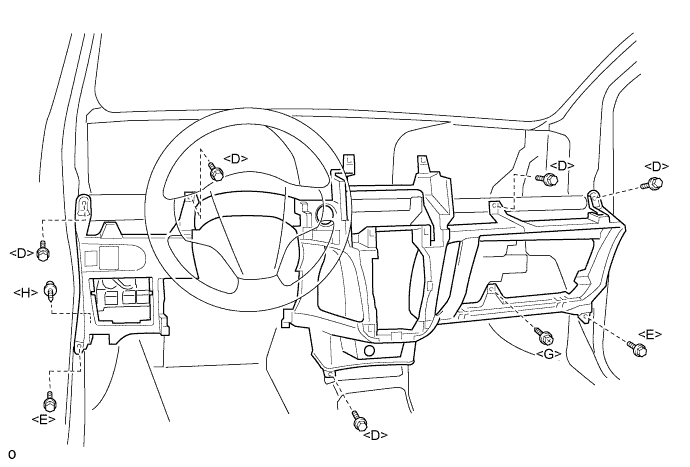
BOLTS, SCREWS AND NUTS TABLE
HINT:
All bolts, screws and nuts relevant to installing and removing the instrument panel are shown, along with their alphabetic codes, in the table below.
2.
DISCONNECT CABLE FROM NEGATIVE BATTERY TERMINAL
Wait for at least 90 seconds after disconnecting the cable to prevent the airbag from working.
3.
DISCHARGE REFRIGERANT FROM REFRIGERATION SYSTEM
Start up the engine.
Switch A/C ON.
Turn the blower switch to ON.
Operate the cooler compressor with an engine speed of approximately 1,000 rpm for 5 to 6 minutes to circulate the refrigerant and collect the remaining compressor oil from each component, in the cooler compressor.
Stop the engine.
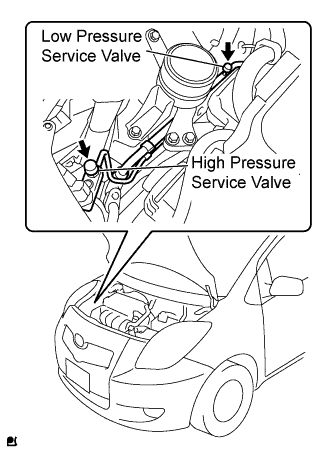
Remove the caps from the service valves on the refrigerant line.
Connect the Freon collection/recycling device to discharge the refrigerant gas remaining in the refrigeration system.
NOTICE:
Use the Freon collection/recycling device in accordance with the manufacturer's instruction manual.
4.
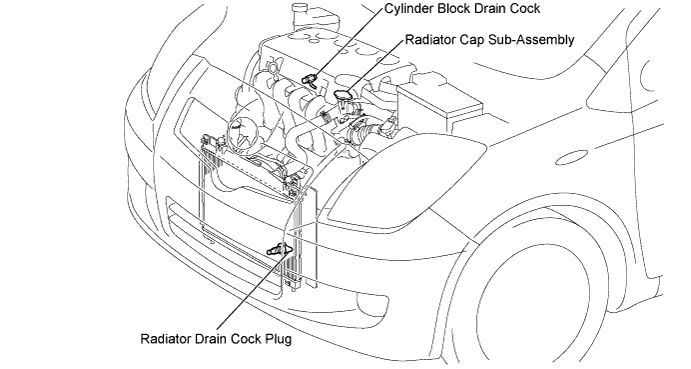
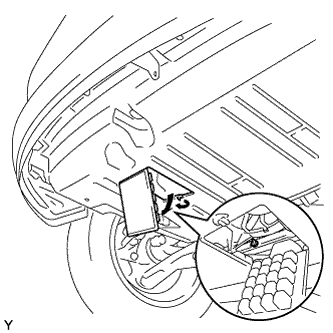
DRAIN ENGINE COOLANT (for 1KR-FE)
CAUTION:
To avoid the danger of being burned, do not remove the radiator cap sub-assembly while the engine and radiator assembly are still hot. Thermal expansion will cause hot engine coolant and steam to blow out from the radiator assembly.
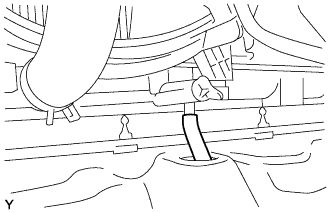
Install a vinyl hose onto the radiator side.
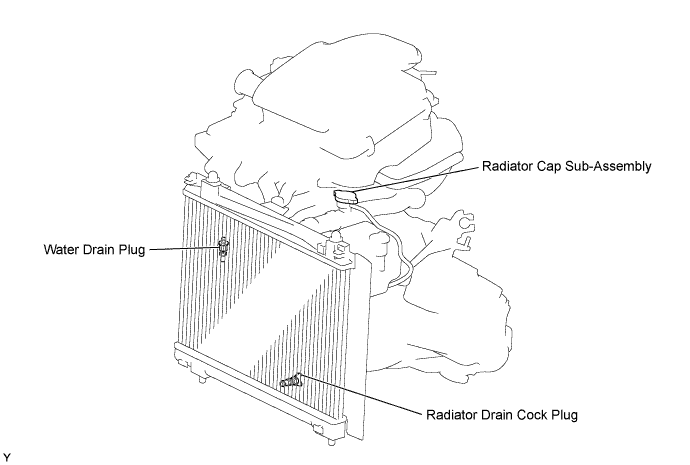
Loosen the radiator drain cock plug.
Remove the radiator cap sub-assembly.
Loosen the water drain plug, then drain the coolant.
5.
DRAIN ENGINE COOLANT (for 1NZ-FE)
NOTICE:
To avoid the danger of being burned, do not remove the radiator cap sub-assembly while the engine and radiator assembly are still hot. Thermal expansion will cause hot engine coolant and steam to blow out from the radiator assembly.
Loosen the radiator drain cock plug.
Remove the radiator cap sub-assembly.
Loosen the cylinder block drain cock plug, then drain the coolant.
6.
DRAIN ENGINE COOLANT (for 2NZ-FE)
NOTICE:
To avoid the danger of being burned, do not remove the radiator cap sub-assembly while the engine and radiator assembly are still hot. Thermal expansion will cause hot engine coolant and steam to blow out from the radiator assembly.
Loosen the radiator drain cock plug.
Remove the radiator cap sub-assembly.
Loosen the cylinder block drain cock plug, then drain the coolant.
7.
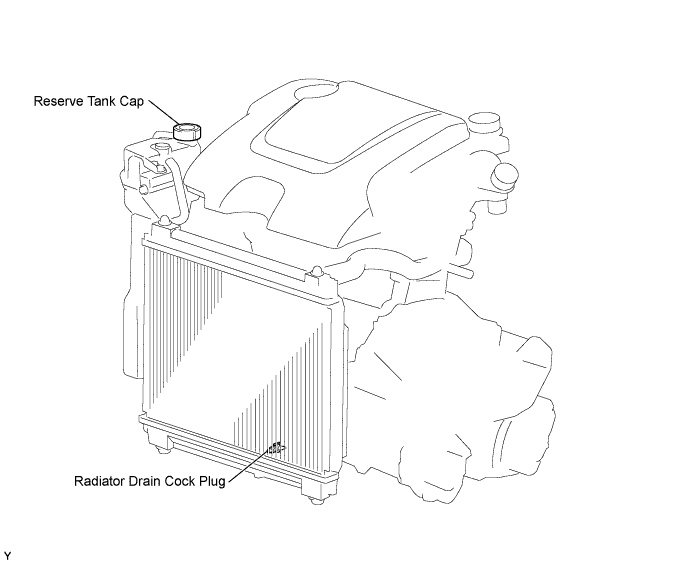
DRAIN ENGINE COOLANT (for 1ND-TV)
CAUTION:
To avoid the danger of being burned, do not remove the radiator cap while the engine and radiator are still hot. Thermal expansion will cause hot engine coolant and steam to blow out from the radiator.
Loosen the radiator drain cock plug.
Remove the reserve tank cap and drain the coolant.
Tighten the radiator drain cock plug.
8.
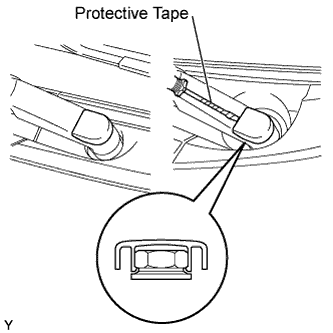
REMOVE FRONT WIPER ARM HEAD CAP
Using a screwdriver with its tip wrapped in protective tape, disengage the claw and remove the 2 front wiper arm head caps.
9.
REMOVE FRONT WIPER ARM AND BLADE ASSEMBLY LH
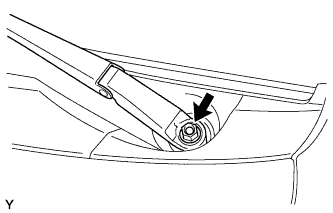
Operate the wiper, then stop the windshield wiper motor in the automatic stop position.
Remove the nut and front wiper arm.
10.
REMOVE FRONT WIPER ARM AND BLADE ASSEMBLY RH
HINT:
Use the same procedure as for the LH side.
11.
REMOVE HOOD TO COWL TOP SEAL
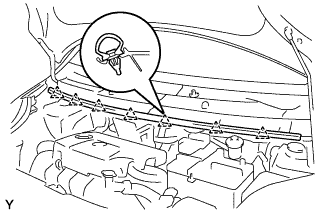
Disengage the 7 clips and remove the hood to cowl top seal.
12.
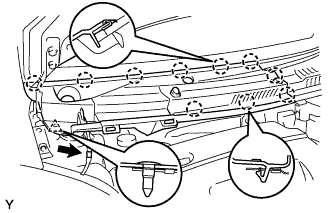
REMOVE COWL TOP VENTILATOR LOUVER SUB-ASSEMBLY (for LHD)
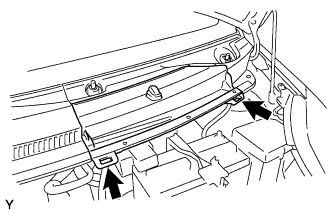
Disengage the 2 hooks and remove cowl top ventilator louver center No. 1.
Disconnect the washer hose.
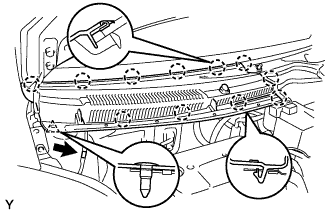
Disengage the 11 claws and clip.
Disconnect the washer hose and remove the cowl top ventilator louver sub-assembly.
13.
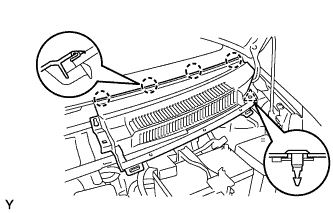
REMOVE COWL TOP VENTILATOR LOUVER LH (for LHD)
Remove the 2 clips.
Disengage the 4 claws and remove the cowl top ventilator louver LH.
14.
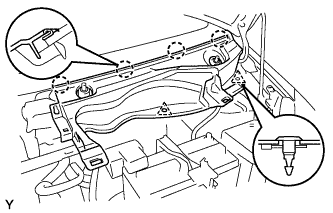
REMOVE COWL TOP VENTILATOR LOUVER SUB-ASSEMBLY (for RHD)
Disconnect the washer hose.
Disengage the 10 claws and clip and remove the cowl top ventilator louver sub-assembly.
15.
REMOVE COWL TOP VENTILATOR LOUVER LH (for RHD)
Remove the clip.
Disengage the 4 claws and remove the cowl top ventilator louver LH.
16.
REMOVE FRONT WIPER MOTOR AND LINK
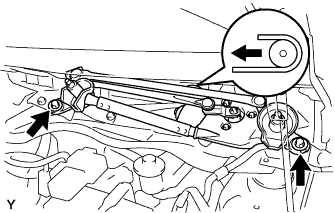
Remove the 2 bolts.
Slide the wiper link. Disengage the meshing of the rubber pin, then disconnect the connector and remove the front wiper motor and link.
17.
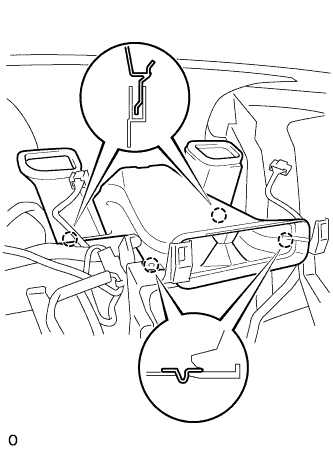
REMOVE NO. 2 COWL TO REGISTER DUCT SUB-ASSEMBLY
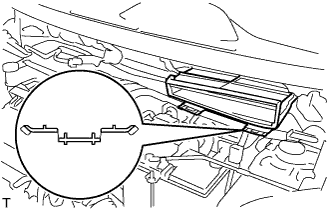
Disengage the claw and remove cowl to register duct sub-assembly No. 2.
18.
REMOVE COWL TOP PANEL OUTER
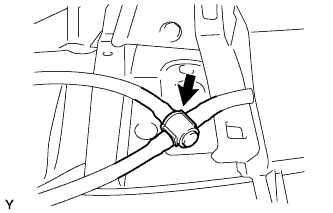
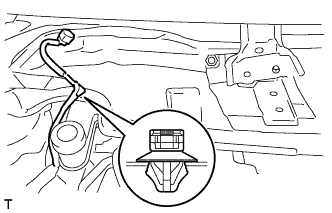
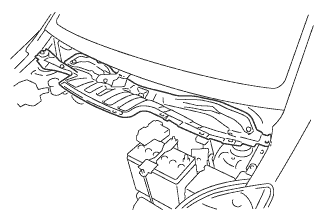
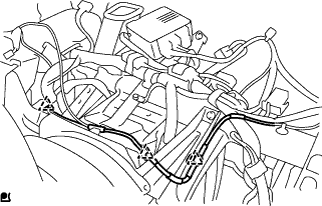
Disengage the wire harness clamp.
Remove the 9 bolts and remove the cowl top panel outer.
19.
DISCONNECT SUCTION TUBE SUB-ASSEMBLY
Remove the bolt.
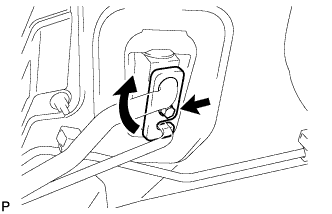
Turn the hook type connector clockwise and disconnect the suction tube.
Remove the O-ring from the suction tube.
NOTICE:
Seal the openings of the disconnected parts using vinyl tape to prevent moisture and foreign matter from entering.
20.
DISCONNECT LIQUID TUBE SUB-ASSEMBLY
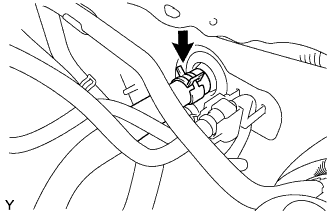
Disconnect the liquid tube.
Remove the O-ring from the liquid tube.
NOTICE:
Seal the opening of the disconnected parts with vinyl tape to prevent moisture and foreign matter from entering.
21.
DISCONNECT HEATER WATER OUTLET HOSE A (FROM HEATER UNIT)
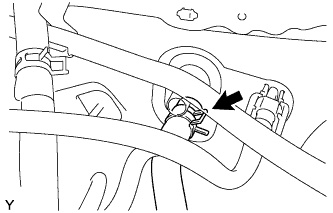
Using pliers, grip the claw of the clip, slide the clip and disconnect the heater water outlet hose from the heater unit.
22.
DISCONNECT HEATER WATER INLET HOSE A
Using pliers, grip the claws of the clip, slide the clip and disconnect the heater water inlet hose from the heater unit.
23.
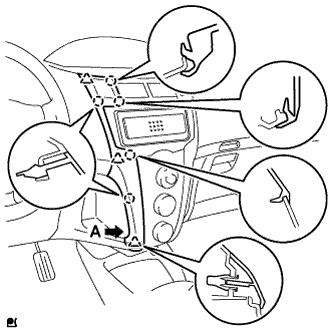
REMOVE INSTRUMENT PANEL FINISH PANEL END LH
with CD player
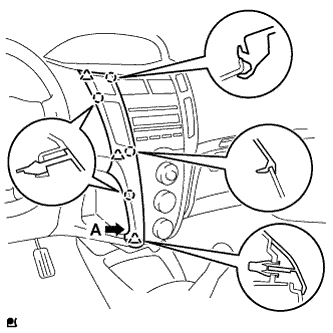
Pull the instrument panel finish panel end LH rearward and disengage the 4 claws and 3 clips.
NOTICE:
To avoid damaging the radio receiver and the air conditioning panel, remove the instrument panel finish panel end without using any tool.
HINT:
Grip portion A of the instrument panel finish panel end and remove the instrument panel finish panel end from the lower side.
Disconnect the connector and remove the instrument panel finish panel end LH.
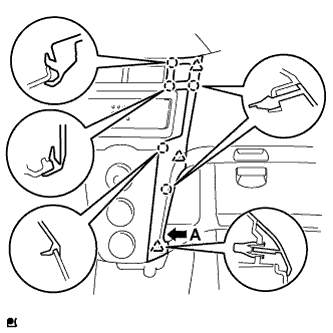
Except CD player
Pull the instrument panel finish panel end LH rearward and disengage the 5 claws and 3 clips.
NOTICE:
To avoid damaging the instrument cluster finish panel center and the air conditioning panel, remove the instrument panel finish panel end without using any tool.
HINT:
Grip portion A of the instrument panel finish panel end and remove the instrument panel finish panel end from the lower side.
Disconnect the connector and remove the instrument panel finish panel end LH.
24.
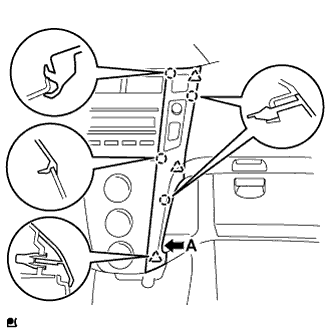
REMOVE INSTRUMENT PANEL FINISH PANEL END RH
with CD player
Pull the instrument panel finish panel end RH and disengage the 4 claws and 3 clips.
NOTICE:
To avoid damaging the radio receiver and the air conditioning panel, remove the instrument panel finish panel end without using any tool.
HINT:
Grip portion A of the instrument panel finish panel end and remove the instrument panel finish panel end from the lower side.
Disconnect the connector and remove the instrument panel finish panel end RH.
Except CD player
Pull the instrument panel finish panel end RH rearward and disengage the 5 claws and 3 clips.
NOTICE:
To avoid damaging the instrument cluster finish panel center and the air conditioning panel, remove the instrument panel finish panel end without using any tool.
HINT:
Grip portion A of the instrument panel finish panel end and remove the instrument panel finish panel end from the lower side.
Disconnect the connector and remove the instrument panel finish panel end RH.
25.
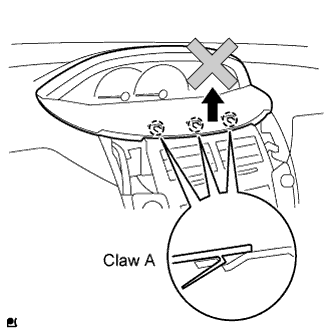
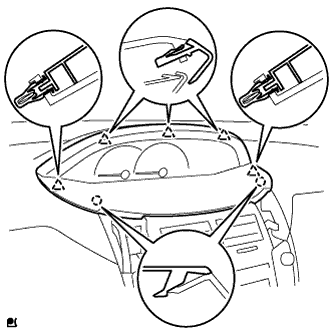
REMOVE INSTRUMENT CLUSTER FINISH PANEL
NOTICE:
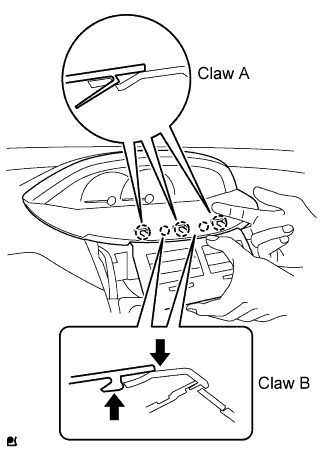
Follow the procedure below to remove the instrument cluster finish panel. Claw A will break if the instrument cluster finish panel is raised carelessly.
Disengage the 2 claws and 5 clips.
After removing the instrument panel finish panel end, insert your finger into the opening as shown, push the upper portion of the instrument cluster finish panel center and the 2 B claws of the instrument cluster finish panel, and then disengage the claws B.
Disengage the 3 A claws and remove the instrument cluster finish panel.
26.
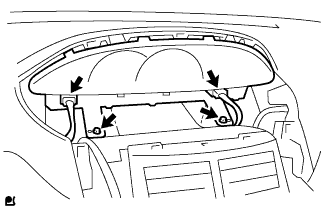
REMOVE COMBINATION METER ASSEMBLY
Disconnect the 2 connectors.
Remove the 2 screws and pull the combination meter rearward to remove it.
27.
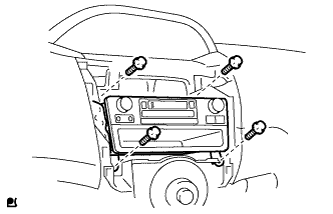
REMOVE INSTRUMENT CLUSTER FINISH PANEL SUB-ASSEMBLY CENTER (Except CD Player)
w/ Cassette Tape Player:
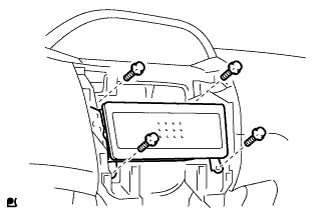
Remove the 4 screws.
Disconnect the connectors and remove the radio receiver.
w/ CD Player:
Remove the 4 screws.
Disengage the 2 claws and 4 clips and the radio receiver.
NOTICE:
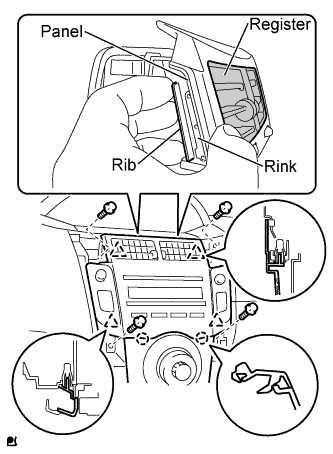
Grip the rib portion of the radio receiver by hand to remove it.
To avoid breakage of the radio receiver when removing it, do not apply excessive force to the register or pull out the rink or panel portions.
Disconnect the connectors.
28.
REMOVE RADIO TUNER OPENING COVER (w/o Radio Receiver)
Remove the 4 bolts and the radio tuner opening cover.
29.
REMOVE RADIO RECEIVER ASSEMBLY
w/ Cassette Tape Player:
Remove the 4 screws.
Disconnect the connectors and remove the radio receiver.
w/ CD Player:
Remove the 4 screws.
Disengage the 2 claws and 4 clips and the radio receiver.
NOTICE:
Grip the rib portion of the radio receiver by hand to remove it.
To avoid breakage of the radio receiver when removing it, do not apply excessive force to the register or pull out the rink or panel portions.
Disconnect the connectors.
30.
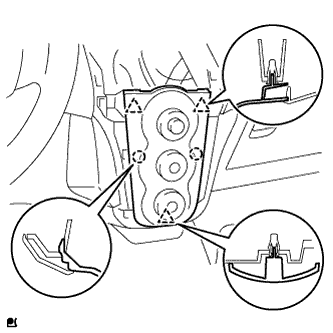
REMOVE AIR CONDITIONER PANEL SUB-ASSEMBLY (for Manual Air Conditioning System)
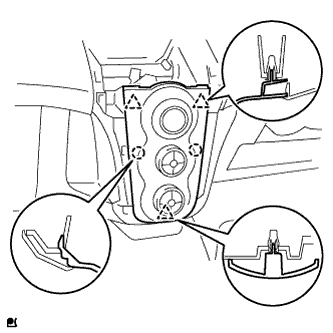
Disengage the 3 clips and 2 claws and remove the air conditioning panel.
Disconnect the 3 connectors and clamp.
31.
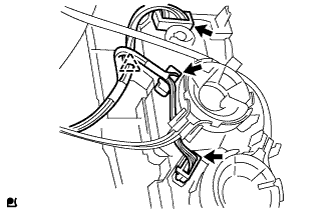
DISCONNECT AIR MIX DAMPER CONTROL CABLE SUB-ASSEMBLY (for Manual Air Conditioning System)
Disconnect the air mix control cable from the clamp.
Disengage the 2 claws and disconnect the air mix damper control cable.
32.
DISCONNECT DEFROSTER DAMPER CONTROL CABLE SUB-ASSEMBLY (for Manual Air Conditioning System)
Disengage the 2 claws and disconnect the defroster damper control cable.
33.
DISCONNECT AIR INLET DAMPER CONTROL CABLE SUB-ASSEMBLY (for Manual Air Conditioning System)
Disengage the 2 claws and disconnect the air inlet damper control cable.
34.
REMOVE AIR CONDITIONING CONTROL ASSEMBLY (for Automatic Air Conditioning System)
Disengage the 3 clips and 2 claws and remove the air conditioning control assembly.
Disconnect the 2 connectors, clamp and the aspirator pipe.
35.
SEPARATE FRONT DOOR OPENING TRIM WEATHERSTRIP RH
Separate the front door opening trim weatherstrip.
36.
SEPARATE FRONT DOOR OPENING TRIM WEATHERSTRIP LH
Separate the front door opening trim weatherstrip.
37.
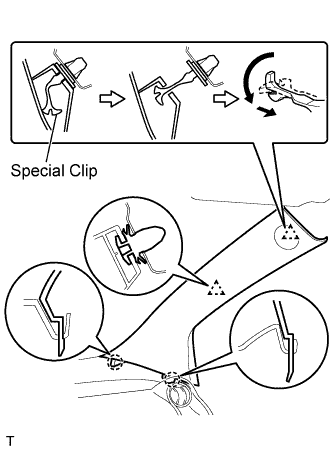
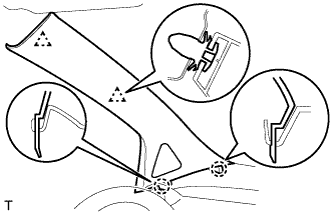
REMOVE FRONT PILLAR GARNISH RH
w/ Curtain Shield Airbag:
NOTICE:
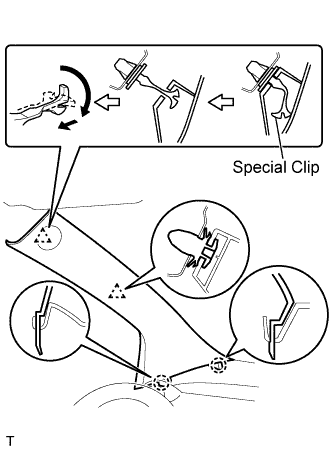
Install a protective cover onto the curtain shield airbag as soon as the front pillar garnish is removed.
Replace the special clip with a new one when the front pillar garnish is removed.
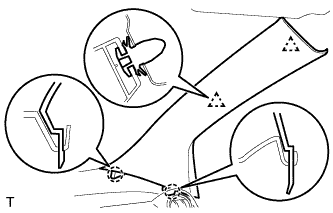
Disengage the 2 clips and the 2 claws and remove the front pillar garnish.
w/o Curtain Shield Airbag:
Disengage the 2 clips and the 2 claws and remove the front pillar garnish.
Disconnect the connector.
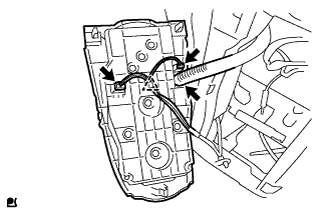
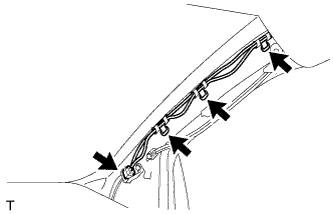
Using a clip remover, remove the 3 antenna cord clamps.
w/ Front No. 2 Speaker:
Disconnect the speaker connector.
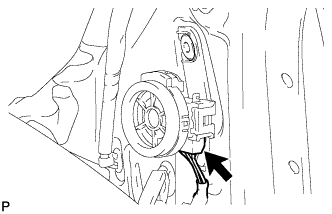
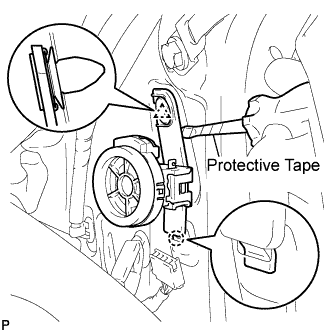
Using a screwdriver with its tip wrapped in protective tape, disengage the clip and hook and remove the front No. 2 speaker.
w/ Curtain Shield Airbag:
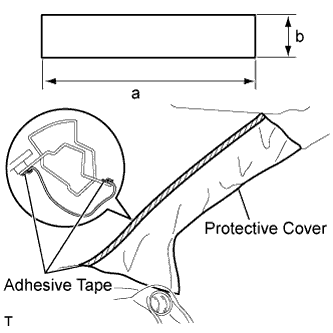
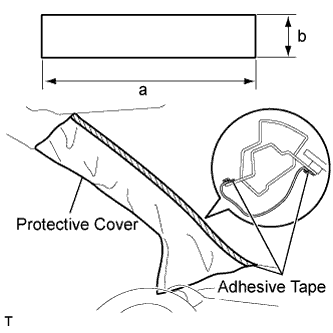
Completely cover the curtain shield airbag with a piece of cloth or nylon and fix the ends of the fabric with adhesive tape, as shown in the illustration.
Protective cover size:
Area
Measurement
a
700 mm (27.56 in.)
b
120 mm (4.72 in.)
38.
REMOVE FRONT PILLAR GARNISH LH
w/ Curtain Shield Airbag:
NOTICE:
Install a protective cover onto the curtain shield airbag as soon as the front pillar garnish is removed.
Replace the special clip with a new one when the front pillar garnish is removed.
Disengage the 2 clips and the 2 claws and remove the front pillar garnish.
w/o Curtain Shield Airbag:
Disengage the 2 clips and the 2 claws and remove the front pillar garnish.
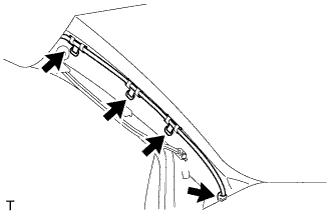
Using a clip remover, remove the 4 wire harness clamps.
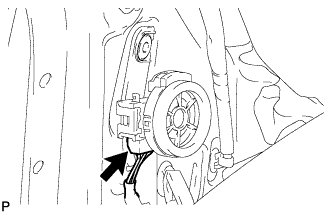
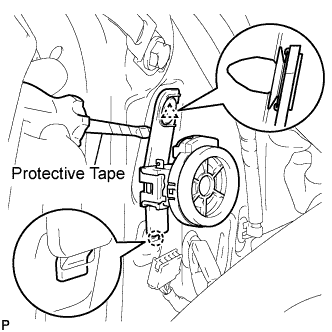
w/ Front No. 2 Speaker:
Disconnect the speaker connector.
Using a screwdriver with its tip wrapped in protective tape, disengage the clip and hook and remove the front No. 2 speaker.
w/ Curtain Shield Airbag:
Completely cover the curtain shield airbag with a piece of cloth or nylon and fix the ends of the fabric with adhesive tape, as shown in the illustration.
Protective cover size:
Area
Measurement
a
700 mm (27.56 in.)
b
120 mm (4.72 in.)
39.
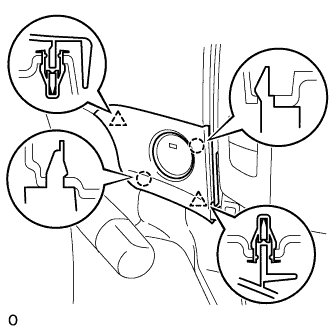
REMOVE NO. 1 SWITCH HOLE BASE
Disengage the 2 clips and 2 claws and remove the switch hole base.
40.
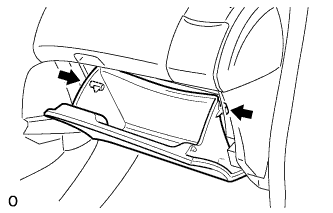
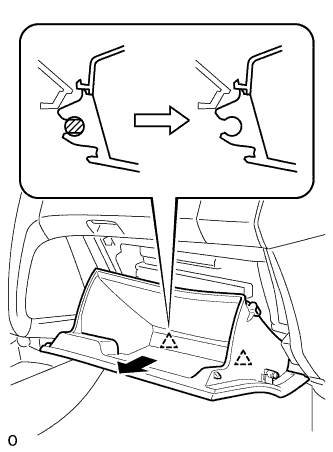
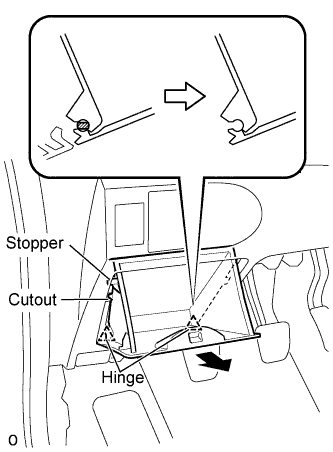
REMOVE GLOVE COMPARTMENT DOOR ASSEMBLY
Slightly deform the upper part of the glove compartment door assembly to release the 2 stoppers and open the glove compartment door assembly until it becomes horizontal.
Pull the glove compartment door assembly out horizontally to disengage the hinge portion and remove the glove compartment door assembly.
NOTICE:
Pull the glove compartment door out horizontally, otherwise, installation failure caused by excessive play around the hinge portion will result.
41.
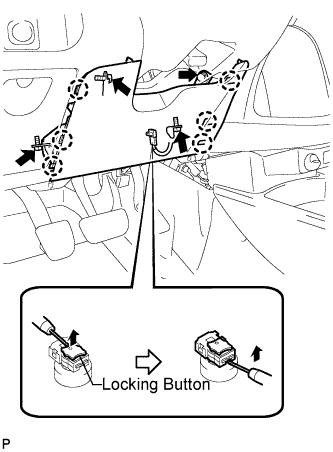
REMOVE UPPER INSTRUMENT PANEL SUB-ASSEMBLY
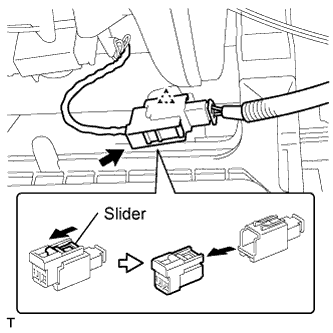
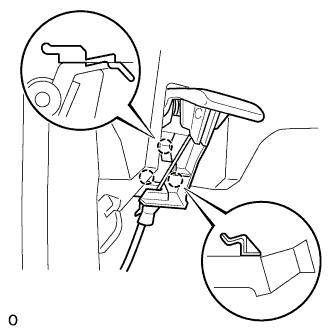
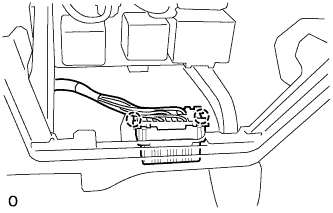
Slide the slider and disconnect the passenger airbag connector.
Disconnect the clamp.
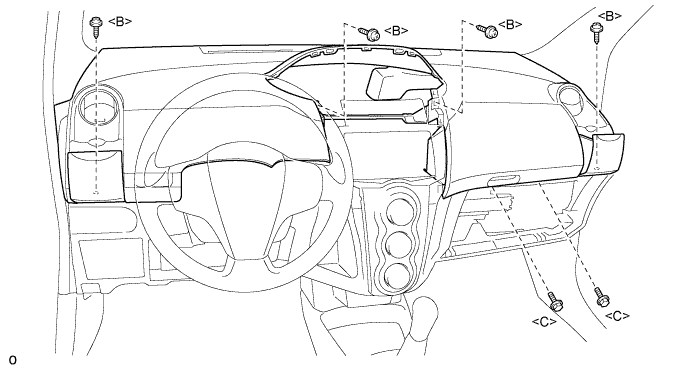
Remove the 2 <C> bolts and 4 <B> screws.
Disconnect the connectors.
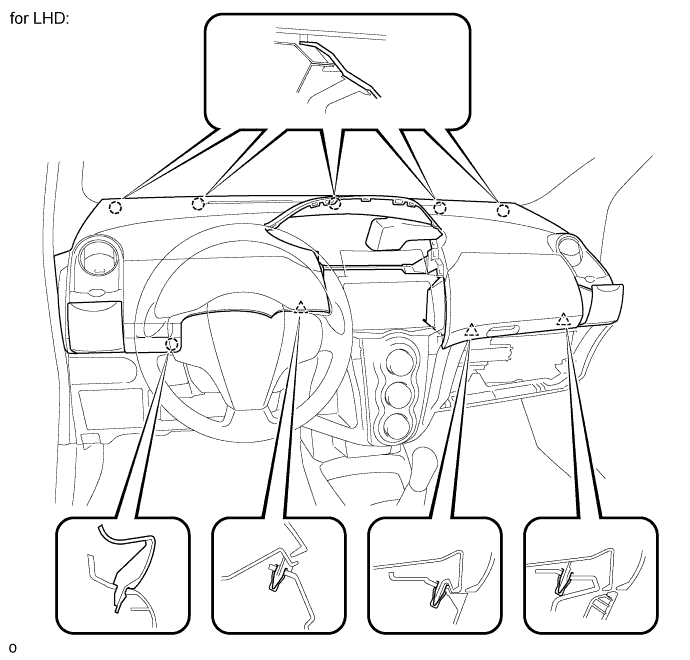
Disengage the claw and 3 clips while lifting the rear instrument panel up.
While lifting the instrument panel, slide it toward the rear of the vehicle. Disengage the 5 claws of the front side of the instrument panel and remove the instrument panel.
42.
REMOVE FRONT DOOR SCUFF PLATE RH
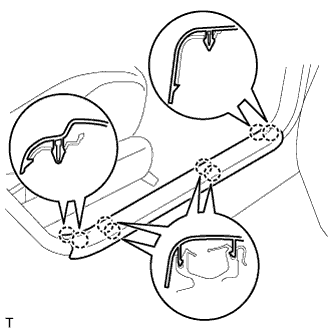
Disengage the 8 claws and remove the front door scuff plate.
43.
REMOVE FRONT DOOR SCUFF PLATE LH
HINT:
Use the same procedure as for the RH side.
44.
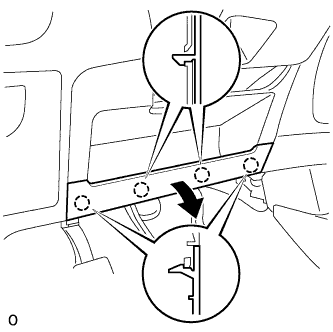
REMOVE INSTRUMENT PANEL UNDER COVER SUB-ASSEMBLY RH
Disengage the 4 claws and remove the instrument panel under cover.
45.
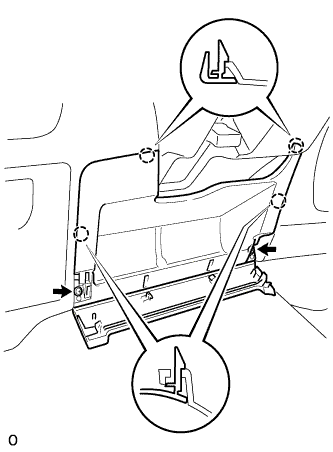
REMOVE INSTRUMENT PANEL UNDER COVER SUB-ASSEMBLY LH
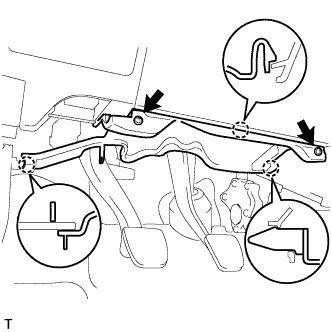
Remove the 2 screws.
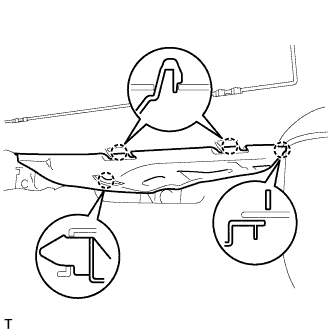
Disengage the 3 claws and remove the instrument panel under cover.
46.
REMOVE COWL SIDE TRIM BOARD RH
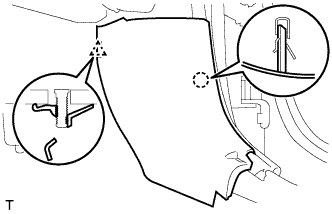
Disengage the claw and the stud bolt and remove the cowl side trim board.
47.
REMOVE COWL SIDE TRIM BOARD LH
HINT:
Use the same procedure as for the RH side.
48.
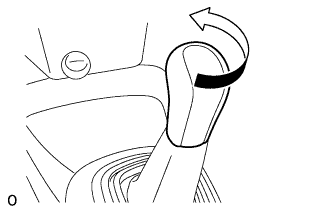
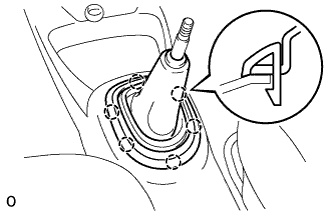
REMOVE SHIFT LEVER KNOB SUB-ASSEMBLY (for Manual Transaxle)