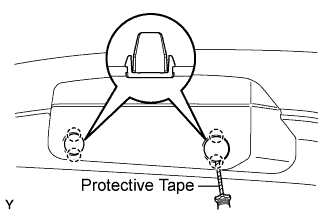
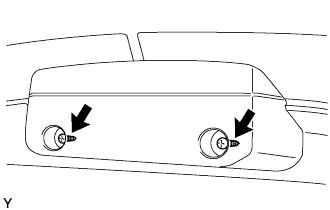
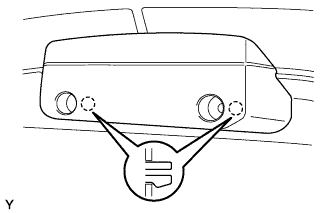
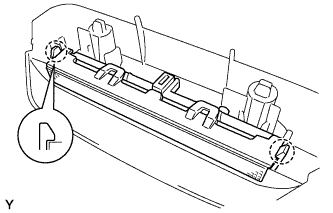
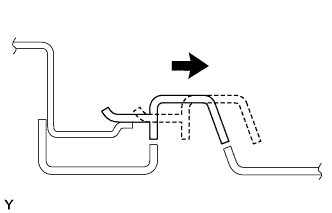
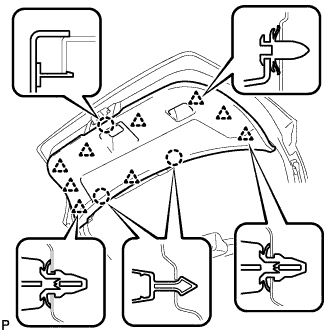
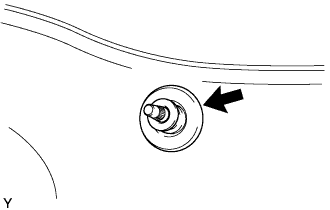
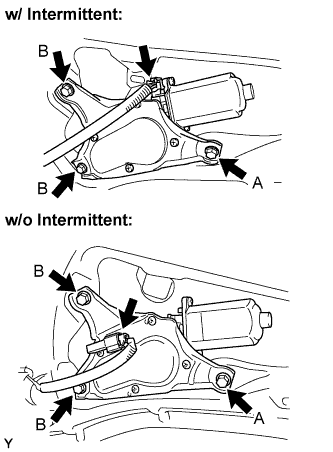
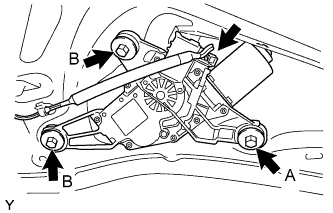
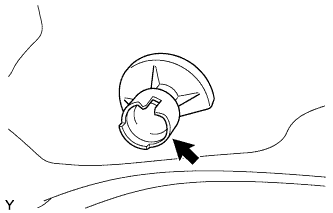
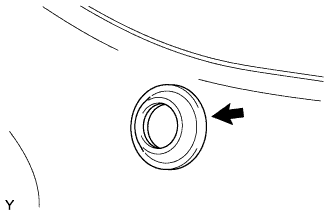
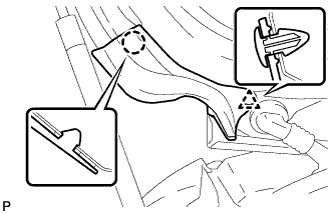
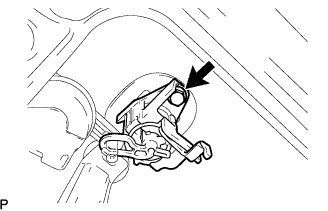
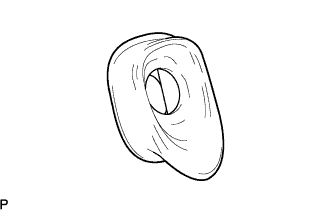
Disengage the claw and clip, then remove back door panel protector No. 2.
NOTICE:
Remove any tape remaining on the back door side.
13.
REMOVE BACK DOOR PANEL NO.1 PROTECTOR
HINT:
Use the same procedure as described for the No. 2 protector.
14.
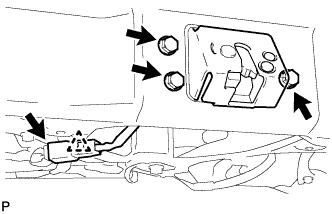
REMOVE BACK DOOR LOCK ASSEMBLY
Disconnect the connector and the clamp.
Remove the 3 bolts and the back door lock.
15.
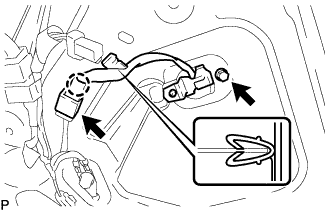
REMOVE BACK DOOR OUTSIDE HANDLE (w/ Entry and Start System)
Disconnect the connector.
Disengage the claw and the clamp.
Remove the bolt and the back door outside handle.
16.
REMOVE BACK DOOR LOCK CYLINDER ASSEMBLY (w/o Entry and Start System)
Remove the bolt and back door lock cylinder assembly.
17.
REMOVE BACK DOOR OUTSIDE HANDLE (w/o Entry and Start System)
Remove the back door outside handle from the back door panel.
18.
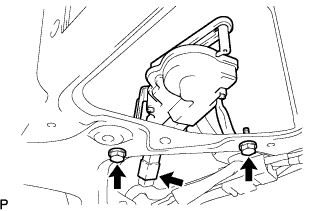
REMOVE BACK DOOR LOCK ACTUATOR ASSEMBLY (w/o Entry and Start System)
Disconnect the connector.
Remove the 2 bolts and the back door lock actuator.
19.
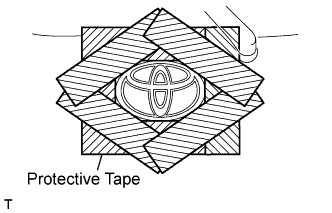
REMOVE SYMBOL EMBLEM (for TMC Made)
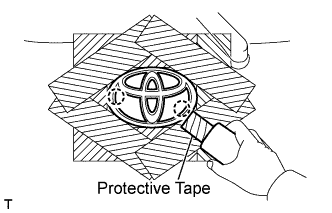
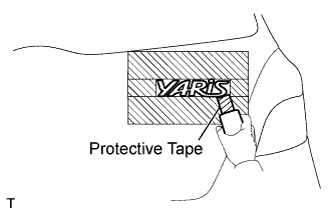
Apply protective tape to the back door panel in the area around the symbol emblem.
Using an infrared light, heat the symbol emblem.
CAUTION:
Do not burn yourself with the heated back door panel or infrared light.
HINT:
Heat at 40 to 60°C (104 to 140°F) for 1 to 2 minutes.
Using a gasket scraper with its tip wrapped in protective tape, gradually peel the adhesive surface and remove the symbol emblem.
Remove the protective tape.
20.
REMOVE NO. 1 LUGGAGE COMPARTMENT DOOR NAME PLATE (for TMC Made)
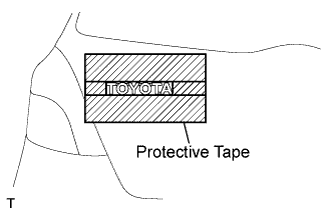
Apply protective tape to the back door panel in the area around the No. 1 luggage compartment door name plate.
Using an infrared light, heat the No. 1 luggage compartment door name plate.
CAUTION:
Do not burn yourself with the heated back door panel or infrared light.
HINT:
Heat at 40 to 60°C (104 to 140°F) for 1 to 2 minutes.
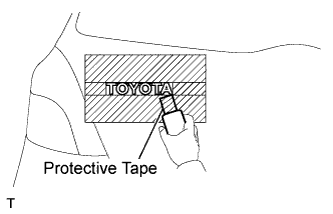
Using a gasket scraper with its tip wrapped in protective tape, gradually peel the adhesive surface and remove the No. 1 luggage compartment door name plate.
Remove the protective tape.
21.
REMOVE NO. 2 LUGGAGE COMPARTMENT DOOR NAME PLATE (for TMC Made)
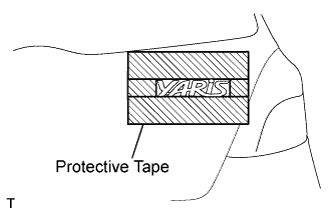
Apply protective tape to the back door panel in the area around the No. 2 luggage compartment door name plate.
Using an infrared light, heat the No. 2 luggage compartment door name plate.
CAUTION:
Do not burn yourself with the heated back door panel or infrared light.
HINT:
Heat at 40 to 60°C (104 to 140°F) for 1 to 2 minutes.
Using a gasket scraper with its tip wrapped in protective tape, gradually peel the adhesive surface and remove the No. 2 luggage compartment door name plate.
Apply protective tape to the luggage compartment door panel in the area around the No. 1 luggage compartment door emblem.
Using an infrared light, heat the No. 1 luggage compartment door emblem.
CAUTION:
Do not burn yourself with the heated luggage compartment door panel or infrared light.
HINT:
Heat at 40 to 60°C (104 to 140°F) for 1 to 2 minutes.
Using a gasket scraper with its tip wrapped in protective tape, gradually peel the adhesive surface and remove the No. 1 luggage compartment door emblem.
Remove the protective tape.
23.
REMOVE NO. 6 LUGGAGE COMPARTMENT DOOR NAME PLATE (for TMMF Made)
Apply protective tape to the luggage compartment door panel in the area around the No. 6 luggage compartment door name plate.
Using an infrared light, heat the No. 6 luggage compartment door name plate.
CAUTION:
Do not burn yourself with the heated luggage compartment door panel or infrared light.
HINT:
Heat at 40 to 60°C (104 to 140°F) for 1 to 2 minutes.
Using a gasket scraper with its tip wrapped in protective tape, gradually peel the adhesive surface and remove the No. 6 luggage compartment door name plate.
Remove the protective tape.
24.
REMOVE NO. 2 LUGGAGE COMPARTMENT DOOR NAME PLATE (for TMMF Made)
Apply protective tape to the luggage compartment door panel in the area around the No. 2 luggage compartment door name plate.
Using an infrared light, heat the No. 2 luggage compartment door name plate.
CAUTION:
Do not burn yourself with the heated luggage compartment door panel or infrared light.
HINT:
Heat at 40 to 60°C (104 to 140°F) for 1 to 2 minutes.
Using a gasket scraper with its tip wrapped in protective tape, gradually peel the adhesive surface and remove the No. 2 luggage compartment door name plate.