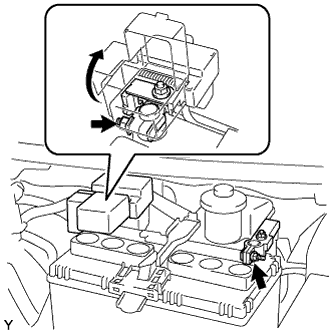
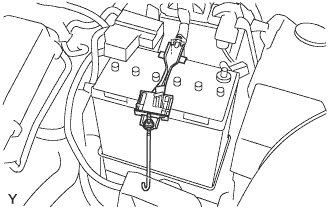
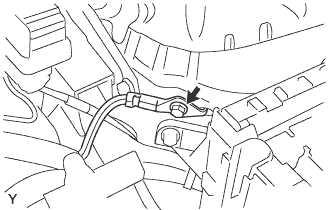
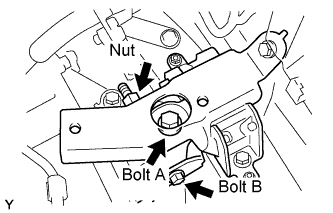
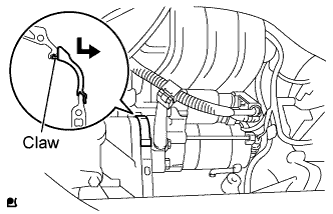
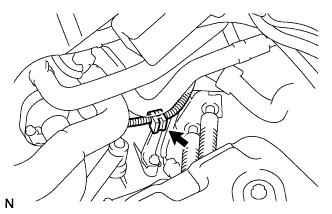
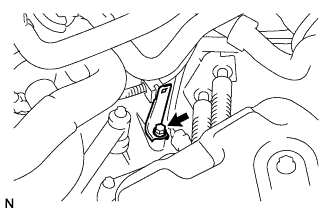
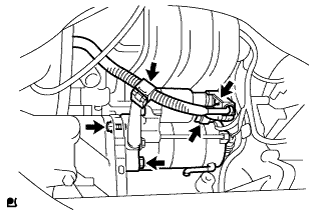
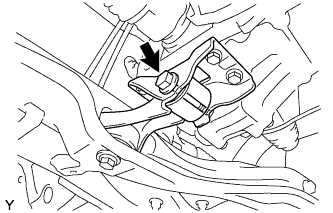
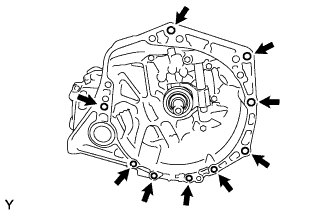
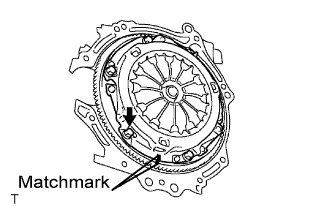
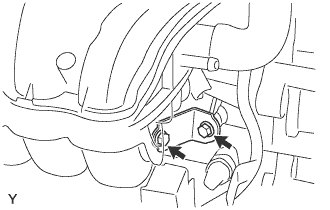
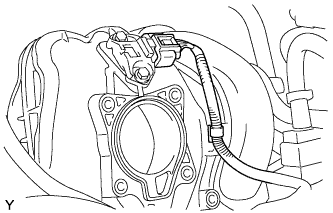
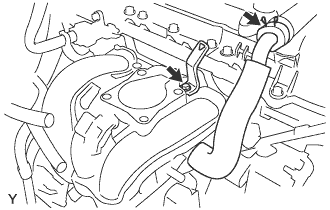
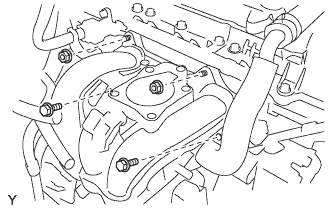
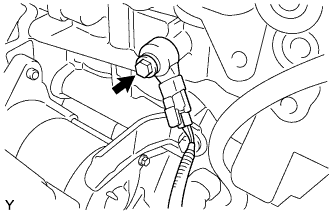
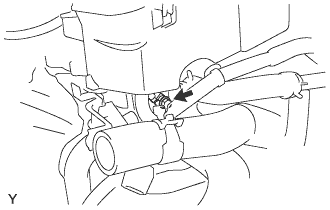
Loosen the nut, and remove the battery carrier clamp.
Remove the battery from the vehicle.
3.
REMOVE BATTERY TRAY
4.
REMOVE BATTERY CARRIER
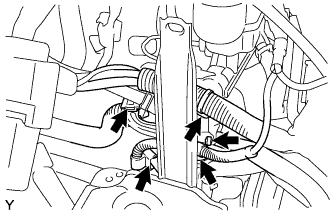
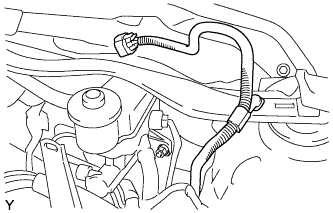
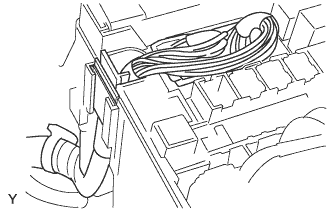
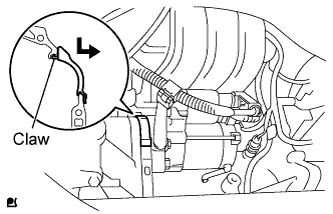
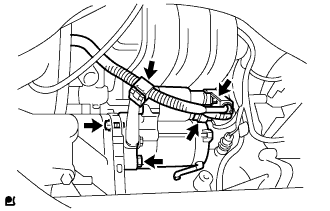
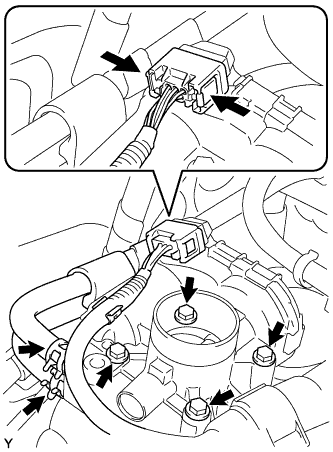
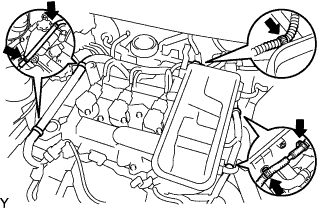
Disengage the 5 clamps, and separate the engine wire harness.
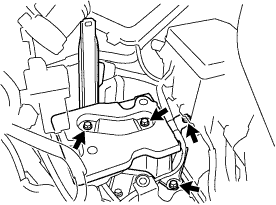
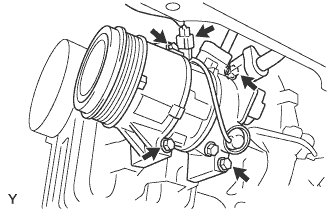
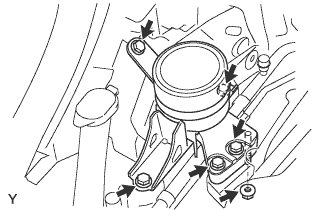
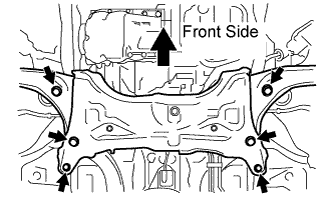
Remove the 4 bolts, and remove the battery carrier.
5.
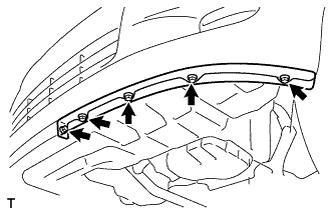
REMOVE FRONT SPOILER COVER LH (w/ Front Spoiler Cover LH)
Remove the 5 screws and the front spoiler cover.
6.
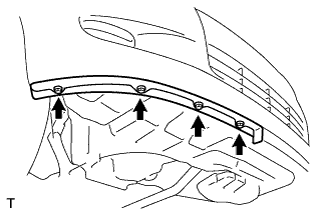
REMOVE FRONT SPOILER COVER (w/ Front Spoiler Cover)
Remove the 4 screws and the front spoiler cover.
7.
REMOVE ENGINE UNDER COVER LH
8.
REMOVE ENGINE UNDER COVER RH
9.
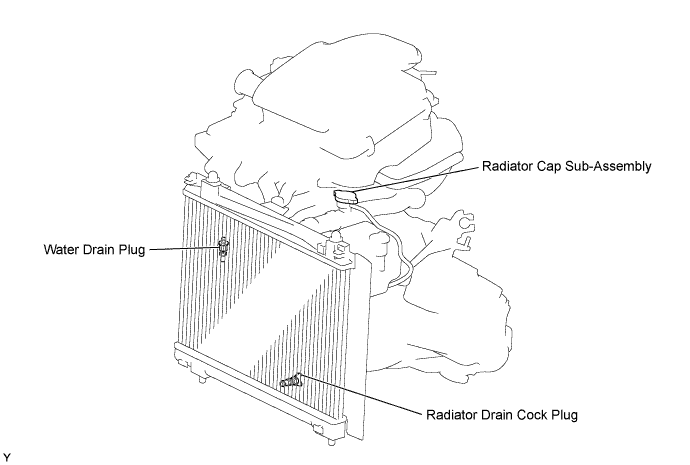
DRAIN ENGINE COOLANT
CAUTION:
To avoid the danger of being burned, do not remove the radiator cap sub-assembly while the engine and radiator assembly are still hot. Thermal expansion will cause hot engine coolant and steam to blow out from the radiator assembly.
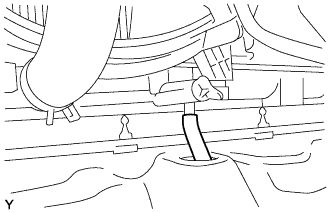
Install a vinyl hose onto the radiator side.
Loosen the radiator drain cock plug.
Remove the radiator cap sub-assembly.
Loosen the water drain plug, then drain the coolant.
10.
DRAIN TRANSAXLE OIL
Remove the filler plug and gasket.
Remove the drain plug and gasket, and then drain the manual transaxle oil.
Install a new gasket and the drain plug.
Torque:
39 N*m{
400 kgf*cm
, 29 ft.*lbf
}
11.
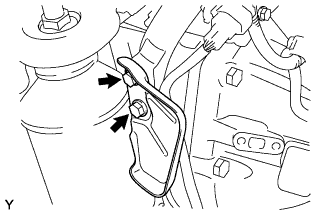
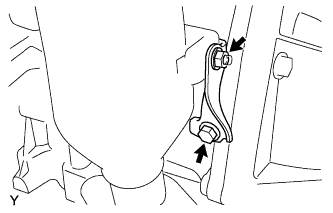
REMOVE EGR INLET EXHAUST MANIFOLD PLATE
Remove the 2 bolts and the EGR inlet exhaust manifold plate.
12.
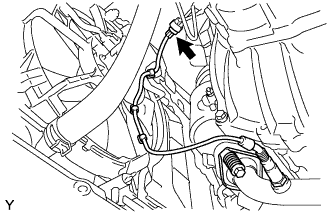
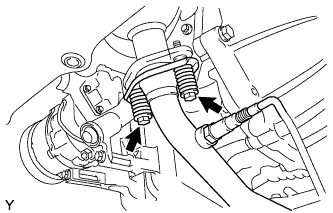
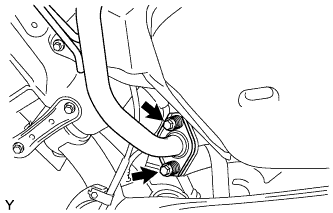
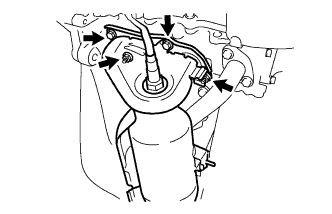
REMOVE EXHAUST PIPE ASSEMBLY FRONT
Disconnect the oxygen sensor connector, and disengage the 3 wire harness clamps.
Remove the 2 bolts and compression springs, and separate the exhaust pipe front from the exhaust manifold.
Remove the 2 bolts and compression springs, and separate the exhaust pipe front from the exhaust pipe tail.
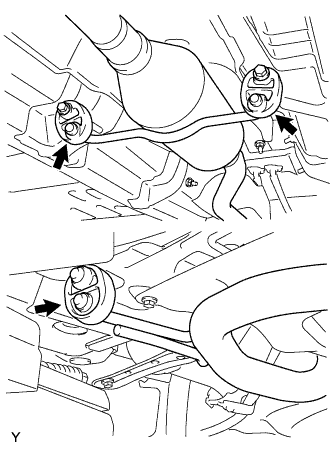
Remove the 3 supports, and remove the exhaust pipe front.
13.
REMOVE FRONT WHEELS
14.
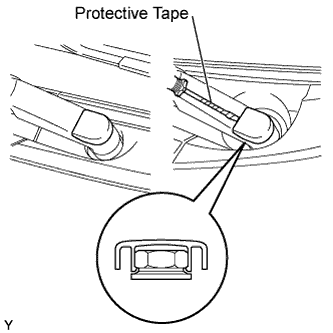
REMOVE FRONT WIPER ARM HEAD CAP
Using a screwdriver with its tip wrapped in protective tape, disengage the claw and remove the 2 front wiper arm head caps.
15.
REMOVE FRONT WIPER ARM AND BLADE ASSEMBLY LH
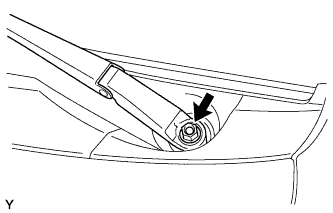
Operate the wiper, then stop the windshield wiper motor in the automatic stop position.
Remove the nut and front wiper arm.
16.
REMOVE FRONT WIPER ARM AND BLADE ASSEMBLY RH
HINT:
Use the same procedure as for the LH side.
17.
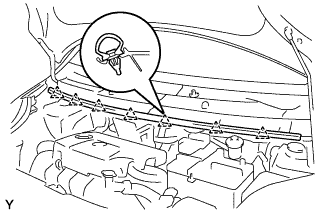
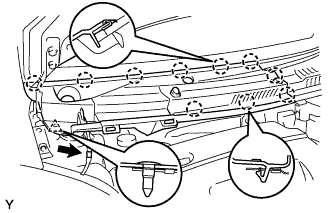
REMOVE HOOD TO COWL TOP SEAL
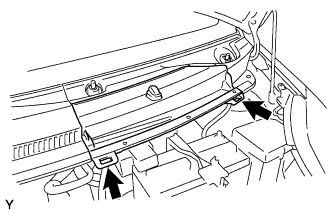
Disengage the 7 clips and remove the hood to cowl top seal.
18.
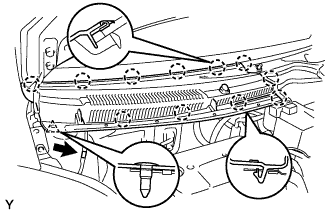
REMOVE COWL TOP VENTILATOR LOUVER SUB-ASSEMBLY (for LHD)
Disengage the 2 hooks and remove cowl top ventilator louver center No. 1.
Disconnect the washer hose.
Disengage the 11 claws and clip.
Disconnect the washer hose and remove the cowl top ventilator louver sub-assembly.
19.
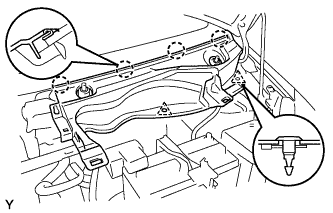
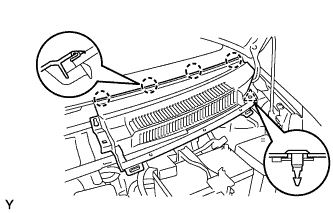
REMOVE COWL TOP VENTILATOR LOUVER LH (for LHD)
Remove the 2 clips.
Disengage the 4 claws and remove the cowl top ventilator louver LH.
20.
REMOVE COWL TOP VENTILATOR LOUVER SUB-ASSEMBLY (for RHD)
Disconnect the washer hose.
Disengage the 10 claws and clip and remove the cowl top ventilator louver sub-assembly.
21.
REMOVE COWL TOP VENTILATOR LOUVER LH (for RHD)
Remove the clip.
Disengage the 4 claws and remove the cowl top ventilator louver LH.
22.
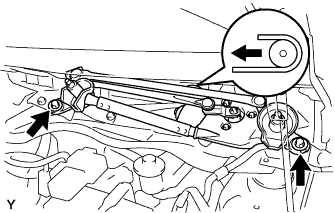
REMOVE FRONT WIPER MOTOR AND LINK ASSEMBLY
Remove the 2 bolts.
Slide the wiper link. Disengage the meshing of the rubber pin, then disconnect the connector and remove the front wiper motor and link.
23.
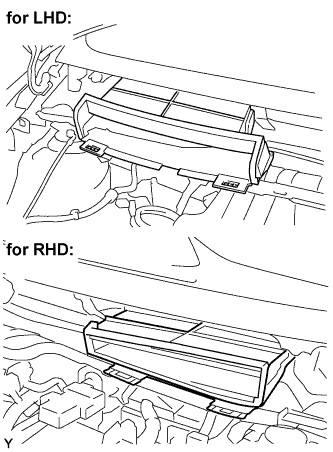
REMOVE COWL TO REGISTER DUCT SUB-ASSEMBLY NO. 2
Disengage the claws, and remove the cowl to resister duct No. 2.
24.
REMOVE COWL TOP PANEL OUTER
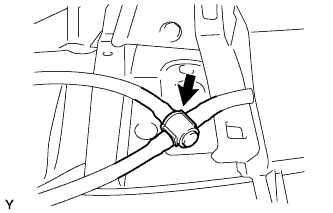
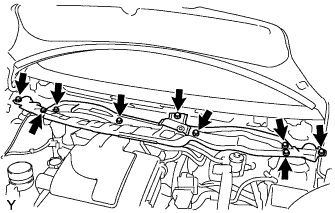
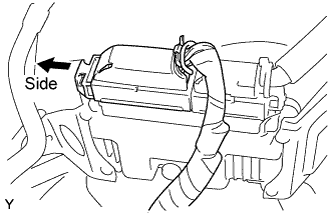
Disengage the clamp, and separate the wiper motor connector.
Remove the 9 bolts and the cowl top panel outer.
25.
REMOVE AIR CLEANER CAP SUB-ASSEMBLY
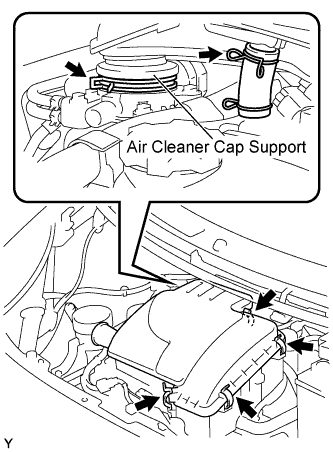
Remove the 4 clamps.
Remove the 2 clamps and remove the air cleaner cap.
26.
REMOVE AIR CLEANER FILTER ELEMENT SUB-ASSEMBLY
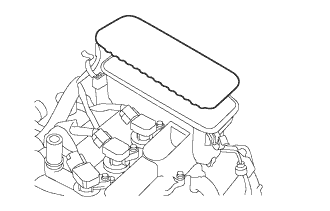
Remove the air cleaner filter element from the cylinder head cover.
27.
REMOVE VENTILATION HOSE NO. 2
28.
REMOVE FAN AND GENERATOR V BELT
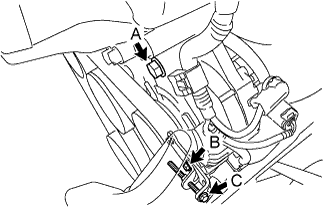
Loosen bolt A.
Loosen bolt B.
Loosen bolt C.
Release the drive belt tension and remove the fan and generator V belt.
29.
REMOVE GENERATOR ASSEMBLY
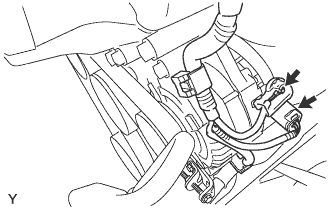
Disconnect the connector.
Remove the terminal cap.
Remove the nut and separate terminal B.
Disengage the 2 clamps and separate the wire harness.
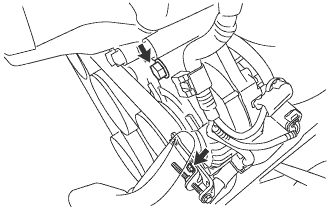
Remove the 2 bolts and the generator.
30.
REMOVE FAN BELT ADJUSTING BAR
Remove the bolt and the fan belt adjusting bar.
31.
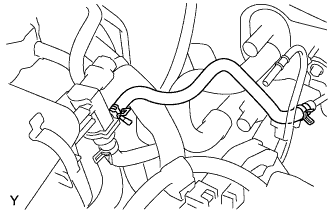
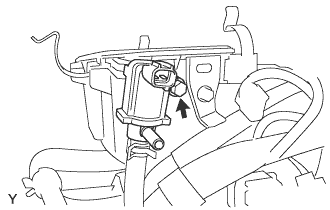
DISCONNECT FUEL VAPOR FEED HOSE NO. 1
Disconnect the fuel vapor feed hose from the vacuum switching valve.
32.
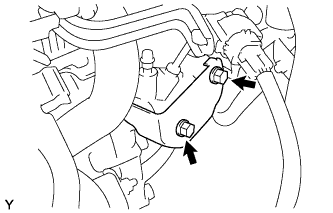
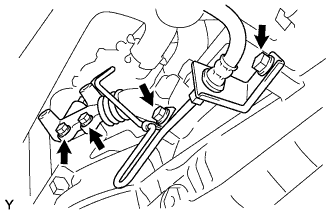
SEPARATE CLUTCH RELEASE CYLINDER ASSEMBLY
Remove the 2 bolts and the release cylinder heat insulator.
Remove the 4 bolts then separate the clutch release cylinder.
HINT:
Using a piece of rope or the equivalent, hang the clutch release cylinder so as not to apply excessive load to the clutch pipe.
33.
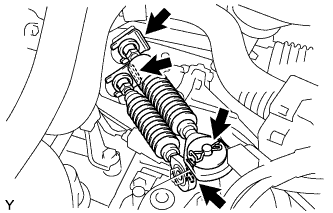
SEPARATE TRANSMISSION CONTROL CABLE ASSEMBLY
Remove the 2 clips and the 2 washers, and disconnect the 2 cables from the transaxle.
Remove the 2 clips and disconnect the 2 cables from the control cable bracket.
34.
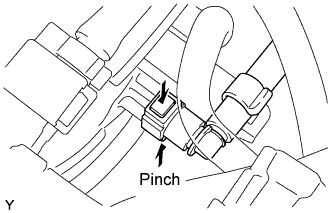
DISCONNECT BOOSTER VACUUM TUBE
Pinch the retainer as illustrated, then pull the vacuum hose connector out of the pipe.
35.
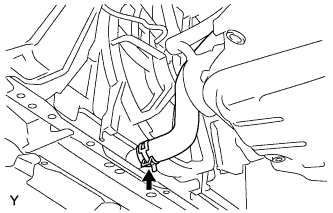
DISCONNECT RADIATOR HOSE NO. 1
36.
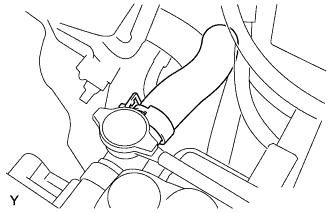
DISCONNECT RADIATOR HOSE NO. 2
37.
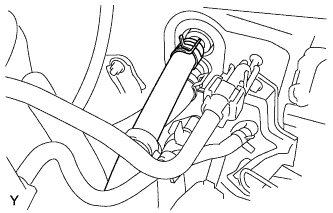
DISCONNECT HEATER WATER OUTLET HOSE A(FROM HEATER UNIT)
38.
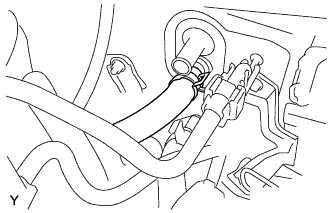
DISCONNECT HEATER WATER INLET HOSE A
39.
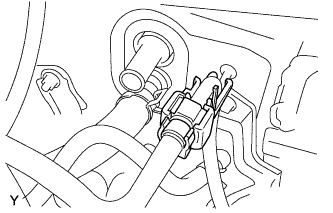
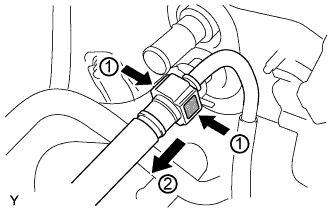
SEPARATE FUEL TUBE SUB-ASSEMBLY
Remove the fuel pipe clamp No. 1.
Pinch the retainer as illustrated, then pull the fuel tube connector out of the pipe.
NOTICE:
Remove any dirt and foreign matter from the fuel tube connector before performing this work.
Do not allow any scratches or foreign matter onto the parts when disconnecting, as the fuel tube connector has the O-rings that seals the pipe.
Perform this work by hand. Do not use any tools.
Do not forcibly bend, twist or turn the nylon tube.
Protect the disconnected part by covering it with a vinyl bag after disconnecting the fuel tube.
If the fuel tube connector and pipe are stuck, push and pull to release them.
40.
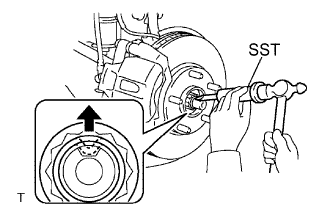
REMOVE FRONT AXLE SHAFT LH NUT
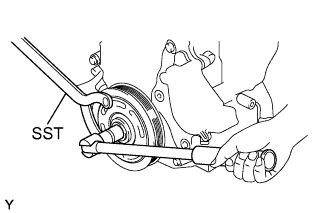
Using SST and a hammer, release the staked part of the axle hub nut.
SST
09930-00010
NOTICE:
Insert SST into the groove with the flat surface facing up.
Do not damage the tip of SST using grinders.
Completely unstake the staked part before removing the axle hub nut.
Do not damage the threads of the drive shaft.
Using a 30 mm socket wrench, remove the axle hub nut.
41.
REMOVE FRONT AXLE SHAFT RH NUT
HINT:
The removal procedure for the RH side is the same as that for the LH side.
42.
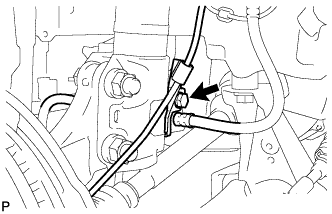
SEPARATE SPEED SENSOR FRONT LH
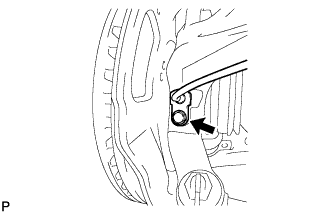
Remove the bolt and separate the speed sensor and flexible hose.
Remove the bolt and separate the speed sensor from the steering knuckle.
NOTICE:
Keep the speed sensor tip and installation portion free of foreign matter.
Remove the speed sensor without turning it from its original installation angle.
43.
SEPARATE SPEED SENSOR FRONT RH
HINT:
The separation procedure for the RH side is the same as that for the LH side.
44.
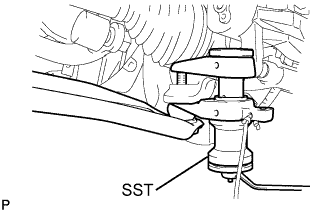
SEPARATE FRONT SUSPENSION ARM SUB-ASSEMBLY LOWER NO. 1 LH
Remove the clip and castle nut.
Using SST, separate the lower arm.
SST
09628-00011
NOTICE:
Do not damage the lower ball joint dust cover.
Suspend SST with a piece of string or the equivalent.
45.
SEPARATE FRONT SUSPENSION ARM SUB-ASSEMBLY LOWER NO. 1 RH
HINT:
The separation procedure for the RH side is the same as that for the LH side.
46.
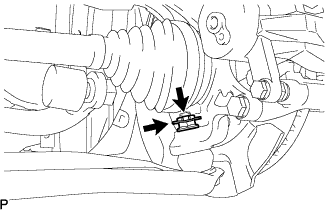
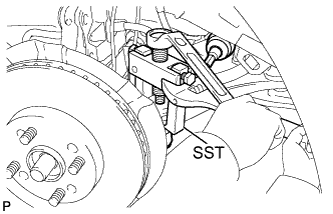
SEPARATE TIE ROD END SUB-ASSEMBLY LH
Remove the cotter pin and castle nut.
Using SST, separate the tie rod end from the steering knuckle.
SST
09628-62011
NOTICE:
Do not damage the tie rod end dust cover.
47.
SEPARATE TIE ROD END SUB-ASSEMBLY RH
HINT:
The separation procedure for the RH side is the same as that for the LH side.
48.
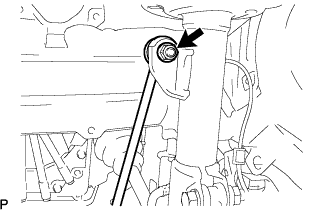
SEPARATE FRONT STABILIZER LINK ASSEMBLY LH
Remove the nut and separate the stabilizer link from the shock absorber.
HINT:
If the ball joint turns together with the nut, use a socket hexagon wrench 6 to hold the stud.
49.
SEPARATE FRONT STABILIZER LINK ASSEMBLY RH
HINT:
The separation procedure for the RH side is the same as that for the LH side.
50.
SEPARATE FRONT AXLE ASSEMBLY LH
Using a plastic hammer, tap the end of the drive shaft and disengage the fitting between the drive shaft and front axle.
HINT:
If it is difficult to disengage the fitting, tap the end of the drive shaft with a brass bar and hammer.
Push the front axle out of the vehicle to remove the drive shaft from the front axle.
NOTICE:
Do not push the front axle further out of the vehicle than is necessary.
Do not damage the outboard joint boot.
Do not damage the speed sensor rotor.
Suspend the drive shaft with a piece of string or the equivalent.
51.
SEPARATE FRONT AXLE ASSEMBLY RH
HINT:
The separation procedure for the RH side is the same as that for the LH side.
52.
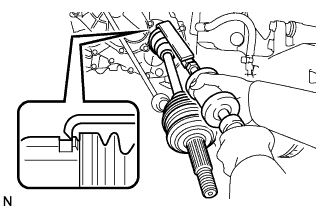
REMOVE FRONT DRIVE SHAFT ASSEMBLY LH
Using SST, remove the drive shaft.
SST
09520-01010 09520-24010
(09520-32040)
NOTICE:
Do not damage the oil seal.
Do not damage the inboard joint boot.
Do not drop the drive shaft.
53.
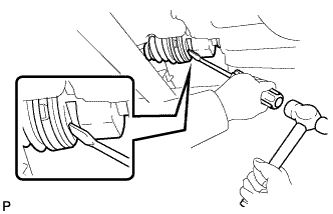
REMOVE FRONT DRIVE SHAFT ASSEMBLY RH
Using a screwdriver and hammer, remove the drive shaft.
NOTICE:
Do not damage the oil seal.
Do not damage the inboard joint boot.
Do not drop the drive shaft.
54.
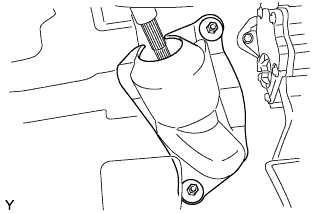
REMOVE COLUMN HOLE COVER SILENCER SHEET
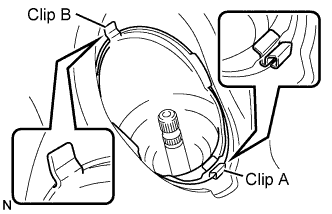
Remove the 2 clips and the column hole cover silencer sheet.
55.
SEPARATE STEERING INTERMEDIATE SHAFT ASSEMBLY NO. 2
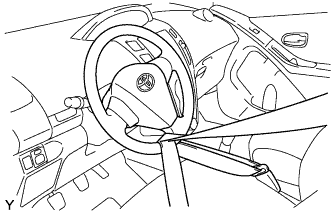
Hold the steering wheel with the seatbelt to avoid steering wheel rotation and damage to the spiral cable.
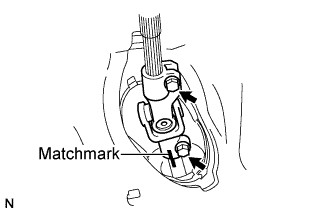
Put a matchmark on the sliding yoke and the intermediate shaft.