Removal / installation · Vehicles built from Aug 2005
CAUTION:
Prolonged and repeated contact with engine oil will result in the removal of natural oils from the skin, leading to dryness, irritation and dermatitis, used engine oil contains potentially harmful contaminants which may cause skin cancer.
Take precautions when replacing engine oil to minimize the risk of your skin making contract with used engine oil. Wear protective clothing and gloves that cannot be penetrated by oil. Wash skin with soap and water, or use water-less hand cleaner, to remove any used engine oil thoroughly. Do not use gasoline, thinner, or solvents.
Dispose of used oil and used oil filters at designated disposal sites in order to preserve the environment.
1.
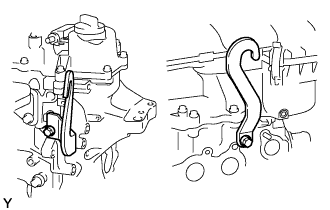
REMOVE ENGINE HANGERS
Remove the 2 bolts and remove the 2 engine hangers.
2.
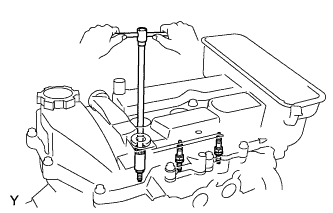
REMOVE SPARK PLUG
Remove the 3 spark plugs.
3.
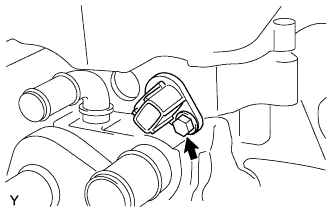
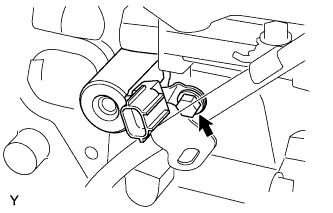
REMOVE CAMSHAFT POSITION SENSOR
Remove the bolt and remove the camshaft position sensor.
4.
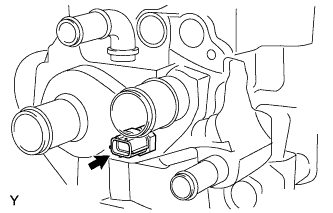
REMOVE ENGINE COOLANT TEMPERATURE SENSOR
Remove the engine coolant temperature sensor.
5.
REMOVE CAMSHAFT TIMING OIL CONTROL VALVE ASSEMBLY
Remove the bolt and remove the camshaft timing oil control valve.
6.
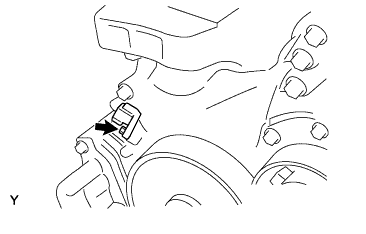
REMOVE CRANKSHAFT POSITION SENSOR
Remove the bolt and remove the crankshaft position sensor.
7.
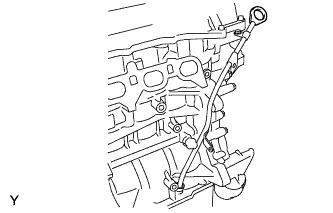
REMOVE OIL LEVEL GAUGE SUB-ASSEMBLY
8.
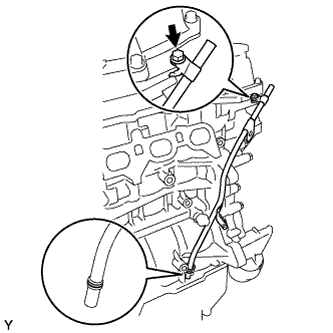
REMOVE OIL LEVEL GAUGE GUIDE
Remove the bolt and remove the level gauge guide with the O-ring.
9.
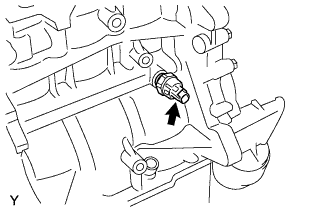
REMOVE ENGINE OIL PRESSURE SWITCH ASSEMBLY
Using a 24 mm deep socket wrench, remove the oil pressure switch.
10.
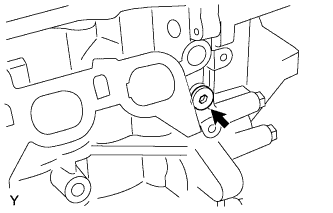
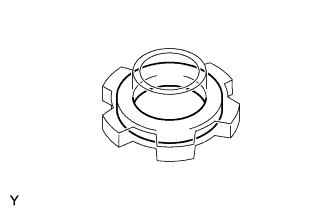
REMOVE OIL CONTROL VALVE FILTER
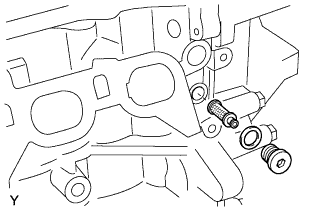
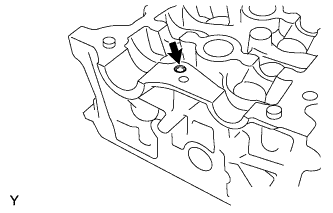
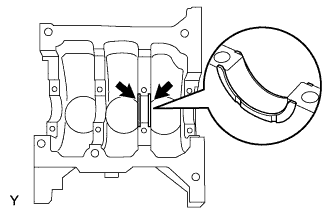
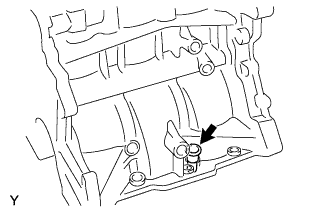
Remove the tight plug shown in the illustration.
Remove the oil control valve filter and gasket.
11.
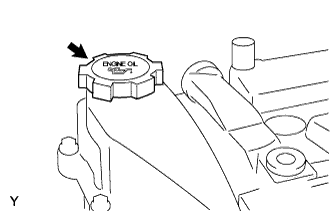
REMOVE OIL FILLER CAP SUB-ASSEMBLY
Remove the oil filler cap.
Using a screwdriver, remove the gasket from the oil filler cap.
12.
REMOVE CYLINDER HEAD COVER SUB-ASSEMBLY
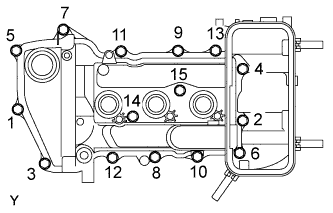
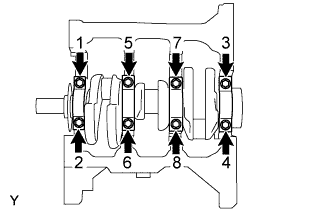
Remove the 13 bolts and 2 nuts in the order shown in the illustration.
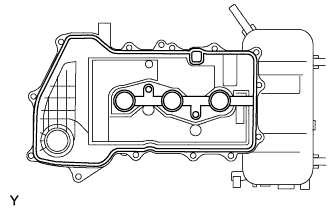
Remove the cylinder head cover with the gasket.
13.
REMOVE VENTILATION VALVE SUB-ASSEMBLY
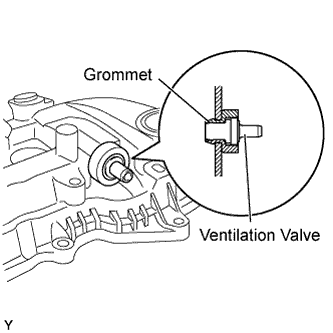
Remove the ventilation valve.
Remove the grommet.
14.
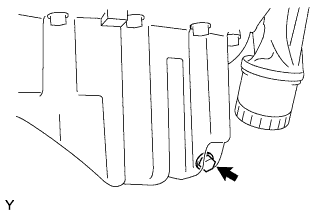
REMOVE OIL PAN DRAIN PLUG
Remove the drain plug.
Remove the gasket.
15.
REMOVE OIL PAN SUB-ASSEMBLY
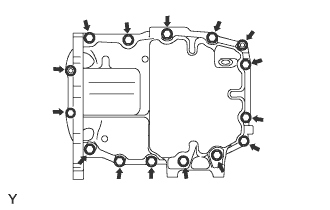
Remove the 13 bolts and 2 nuts.
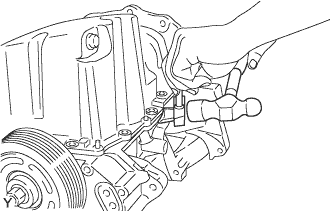
Using SST, remove the oil pan.
SST
09032-00100
NOTICE:
Do not damage the flange of the oil pan.
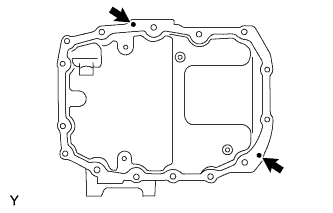
Remove the 2 straight pins from the oil pan.
16.
REMOVE OIL STRAINER SUB-ASSEMBLY
Remove the 3 bolts and remove the oil strainer.
Remove the gasket.
17.
REMOVE WATER INLET
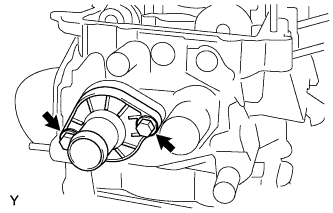
Remove the 2 bolts and remove the water inlet.
18.
REMOVE THERMOSTAT
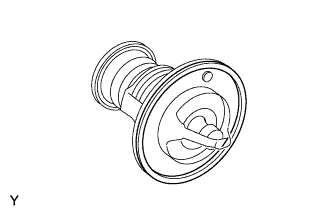
Remove the thermostat with gasket from the water inlet.
Remove the gasket from the thermostat.
19.
REMOVE WATER BY-PASS PIPE NO. 1
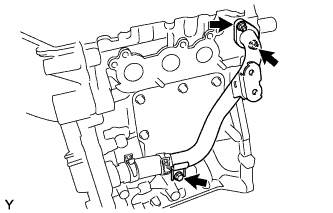
Remove the bolt and 2 nuts, and separate the water by-pass pipe from the cylinder head and cylinder block.
Remove the clamp and remove the water by-pass pipe.
20.
REMOVE WATER BY-PASS HOSE
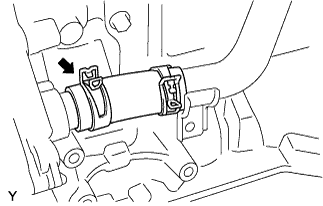
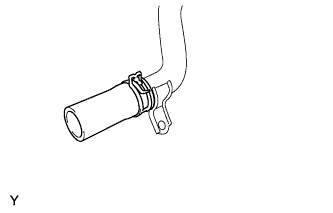
Remove the clamp, and remove the water by-pass hose from the water by-pass pipe.
21.
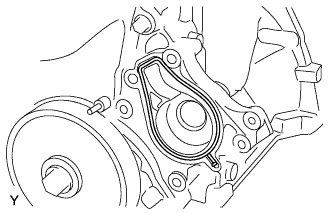
REMOVE WATER PUMP ASSEMBLY
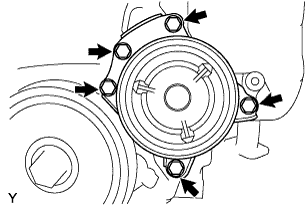
Remove the 5 bolts and remove the water pump.
Remove the gasket.
22.
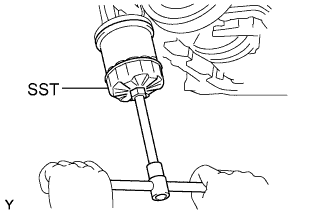
REMOVE OIL FILTER SUB-ASSEMBLY
Using SST, remove the oil filter.
SST
09228-06501
23.
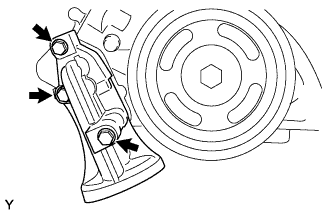
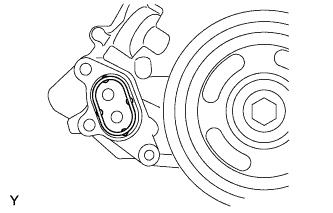
REMOVE OIL FILTER BRACKET
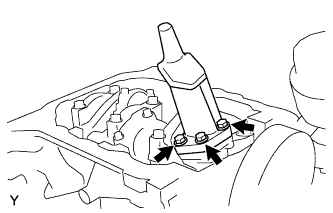
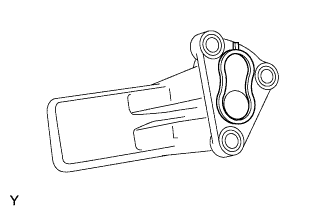
Remove the 3 bolts and remove the oil filter bracket.
Remove the gasket.
24.
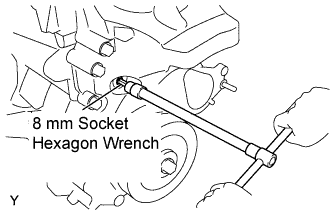
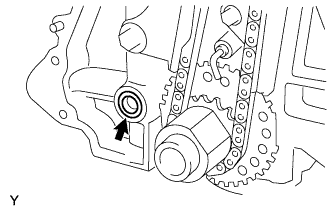
REMOVE TIMING GEAR COVER TIGHT PLUG
Using an 8 mm socket hexagon wrench, remove the tight plug.
25.
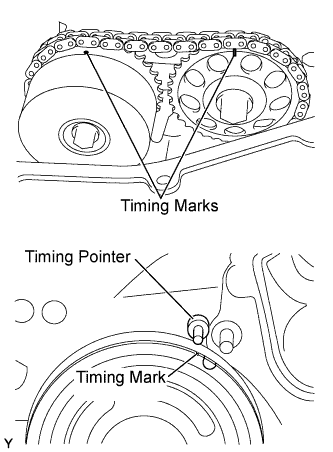
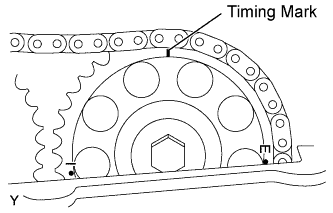
SET NO. 1 CYLINDER TO TDC/COMPRESSION
Turn the crankshaft pulley clockwise to align the timing mark on the pulley with the timing pointer of the timing chain cover.
Make sure that the timing mark of the camshaft sprocket is at the top.
26.
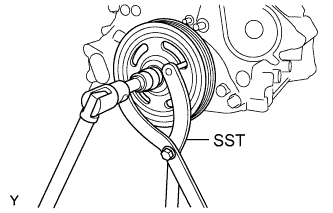
REMOVE CRANKSHAFT PULLEY
Using SST, remove the crankshaft pulley bolt.
SST
09960-10010
(09962-01000, 09963-01000)
Remove the crankshaft pulley.
27.
REMOVE TIMING CHAIN OR BELT COVER SUB-ASSEMBLY
Remove the water drain plug and gasket.
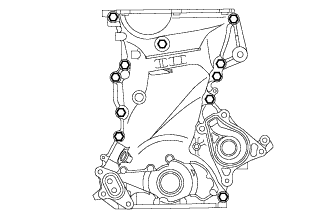
Remove the 11 bolts.
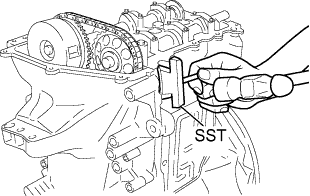
Using SST, remove the timing chain cover.
SST
09032-00100
NOTICE:
Do not damage the contact surfaces of the cylinder head, cylinder block and timing chain cover.
HINT:
Wrap the screwdriver tip in protective tape before use.
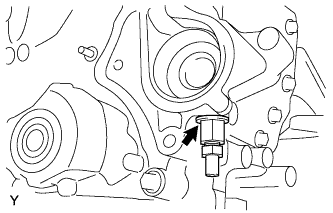
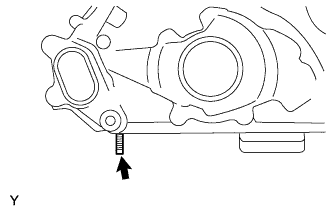
Remove the stud bolt.
28.
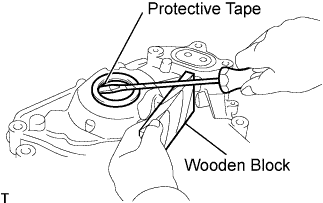
REMOVE TIMING CHAIN OR BELT COVER OIL SEAL
Using a screwdriver with its tip wrapped in protective tape, pry out the oil seal.
29.
REMOVE OIL PUMP GASKET
Remove the oil pump gasket from the cylinder block.
30.
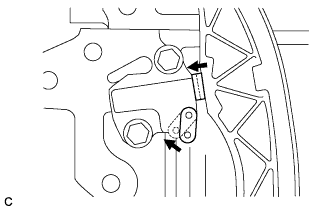
REMOVE CHAIN TENSIONER ASSEMBLY NO. 1
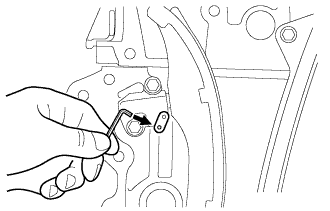
Turn the stopper plate of the chain tensioner clockwise and push in the plunger with the lock released.
Insert a hexagon wrench into the hole in the stopper plate to lock with the plunger pushed in.
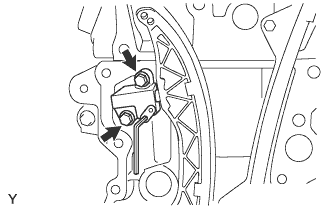
Remove the 2 bolts and remove the timing chain tensioner.
31.
REMOVE TIMING CHAIN TENSION ARM
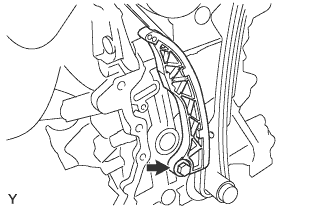
Remove the bolt and remove the chain tensioner arm.
32.
REMOVE CHAIN SUB-ASSEMBLY
33.
REMOVE TIMING CHAIN GUIDE
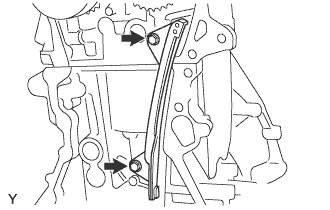
Remove the 2 bolts and remove the timing chain guide.
34.
REMOVE CRANKSHAFT TIMING GEAR OR SPROCKET
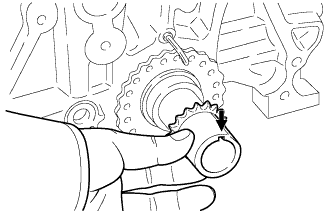
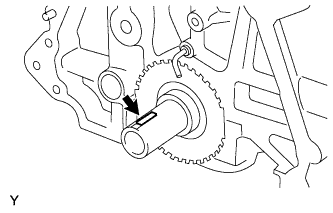
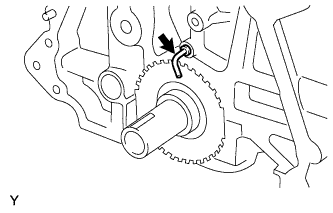
Remove the crankshaft timing chain gear or sprocket from the crankshaft.
35.
REMOVE CRANKSHAFT STRAIGHT PIN
Remove the crankshaft straight pin from the crankshaft.
36.
REMOVE OIL JET
Remove the oil jet from the cylinder block.
37.
REMOVE CAMSHAFT TIMING SPROCKET ASSEMBLY
Slightly turn the crankshaft clockwise.
NOTICE:
Do not allow the lifted valve and piston to come into the contact with each other when removing the camshaft.
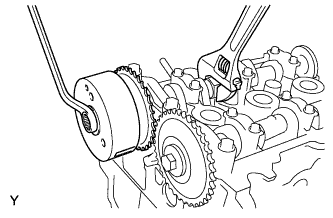
Remove the bolt from the sprocket while holding the hexagonal portion of the camshaft.
Remove the camshaft timing sprocket from the camshaft.
38.
REMOVE CAMSHAFT TIMING GEAR OR SPROCKET
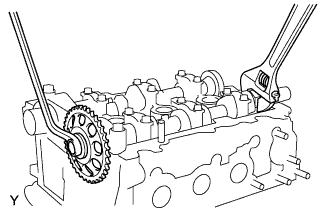
Remove the bolt from the gear while holding the hexagonal portion of the camshaft.
Remove the camshaft timing gear from camshaft No. 2.
39.
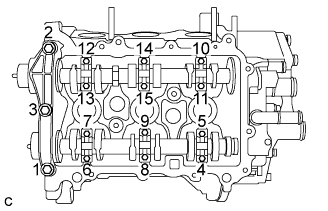
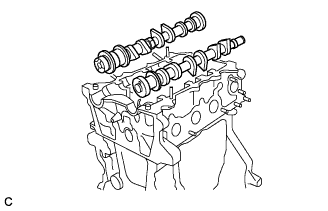
REMOVE CAMSHAFTS
Remove the 15 bolts in the order shown in the illustration.
Remove camshaft bearing caps No. 1 and No. 2.
Remove the 2 camshafts.
40.
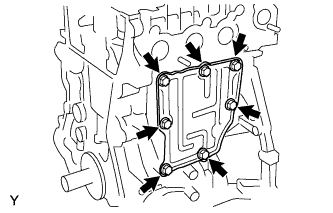
REMOVE VENTILATION BAFFLE PLATE
Remove the 6 bolts and 2 nuts.
41.
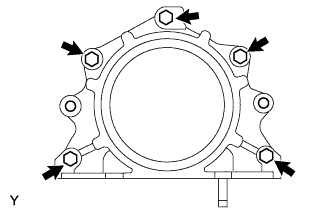
REMOVE ENGINE REAR OIL SEAL RETAINER
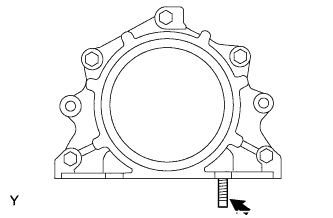
Remove the 5 bolts, and remove the oil seal retainer.
Remove the stud bolt.
42.
REMOVE ENGINE REAR OIL SEAL
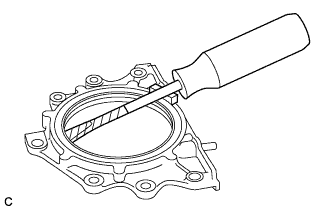
Using a screwdriver, remove the rear oil seal.
HINT:
Wrap the screwdriver tip in protective tape before use.
43.
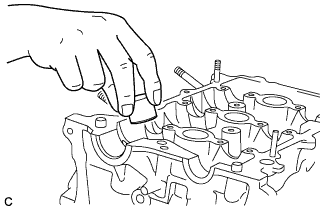
REMOVE VALVE LIFTER
Remove the 12 valve lifters.
NOTICE:
Record the inscribed mark on the valve lifters for each valve after removing them.
Arrange the valve lifters for each cylinder in order.
44.
REMOVE CYLINDER HEAD SUB-ASSEMBLY
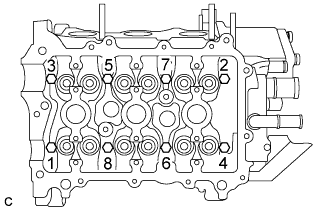
Using several steps, uniformly loosen and remove the 8 cylinder head bolts in the order shown in the illustration.
Remove the 8 plate washers from the cylinder head bolt holes.
Remove the cylinder head from the cylinder block.
Remove the 8 stud bolts from the cylinder head.
45.
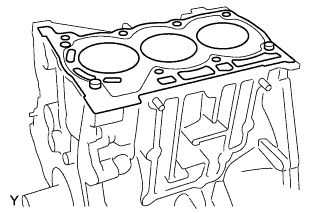
REMOVE CYLINDER HEAD GASKET
46.
REMOVE VALVE
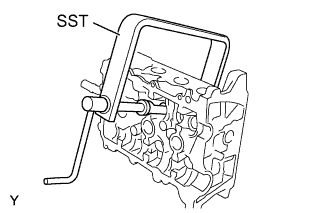
Using SST, remove the intake and exhaust valve spring retainer locks, valve retainer springs and compression spring.
SST
09202-70020
NOTICE:
Arrange the removed parts for each cylinder in order.
Remove the intake and exhaust valves.
NOTICE:
Arrange the removed parts for each cylinder in order.
47.
REMOVE TIGHT PLUG NO. 1
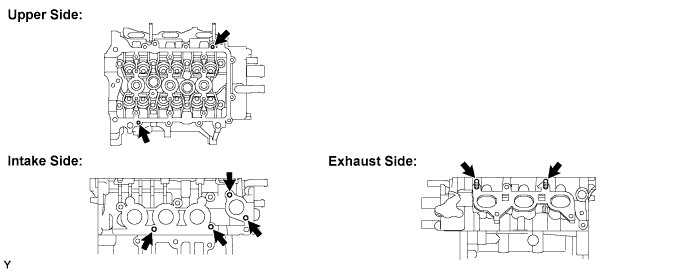
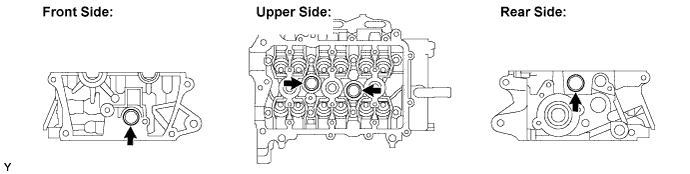
Remove the 4 tight plugs from the cylinder head.
48.
REMOVE CYLINDER HEAD OIL ORIFICE
Remove the cylinder head oil orifice.
49.
REMOVE CONNECTING ROD SUB-ASSEMBLY
NOTICE:
Do not turn the crankshaft.
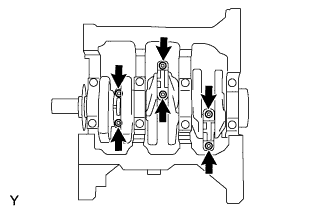
Remove the 6 connecting rod bolts and remove the 3 connecting rod bearing caps.
NOTICE:
Arrange the removed parts for each cylinder in order.
Push the piston, connecting rod and upper bearing through the top of the cylinder block.
HINT:
Keep the piston, connecting rod and cap together.
Arrange the piston and connecting rod for each cylinder in order.
Remove the 3 connecting rod bearings from the connecting rod sub-assembly.
50.
REMOVE PISTON RING SET
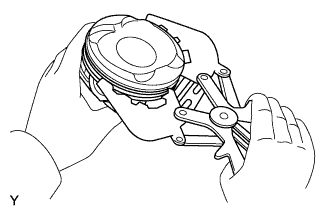
Using a piston ring expander, remove the No. 1 compression ring, No. 2 compression ring and oil ring.
51.
REMOVE WITH PIN PISTON SUB-ASSEMBLY
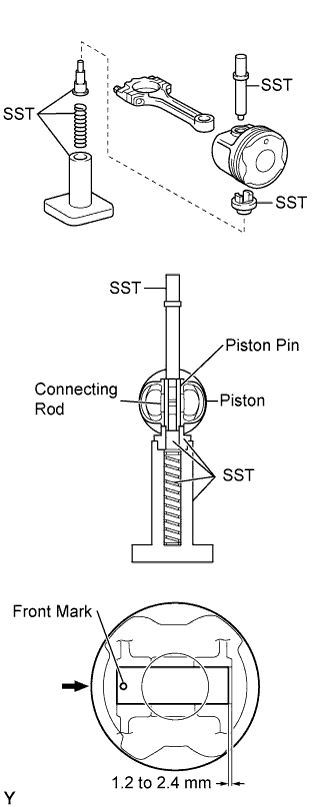
Using SST, press the piston pin out of the piston, and remove the piston.