INSTALLATION
Removal / installation · Vehicles built from Jan 2006
- HINT:
- The procedure described below is for the LH side. Use the same procedure for the RH and LH sides, unless otherwise specified.
| 1. INSTALL NO. 2 BLACK OUT TAPE |

Application precautions (Click here).
Clean the attachment surface (Using an infrared light) (Click here).
Clean the attachment surface (Using a tape removal disc) (Click here).
Apply new No. 1 black out tape to the positions shown in the illustration.
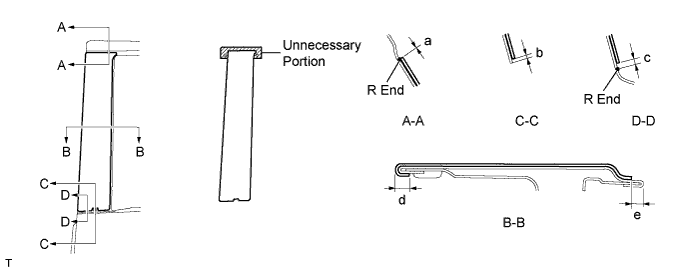

- Installation position:
Mark
Measurement (along surface)
a
-1 to 1 mm (-0.039 to 0.039 in.)
b
0 to 1.8 mm (0 to 0.071 in.)
c
2 mm (0.079 in.)
d
2 to 4mm (0.079 to 0.157 in.)
e
3 to 5 mm (0.118 to 0.197 in.)
| 2. INSTALL REAR DOOR GLASS RUN |
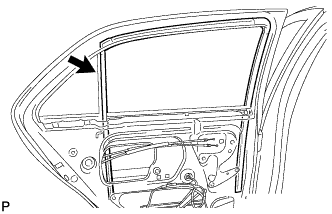 |
Install the rear door glass run.
| 3. INSTALL REAR DOOR BELT MOULDING |
Engage the 5 claws and install a new rear door belt moulding.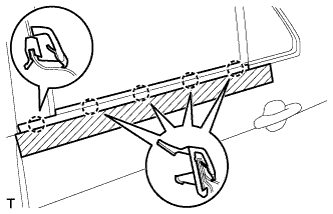
Remove the protective tape.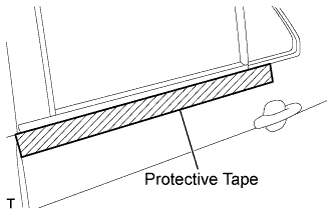
| 4. INSTALL REAR DOOR TRIM BOARD SUB-ASSEMBLY |
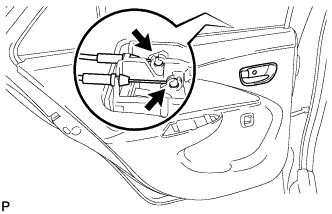 |
Connect the rear door lock remote control cable and rear door inside locking cable.
w/ Power window:
Connect the connector.
Engage the 7 clips and install the rear door trim board.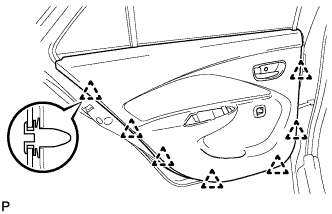
Tighten the screw.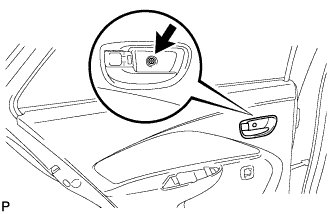
| 5. INSTALL REAR DOOR ARMREST BASE UPPER PANEL |
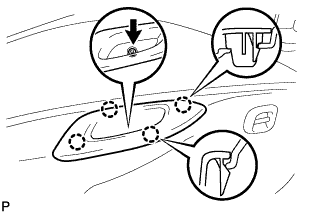 |
Engage the 4 claws and install the rear door armrest base upper panel.
| 6. INSTALL REAR DOOR WINDOW REGULATOR HANDLE ASSEMBLY (w/o Power Window) |
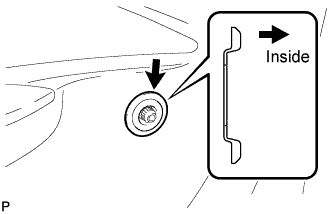 |
Install the window regulator handle plate.
Open all the windows.
Install the rear door window regulator handle with the clip at the angle shown in the illustration.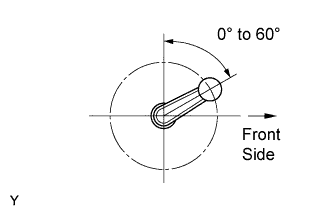
| 7. CONNECT CABLE TO NEGATIVE BATTERY TERMINAL (w/ Power Window) |
- Torque:
- 5.4 N*m{ 55 kgf*cm , 48 in.*lbf }