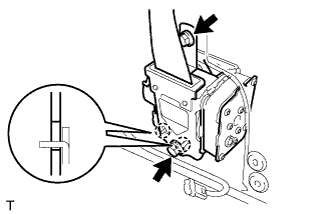
REMOVAL
Removal / installation · Vehicles built from Aug 2005
- CAUTION:
- Some of these service operations affect the SRS airbag system. Read the precautionary notices concerning the SRS airbag system before servicing (Click here).
- NOTICE:
- Always use "Torx" socket wrench E10 when removing the rear seat.
- HINT:
- The procedure described below is for the RH side. Use the same procedure for both the RH and LH sides, unless otherwise specified.
| 1. DISCONNECT CABLE FROM NEGATIVE BATTERY TERMINAL |

- CAUTION:
- Wait for at least 90 seconds after disconnecting the cable to prevent the airbag from working.
| 2. REMOVE PACKAGE TRAY TRIM PANEL ASSEMBLY (w/ Package Tray Trim) |
Remove the 2 package tray trim suspenders.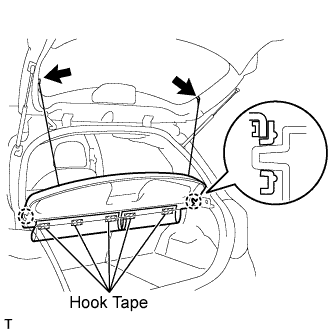

Remove the 5 pieces of hook tape.
Disengage the 2 claws and remove the package tray trim.
| 3. REMOVE DECK BOARD SUB-ASSEMBLY (w/ Deck Board) |
Release the 2 knobs and remove the deck board.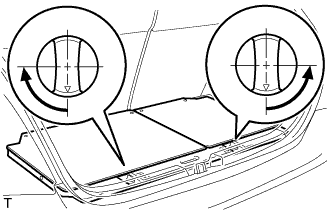
| 4. REMOVE SPARE WHEEL COVER ASSEMBLY (w/ Deck Board) |
Remove the spare wheel cover.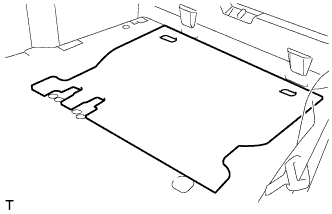
| 5. REMOVE DECK FLOOR BOX (w/ Deck Board) |
for RH Side:
Remove the deck floor box (Click here).
for LH Side:
Remove the deck floor box.
- HINT:
- Use the same procedure as for the RH side.
| 6. REMOVE REAR FLOOR CARPET ASSEMBLY (w/o Deck Board) |
Remove the rear floor carpet.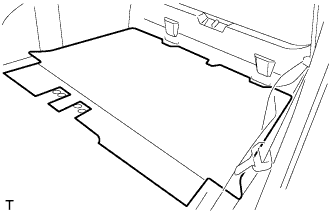
| 7. REMOVE NO. 1 REAR SEAT LEG COVER |
for RH Side:
Remove the No. 1 rear seat leg cover (Click here).
for LH Side:
Remove the No. 1 rear seat leg cover (Click here).
| 8. REMOVE NO. 2 REAR SEAT LEG COVER (for LH Side) |
Disengage the 3 claws in the sequence shown in the illustration and remove the No. 1 rear seat leg cover.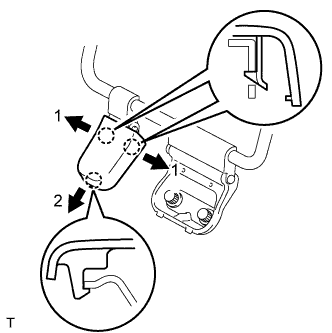
| 9. REMOVE REAR SEAT ASSEMBLY |
for RH Side:
Remove the rear seat assembly (Click here).
for LH Side:
Remove the rear seat assembly (Click here).
| 10. REMOVE FRONT DOOR SCUFF PLATE |
Disengage the 8 claws and remove the front door scuff plate.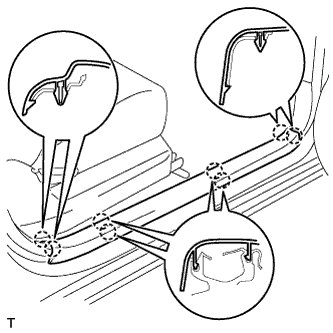
| 11. REMOVE FRONT DOOR OPENING TRIM WEATHERSTRIP |
Remove the front door opening trim weatherstrip to the extent that the front quarter trim panel can be removed.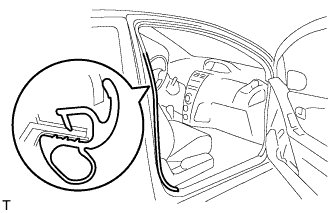
| 12. REMOVE FRONT SEAT OUTER BELT BAR SUB-ASSEMBLY (w/ Seat Belt Bar) |
Remove the 2 bolts and the front seat outer belt bar.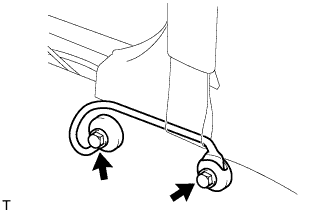
| 13. REMOVE REAR SEAT OUTER BELT ASSEMBLY |
Remove the belt.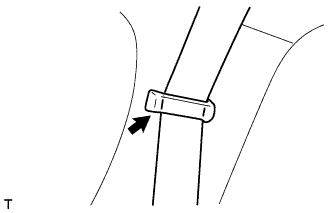
| 14. REMOVE FRONT QUARTER TRIM PANEL ASSEMBLY |
Disengage the 8 clips, the retainer and the 10 claws and remove the front quarter trim panel.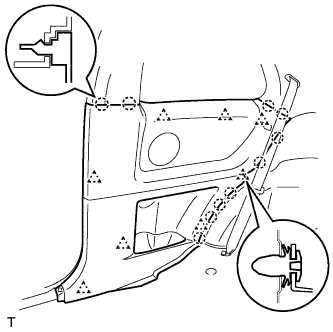
| 15. REMOVE SEAT BELT ANCHOR COVER CAP |
Disengage the 3 claws and remove the seat belt anchor cover cap.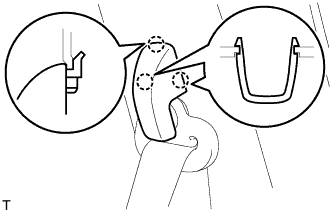
| 16. REMOVE FRONT SEAT OUTER BELT ASSEMBLY |
w/o Seat Belt Bar: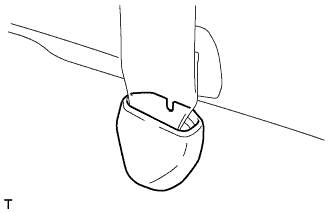
Remove the anchor plate cover.
Remove the bolt and the anchor plate.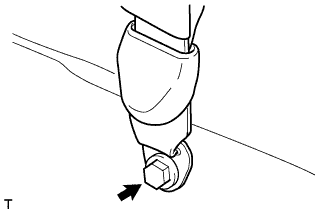
Remove the bolt and the through anchor.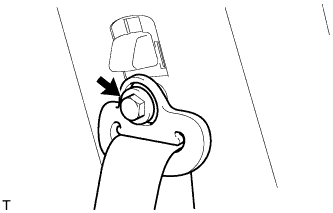
Disconnect the pretensioner connector.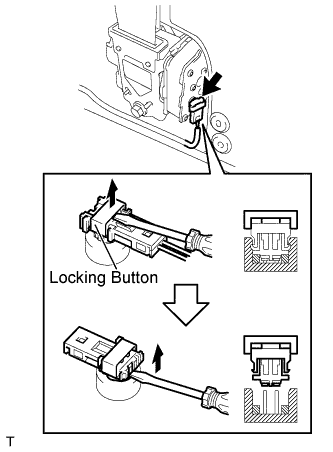
Using a screwdriver, release the locking button.
Using a screwdriver, disconnect the pretensioner connector.
Remove the 2 bolts, the 2 hooks and the retractor.