DISASSEMBLY
Removal / installation · Vehicles built from Aug 2005
- CAUTION:
- Wear protective gloves. Sharp surfaces on the rear seat back frame could cause injuries to your hands.
| 1.
REMOVE REAR SEAT HEADREST ASSEMBLY |
 |
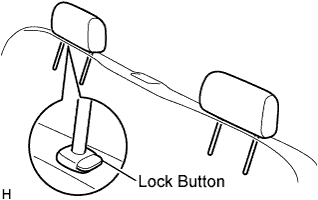
- Push in the 2 lock buttons of the 2 rear seat headrest supports and remove the 2 rear seat headrests.
| 2.
REMOVE REAR SEAT BACK LOCK STRIKER COVER |
|
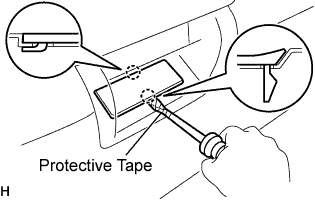
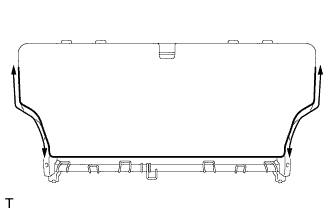
- Using a screwdriver with its tip wrapped in protective tape, disengage the 2 claws and remove the rear seat back lock striker cover.
| 3.
REMOVE REAR SEAT LOCK CONTROL LEVER SUB-ASSEMBLY |
|
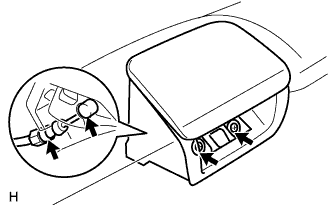
- Remove the 2 screws.
Disconnect the rear seat reclining control cable and remove the rear seat lock control lever.
| 4.
REMOVE REAR SEAT HEADREST SUPPORT |
|
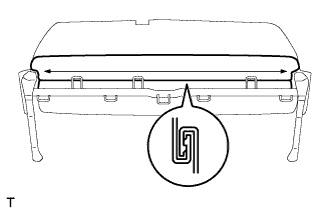
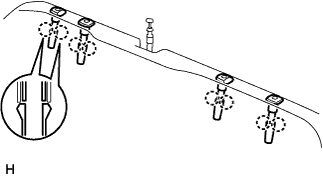
- Disengage the hook.
- Unfasten the 2 zippers.
- Disengage the 8 claws and remove the 4 rear seat headrest supports.
| 5.
REMOVE REAR SEAT BACK COVER PAD |
|
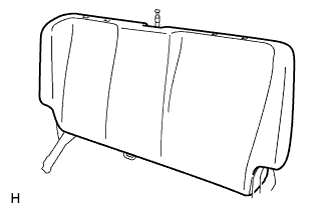
- Remove the rear seat back cover pad.
| 6.
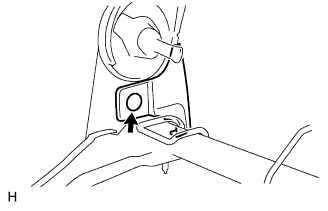
REMOVE REAR SEAT RECLINING COVER RH |
|
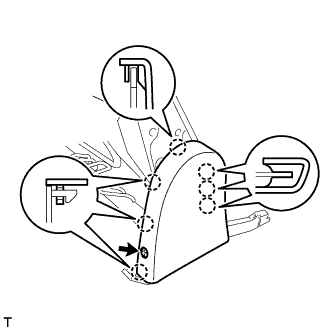
- Remove the screw.
Disengage the 7 claws and remove the rear seat reclining cover.
| 7.
REMOVE REAR SEAT RECLINING COVER LH |
|
- HINT:
- Use the same procedure as for the RH side.
| 8.
REMOVE RECLINING ADJUSTER LOWER INSIDE COVER RH |
|
- Using a clip remover, remove the clip and the reclining adjuster lower inside cover.
| 9.
REMOVE RECLINING ADJUSTER LOWER INSIDE COVER LH |
|
- HINT:
- Use the same procedure as for the RH side.
| 10.
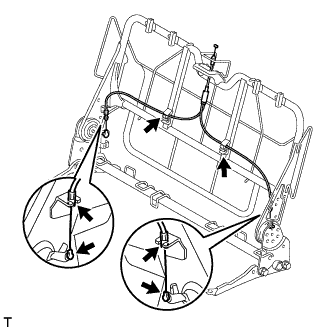
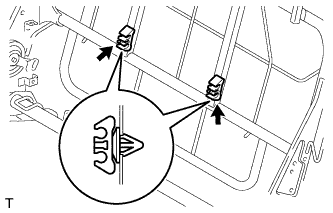
REMOVE REAR SEAT RECLINING CONTROL CABLE |
|
- Remove the rear seat reclining control cable.
- Remove the 2 clamps.
| 11.
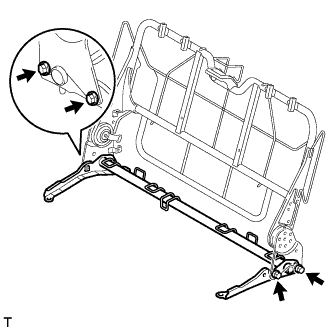
REMOVE REAR SEAT LEG SUB-ASSEMBLY |
|
- Remove the 4 bolts and the rear seat leg.