 |
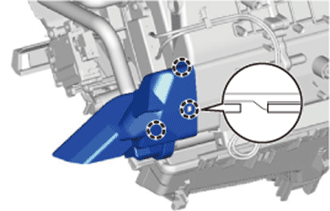
Disengage the 3 claws and remove the air duct.
FRONT EVAPORATOR TEMPERATURE SENSOR > REMOVAL |
| 1. REMOVE AIR CONDITIONER UNIT ASSEMBLY |
| 2. REMOVE NO. 1 AIR DUCT |
|
Disengage the 3 claws and remove the air duct.
| 3. REMOVE NO. 2 AIR DUCT |
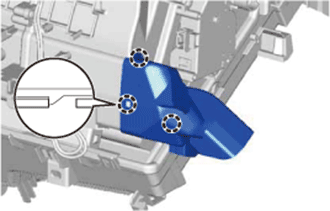 |
Disengage the 3 claws and remove the air duct.
| 4. REMOVE COOLER EXPANSION VALVE |
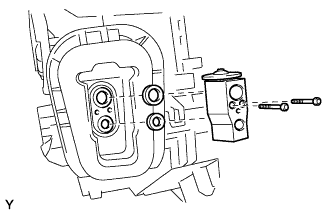 |
Using a 4 mm hexagon wrench, remove the 2 hexagon bolts and detach the cooler expansion valve.
Remove the 2 O-rings from the cooler evaporator.
| 5. REMOVE NO. 1 COOLER EVAPORATOR SUB-ASSEMBLY |
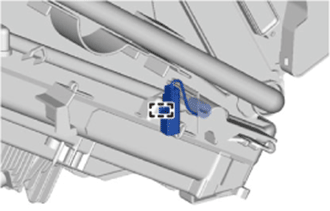 |
Disengage the clamp and remove the connector from the lower heater case.
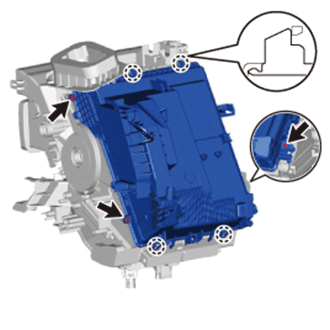 |
Remove the 3 screws.
Disengage the 4 claws and remove the lower heater case.
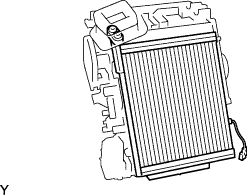 |
Remove the cooler evaporator with the cooler thermistor.
| 6. REMOVE FRONT EVAPORATOR TEMPERATURE SENSOR (NO. 1 COOLER THERMISTOR) |
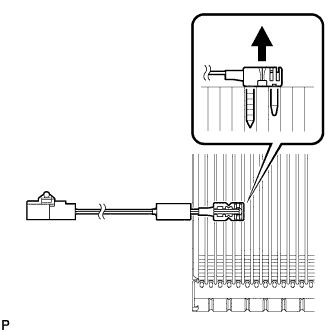 |
Remove the front evaporator temperature sensor (No. 1 cooler thermistor).