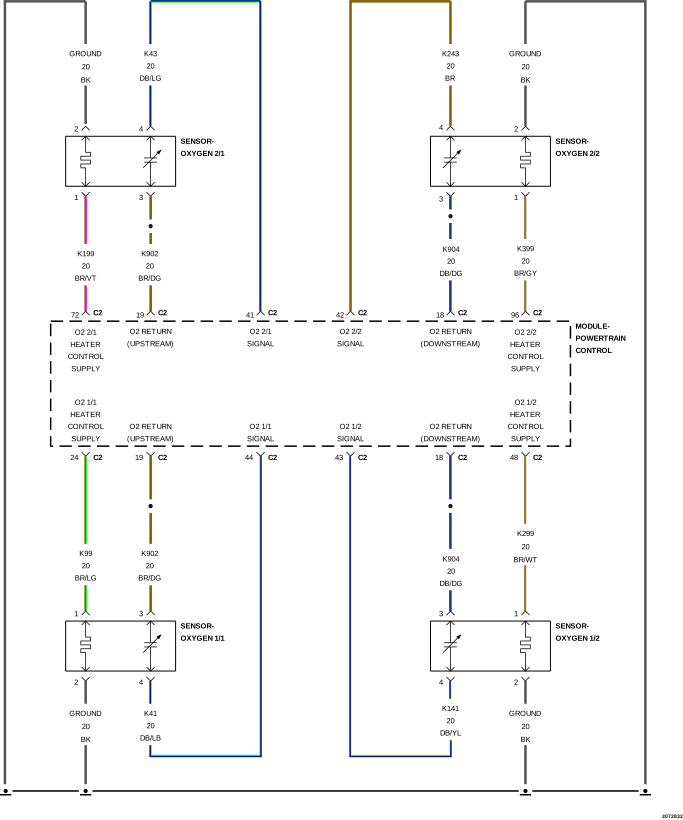
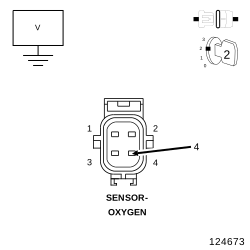
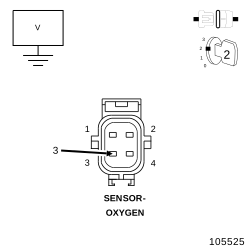
For a complete wiring diagram, refer to the Wiring Information.
Theory of Operation
The Downstream O2 Sensor is located in the exhaust path behind the Catalytic Converter, is monitored for proper response to assure optimum Catalytic Converter efficiency. The Downstream O2 Sensor response monitor is intended to diagnose a Downstream O2 Sensor that is not moving or stuck in a voltage window and to insure accurate information for catalyst monitor diagnosis.
When Monitored:
With the engine running, vehicle speed between 32 and 88 kph (20 and 55 mph), throttle open for a minimum of 120 seconds, ECT greater than 70°C (158°F), Catalytic Converter Temperature greater than 600°C (1112°F) and EVAP Purge active.
Set Condition:
The Powertrain Control Module (PCM) detects that the Oxygen Sensor 1/2 signal switches from lean to rich less than 16 times within 20 seconds during monitoring. Two Trip Fault. Three good trips to turn off the MIL.
After the repairs have been made, verify proper O2 Sensor operation. If all the O2 Sensor voltage readings have not returned to normal, follow the diagnostic procedure for the remaining O2 Sensors.
NOTE:
Check for contaminants that may have damaged the O2 Sensor: contaminated fuel, unapproved silicone, oil and coolant.
1.
Start the engine.
2.
Allow the engine to reach normal operating temperature.
3.
With the scan tool, select View DTCs.
NOTE:
It may be necessary to drive the vehicle to meet the conditions to set this DTC, try to repeat the conditions in which the fault originally set by reviewing the Freeze Frame data.
Raise the vehicle in accordance with the Service Information.
WARNING:
The normal operating temperature
of the exhaust system is very high. Never work around or attempt to
service any part of the exhaust system until it has cooled. Special
care should be taken when working near the catalytic converter. The
temperature of the converter rises to a high level after a short period
of engine operating time.
3.
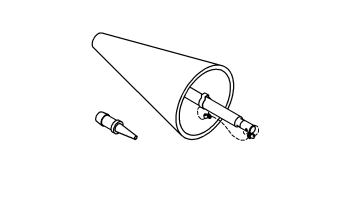
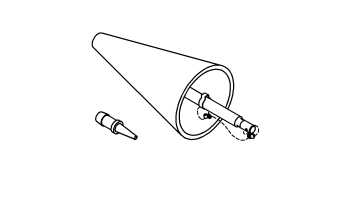
Connect the
Exhaust Cone 8404-EC
and Air Pressure Regulator (with hose) W-18-MIL-1146AS.
CAUTION:
The air pressure must not exceed
27.6 kPa (4 psi), otherwise engine damage can occur.
4.
Attach shop air to the air pressure regulator.
5.
Adjust the Air Pressure Regulator to 27.6 kPa (4 psi).
6.
Insert the exhaust cone into the vehicle tail pipe.
7.
If the vehicle is equipped with dual exhaust. Use the
Exhaust Cone, Truck 8404-ECT
with equipped attached plug, plug one side of the dual exhaust pipe. Pressurize the other as described above.
8.
Apply Mopar® Air Leak Detector PN# 05191804AA (or an equivalent leak finder liquid) to the following areas:
All welded joints from the exhaust manifold to 152.4 mm (6 inches) behind the downstream O2 Sensor.
O2 Sensor seal points.
O2 Sensor boss welds.
Flange/joint connection(s).
Exhaust manifold to cylinder head connection(s).
EGR solenoid gasket base and tube seal points (if equipped).
9.
Watch for the liquid/soapy water to bubble.
10.
Use the following definitions to help determine if system or component repair/replacement is necessary:
Type 1 Leak is defined as a leak where very small foam like bubbles 1 mm (0.04 inch) or less appear. Any Type 1 or greater leaks found in welded joints, O2 Sensor seal points or O2 Sensor boss welds must be repaired or the component must be replaced.
Type 2 Leak is defined as a leak where larger bubbles pea size, 8 mm (0.3 inch) or greater appear. Any Type 2 or greater leaks found in flange or joint connections, exhaust manifold to cylinder head connections or EGR gasket and tube seal points must be repaired or the components must be replaced.
Leak Location
Repair required if results at 27.6 kPa (4 psi) reveal bubble size:
Welded joints
Type 1, 1 mm (0.04 inch) or greater
O2 Sensor seal points
Type 1, 1 mm (0.04 inch) or greater
O2 Sensor boss welds
Type 1, 1 mm (0.04 inch) or greater
Flange / joint connections
Type 2, 8 mm (0.3 inch) or greater
Exhaust Manifold to cylinder head connections
Type 2, 8 mm (0.3 inch) or greater
EGR gasket and tube seal points
Type 2, 8 mm (0.3 inch) or greater
11.
If a leak is found that matches the above definition, repair or replace the component as necessary.
12.
Once the repair is complete, repeat the procedure to verify that all leaks have been repaired.
Were any exhaust leaks found?
Yes
Repair or replace the leaking exhaust parts as necessary.