LATCH
ADJUSTMENTS
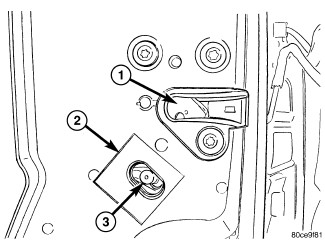 |
- Locate access hole and remove the mylar tape (2) covering it.
- Insert a 5/32” hex-wrench through hole and into adjustment screw (3). Loosen screw.
- Operate outside handle several times to release any restriction because of mis-alignment.
- Tighten adjustment screw to 3 N·m (30 in. lbs.).
-
Test handle for proper operation.
REMOVAL
Special Tools: Click to display a list of tools used in this procedure
 |
-
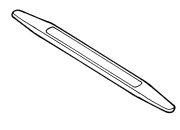
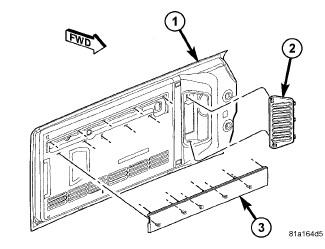
Using a trim stick C-4755 or equivalent, remove the inner latch trim (2).
-
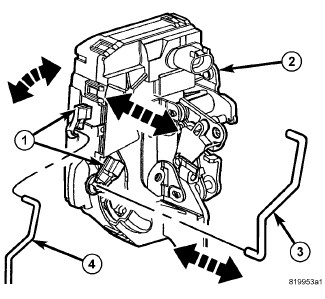
Release the rod clips (1) and disconnect the latch rods (3 and 4).
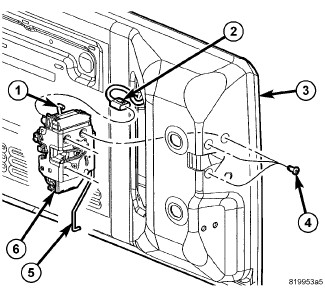
- Remove the screws (4) and remove the latch (6).
-
Disconnect the electrical connector (2).
INSTALLATION
|
- Connect the electrical connector (2) and install the latch into the tail gate (3).
-
Install the screws (4) and tighten to 8 N·m (71 in. lbs.).
-
Connect the latch rods (3 and 4) and secure the clips (1) fully.
- Position the latch trim (2) onto the tailgate opening and seat fully.
-
Adjust the latch if necessary, (Refer to 23 - Body/Decklid/Hatch/Liftgate/Tailgate/LATCH - Adjustments)
.