BALL JOINT, Suspension, Lower
DIAGNOSIS AND TESTING - LOWER BALL JOINT
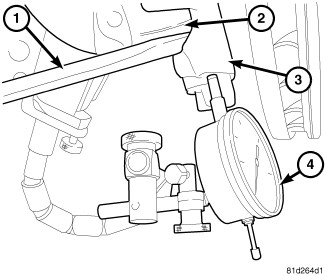 |
To properly diagnose the lower ball joint readings from the dial indicator are necessary.
- Raise and support the vehicle.
- Attach a dial indicator (4) with the indicator resting on the flat part of the steering knuckle (3) by the lower ball stud .
- Set the dial indicator (4) to zero.
- Pry between the knuckle (3) and the axle tube yoke (2) next to the upper ball joint using a pry bar (1), Record the reading on the dial indicator.
-
Axial measurement for a total lower ball joint movement, If this reading is above 1.25 mm (0.050 in) then replacement of the lower ball joint is necessary (Refer to 02 - Front Suspension/Front/BALL JOINT, Suspension - Removal)
.
REMOVAL
Special Tools: Click to display a list of tools used in this procedure
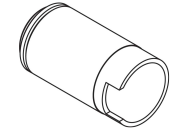
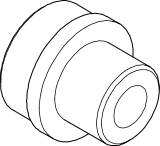
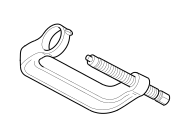
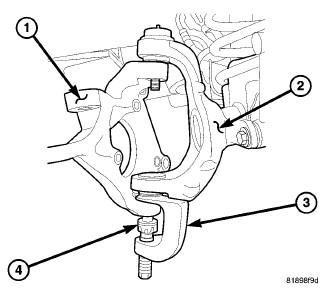 |
- Remove the hub/bearing (Refer to 02 - Front Suspension/Front/HUB AND BEARING - Removal) .
- Remove the axle shaft from the axle (Refer to 03 - Differential and Driveline/Front Axle - 216FBI/SHAFT, Axle - Removal) 4X4 only.
-
Remove the steering knuckle (1) (Refer to 02 - Front Suspension/Front/KNUCKLE, Steering - Removal)
.
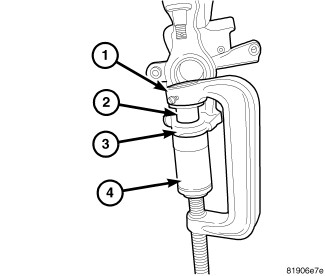
-
Position special tool 9949 (RECEIVER) (4) and 8975-4 (DRIVER) (2) with tool C-4212F (PRESS)(1) as shown to remove lower ball stud .
INSTALLATION
Special Tools: Click to display a list of tools used in this procedure
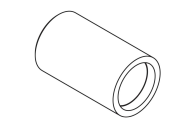
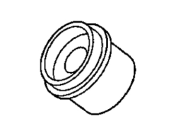
 |
-
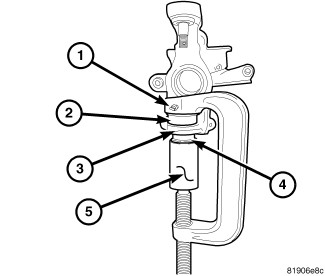
Position special tool 9950 (DRIVER) (5) and 6289-12 (RECEIVER) (2) with C-4212F (PRESS) (1) as shown to install lower ball stud (4).
- Install the axle shaft into the axle (Refer to 03 - Differential and Driveline/Front Axle - 216FBI/SHAFT, Axle - Installation) .
- Install the hub/bearing (Refer to 02 - Front Suspension/Front/HUB AND BEARING - Installation) .
- Install the steering knuckle (Refer to 02 - Front Suspension/Front/KNUCKLE, Steering - Installation) .