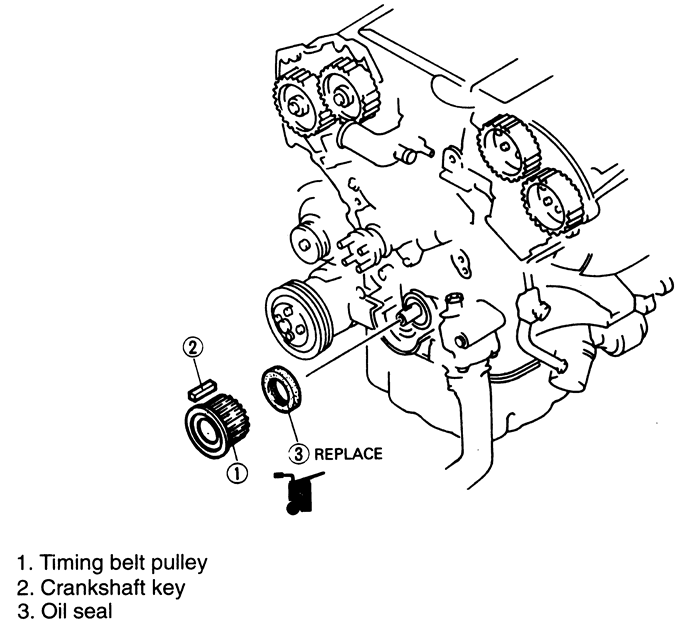
Raise and safely support the vehicle. On some models it may be necessary
to remove the right front tire and splash shield.
Remove the crankshaft pulley.
Remove the timing belt covers and belt.
Remove the crankshaft pulley boss and sprocket. It may be necessary to use
a puller to remove the sprocket. Remove the key from the sprocket.
Protect the oil pump housing with a rag. Cut the oil seal lip with a knife.
Using a small prybar, pry the oil seal from the engine block; be careful not
to score the crankshaft or the seal seat.
To install:
Lubricate the seal lip with clean engine oil and push the seal slightly
in by hand.
Tap the seal in evenly using a seal installer. Install the seal until it
is flush with the oil pump body on 1993–94 323 1.6L (B6E) and 1994 Protege
and MX3 1.8L (BPD), 1993–94 Miata 1.6L (B6-ZE), 1.8L (BPD) and Protege
1.8L (BPE) and 1993–95 MX3 1.6L (B6-ZE) engines. On other engines, install
the seal until it protrudes 0.020 in. (0.5mm)
Install the crankshaft sprocket. Install the sprocket key with the tapered
side toward the oil pump body.
Install the remaining components in the reverse order of removal.
Fig. 1: Front crankshaft seal — 1993–95
929 3.0L (JE-ZE) engines