Previous Next

INSTRUMENTS AND SWITCHES

Instrument Cluster

REMOVAL & INSTALLATION

Fig. 1: Exploded view of the instrument cluster assembly — 1990–94 vehicles shown

  1. Disconnect the negative battery cable. Wait at least 60 seconds to continue, in order to disarm the SRS system, if equipped.
  2. Remove the steering wheel, as outlined in section 8 of this manual.
  3. If necessary, remove the retaining screws, then remove the upper and lower steering column covers.

    Fig. 2: After removing the steering wheel, unfasten the column cover screws . . .

    Fig. 3: . . . then remove the upper and lower steering column covers

  4. For 1990–94 vehicles, remove the screw cover on the side of the cluster panel assembly.
  5. Unfasten the necessary retainers or use a suitable prytool, as applicable, to remove the front instrument cluster bezel.

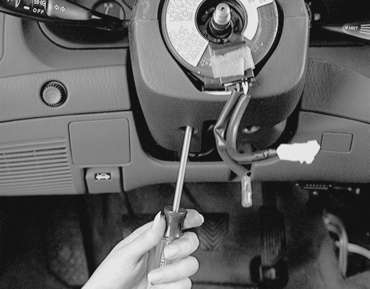
    Fig. 4: Use a stubby screwdriver to remove the instrument cluster bezel screws . . .

    Fig. 5: . . . then remove the instrument cluster bezel for access to the cluster retainers

  6. Unfasten the retaining screws, then remove the instrument cluster from the vehicle.

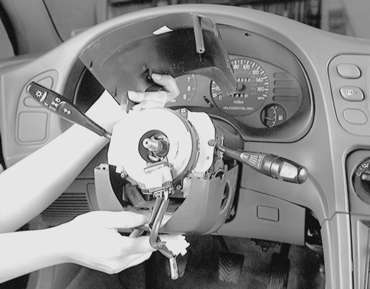
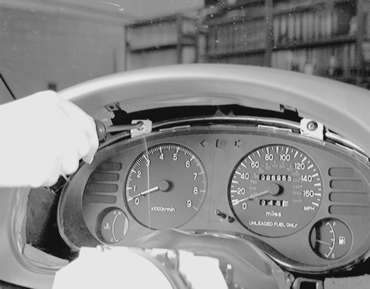
    Fig. 6: Remove the instrument cluster assembly retaining screws

    Fig. 7: . . . then carefully remove the instrument cluster from the vehicle

  7. Disassemble and remove gauges or the speedometer as required.

    NOTE: If the speedometer cable adapter requires service, disconnect the cable at the transaxle end. Pull the cable slightly toward the vehicle interior, release the lock by turning the adapter to the right or left and remove the adapter.

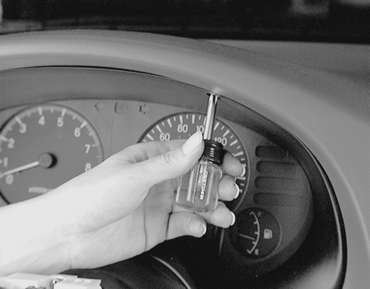
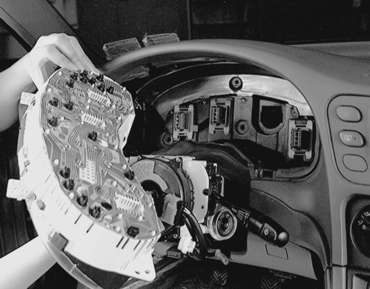
    Fig. 8: If necessary, you can replace the gauge bulbs at the rear of the cluster while it is removed

    To install:

  8. Position the instrument cluster in the dash. Make sure the connectors are securely engaged. Be careful not to damage the printed circuit board or any gauge components.
  9. Install the instrument cluster bezel. Secure the retainers.
  10. Install the screw cover on the side of the cluster panel.
  11. Install the steering wheel.
  12. Connect the negative battery cable and check all cluster-related items for proper operation.

Previous Next