Previous Next

WINDSHIELD WIPER AND WASHERS

Windshield Wiper Blade and Arm

REMOVAL & INSTALLATION

Front
  1. Disconnect the negative battery cable.
  2. Remove the windshield wiper arms by removing the cap, unscrewing the cap nuts then lifting the arms from the linkage posts.

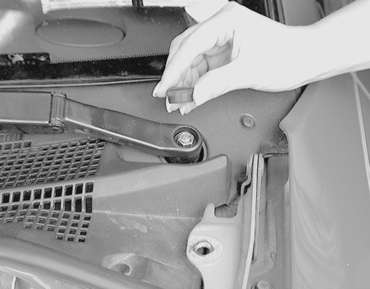
    Fig. 1: Remove the wiper arm retaining nut cap

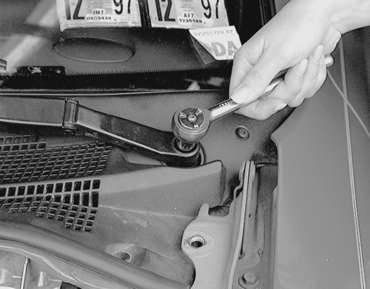
    Fig. 2: Use a socket to loosen the windshield wiper arm retaining nut

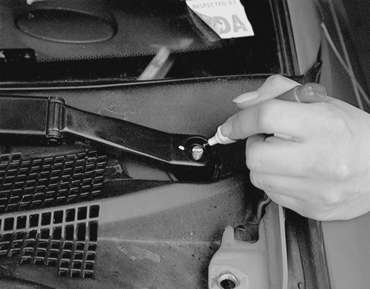
    Fig. 3: Once the nut is removed, matchmark the position of the arm for proper alignment during installation . . .

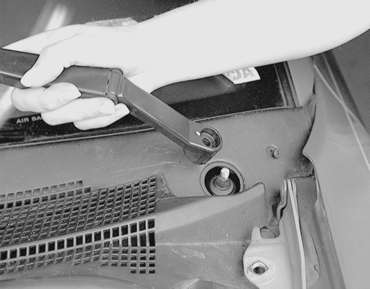
    Fig. 4: . . . then remove the wiper arm from the linkage post

    To install:

  3. Install the wiper blade and arm assemblies. Tighten the retaining nuts to 7–12 ft. lbs. (10–16 Nm).
  4. Note that the driver's side wiper arm should be marked D or Dr and the passenger's side wiper arm should be marked A or As. The identification marks should be located at the base of the arm, near the pivot. Install the arms so the blades are 1 inch from the garnish molding when parked.

    Fig. 5: The wiper arms should have identification marks for installation purposes

    Fig. 6: Install the arms so the blades are 1 in. from the garnish molding when they are in the parked position

  5. Connect the negative battery cable and check the wiper system for proper operation.
Rear
  1. Disconnect the negative battery cable.
  2. Remove the rear wiper arm by removing the cover, unscrewing the nut and lifting the arm from the linkage post.
  3. Installation is the reverse of the removal procedure.

Previous Next