Turn the key to the OFF position. Ensure that the ignition
switch remains OFF throughout the procedure.
Disconnect the negative battery cable.
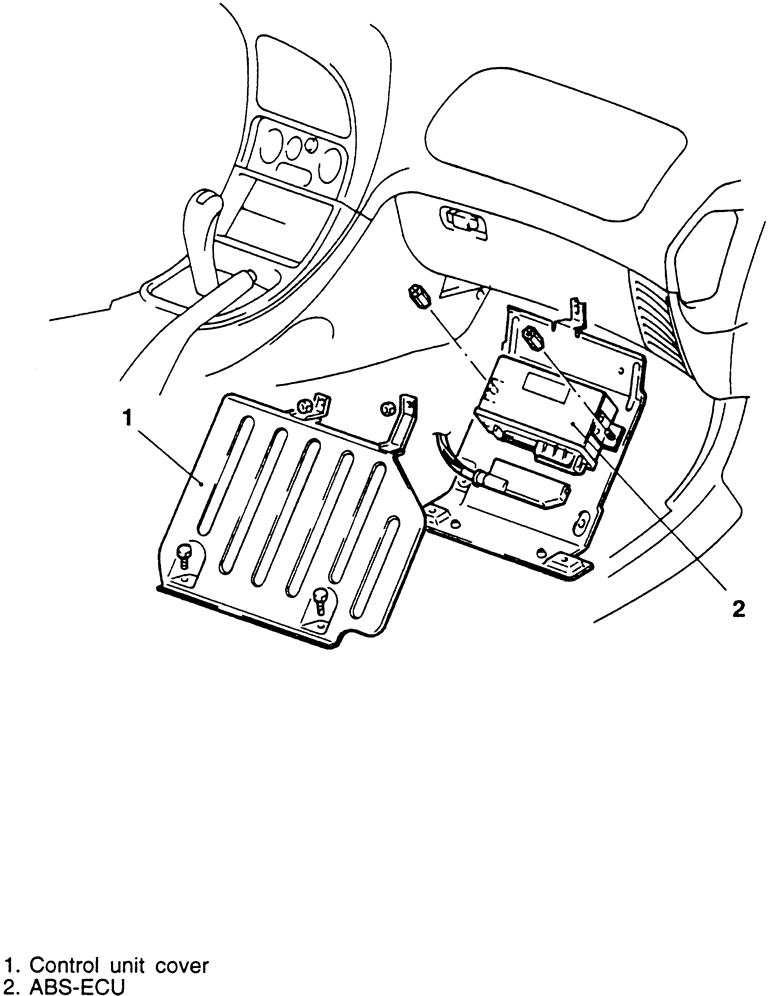
Remove the interior right rear quarter trim panel and rear seat back and/or
cushion.
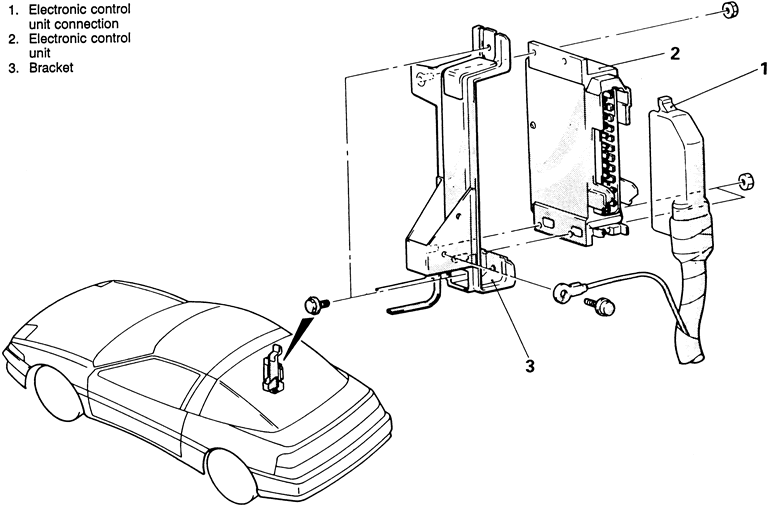
Release the lock on the bottom of the connector; disconnect the multi-pin
connector from the control unit. Access may be easier if the external ground
is disconnected from the bracket.
Remove the retaining nuts and remove the control unit from its bracket.
The bracket may be removed, if desired.
Fig. 1: ABS electronic control unit location — 1991–94
vehicles
To install:
Place the bracket in position. Install the controller and tighten the retaining
nuts.
Connect the ground wire to the bracket if removed. Ensure a proper, tight
connection. The ground must be connected before the multi-pin harness is connected.
Connect the multi-pin connector and secure the lock.