Previous Next

LEVEL CHECK

To check the automatic transaxle fluid, drive the vehicle several miles to bring the transmission up to normal operating temperature.

  1. Park the vehicle on a level surface, place the gear selector in Park position and leave the engine idling.
  2. Open the hood and locate the automatic transaxle dipstick on the left (driver) side of the engine, near the fire wall. Remove the dipstick, wipe it with a clean rag and reinsert it firmly.

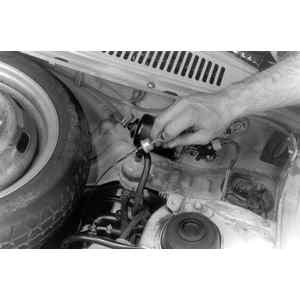
    Fig. 1: Remove the transaxle dipstick to check the fluid level

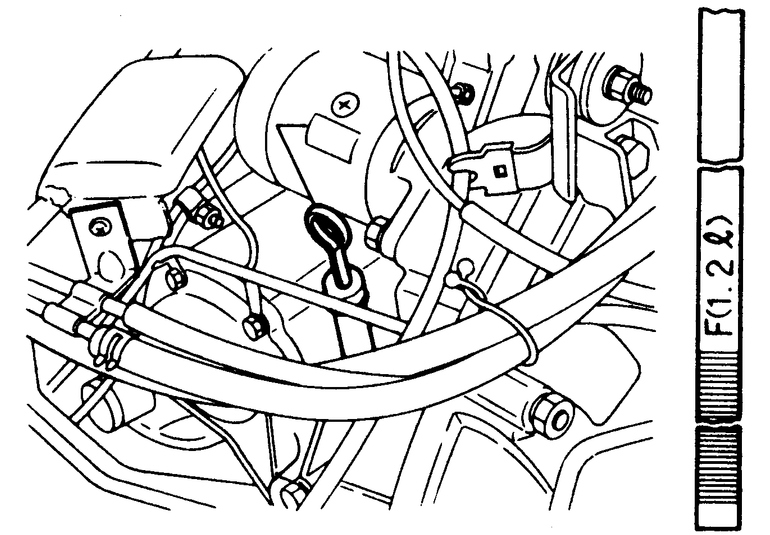
    Fig. 2: Differential dipstick (automatic transaxle only)

  3. Remove the dipstick, hold it horizontally and note the reading.
  4. As long as the reading is between the upper level and lower level marks the fluid level is correct. If the level is at or below the lower mark, additional fluid is necessary. Add automatic transmission fluid with the Dexron II® designation only.
  5. Fluid should be added through the neck of the dipstick hole using a funnel. With the engine still idling, add fluid in small quantities at a time and recheck the level after each addition. Stop when the fluid level is close to the upper level mark. Avoid overfilling, do not fill above the upper mark.
  6. Replace the dipstick and test drive the vehicle to insure proper Transaxle operation.

    WARNING
    The capacity difference between the upper and lower marks is approximately 12 oz. If the drained fluid is discolored, thick, or smells burnt, serious transaxle problems due to overheating should be suspected. Your vehicle's transaxle should be inspected by a transmission specialist to determine the cause.

Previous Next