CAUTION
When draining the coolant, keep in mind that cats and dogs are attracted to
ethylene glycol antifreeze, and could drink any that is left in an uncovered
container or in puddles on the ground. This will prove fatal in sufficient quantity.
Always drain the coolant into a sealable container. Coolant should be reused
unless it is contaminated or several years old.
- Disconnect the negative battery cable.
| Fig. 1: Exploded view of a radiator and cooling fan
assembly — 1.6L and 1.8L engines shown others similar
|
- Drain the cooling system into a suitable container.
- Disconnect the upper and lower hoses from the radiator.
- Disconnect the cooling fan lead wire.
- On automatic transaxle models, disconnect and cap the transaxle oil cooler
lines.
- Disconnect the thermoswitch electrical connector.
- Remove the radiator mounting bracket screws.
- Remove the radiator and the oil cooler hose, if equipped, from the vehicle
as a unit.
- Inspect the rubber cushion on the base of the radiator and replace if worn
or cracked.
To install:
- Install the radiator in the vehicle, making sure the rubber cushions align
correctly with the indents in the lower support of the engine compartment.
- Install the radiator mounting brackets and screws. Tighten the screws:
I>1.6L–1.8L engine — 24–48 inch lbs. (3–5
Nm)
- 2.7L engine — 9–17 ft. lbs. (12–22 Nm)
- The remainder of installation is the reverse of removal.
- Refill the cooling system.
- Start the vehicle and check for coolant leaks.
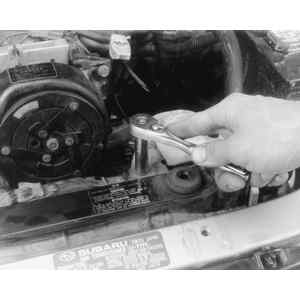
| Fig. 2: Loosen and remove the drive belt cover — 2.2L
model shown
|
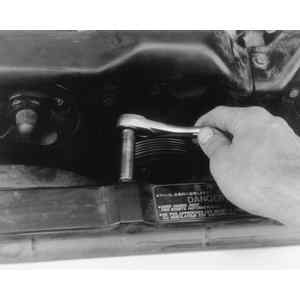
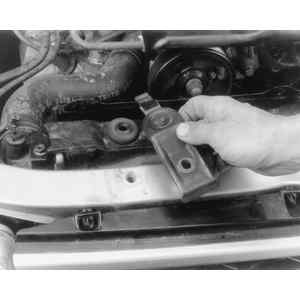
| Fig. 3: Remove the radiator retainer bracket bolts .
. .
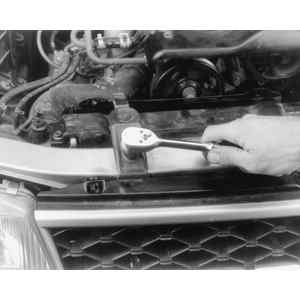
|
| Fig. 4: . . . and brackets from the radiator
|
| Fig. 5: Loosen the radiator hose clamps, and disconnect
the hoses from the radiator assembly
|
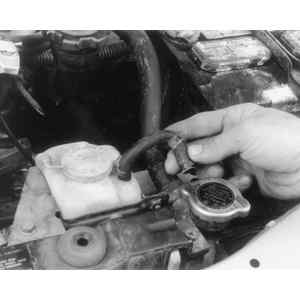
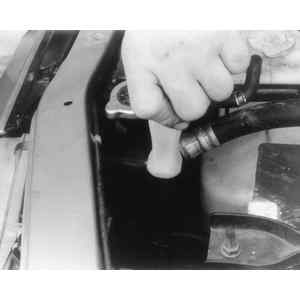
| Fig. 6: Disconnect the reservoir hose connection from
the radiator
|
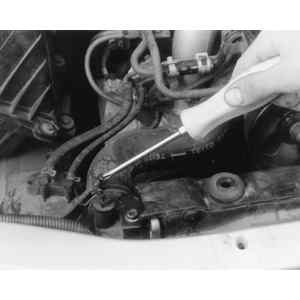
| Fig. 7: Unfasten the reservoir bracket's upper retainer
bolt . . .
|
| Fig. 8: . . . and the lower retainer screw . . .
|
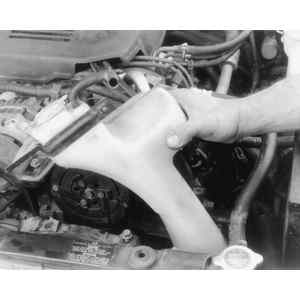
| Fig. 9: . . . then lift the reservoir assembly out of
the engine compartment
|
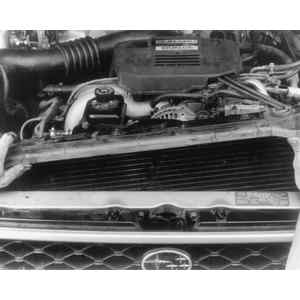
| Fig. 10: With all the installation hardware removed,
carefully lift out the radiator
|
- Disconnect and remove the battery.
- Drain the coolant from the radiator into a suitable container.
- Disconnect the upper and lower hoses from the radiator.
- Remove the drive belt cover.
- Remove the reservoir tank and overflow hose.
- Disconnect the fan motor electrical connectors.
- Remove the upper radiator brackets.
- Lift the radiator slightly and slide it to the left.
- If equipped with an automatic transaxle, disconnect the cooling lines from
the radiator.
- Lift the radiator from the engine compartment.
- Installation is the reverse of removal. Secure the radiator brackets bolts
to 9–17 ft. lbs. (12–22 Nm).
- Fill and bleed the cooling system.
- Install the battery.
- Disconnect the battery cables, negative first and then the positive.
- Remove the battery from the engine compartment.
- Drain the cooling system into a suitable container.
- Disconnect the outlet hose from the water pump.
- Disconnect the transaxle cooler hose from the pipe, if equipped.
- Disconnect the cooling fan electrical connectors.
- Disconnect the coolant overflow hose from the radiator.
- Remove the drive belt cover.
- Disconnect the inlet hose from the thermostat housing.
- Remove the upper radiator mounting brackets.
- Remove the radiator from the vehicle.
- Installation is the reverse of removal. Tighten all components to specifications.
- Refill the cooling system.
- Install the battery and connect the battery cables, positive cable followed
by the negative cable.
- Start the engine and check for leaks.