CAUTION
Never open, service or drain the radiator or cooling system when hot; serious
burns can occur from the steam and hot coolant. Also, when draining engine coolant,
keep in mind that cats and dogs are attracted to ethylene glycol antifreeze
and could drink any that is left in an uncovered container or in puddles on
the ground. This will prove fatal in sufficient quantities. Always drain coolant
into a sealable container. Coolant should be reused unless it is contaminated
or is several years old.
NOTE: If the housing is difficult to remove, tap it lightly with a plastic-faced hammer.
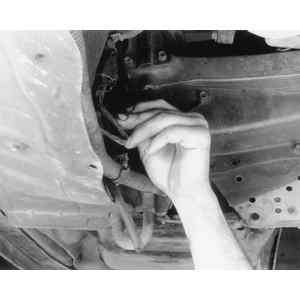
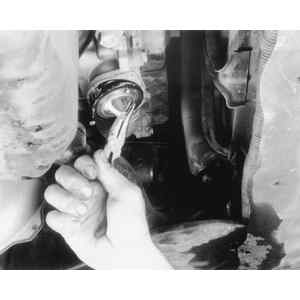
| Fig. 1: Loosen the radiator draincock . . .
|
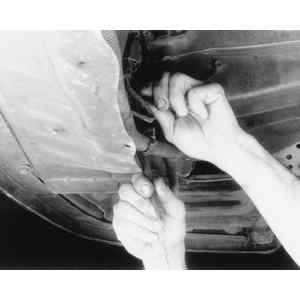
| Fig. 2: . . . and drain the coolant into a suitable
container
|
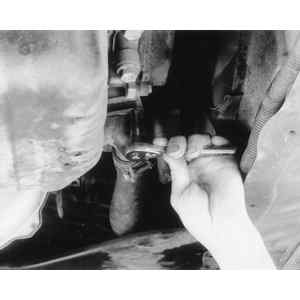
| Fig. 3: Loosen and remove the thermostat housing
retainer bolts
|
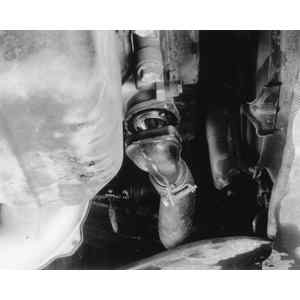
| Fig. 4: Detach the housing to reveal the thermostat
and gasket
|
| Fig. 5: Remove the thermostat and gasket assembly
|
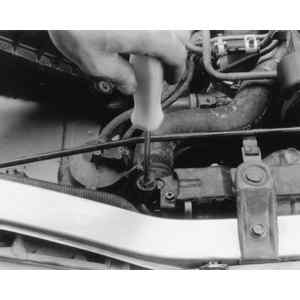
| Fig. 6: Loosen the bleeder screw on top of the radiator
to bleed air from the cooling system
|