WGV-VSV On-Vehicle Inspection
Precautions: General safety (00)
1)Remove engine cover. 
2)Remove air cleaner suction pipe.
3)Prepare to operate WGV-VSV as follows.
•Using SUZUKI scan tool:
a.Connect SUZUKI scan tool to DLC (1) with ignition “OFF”.
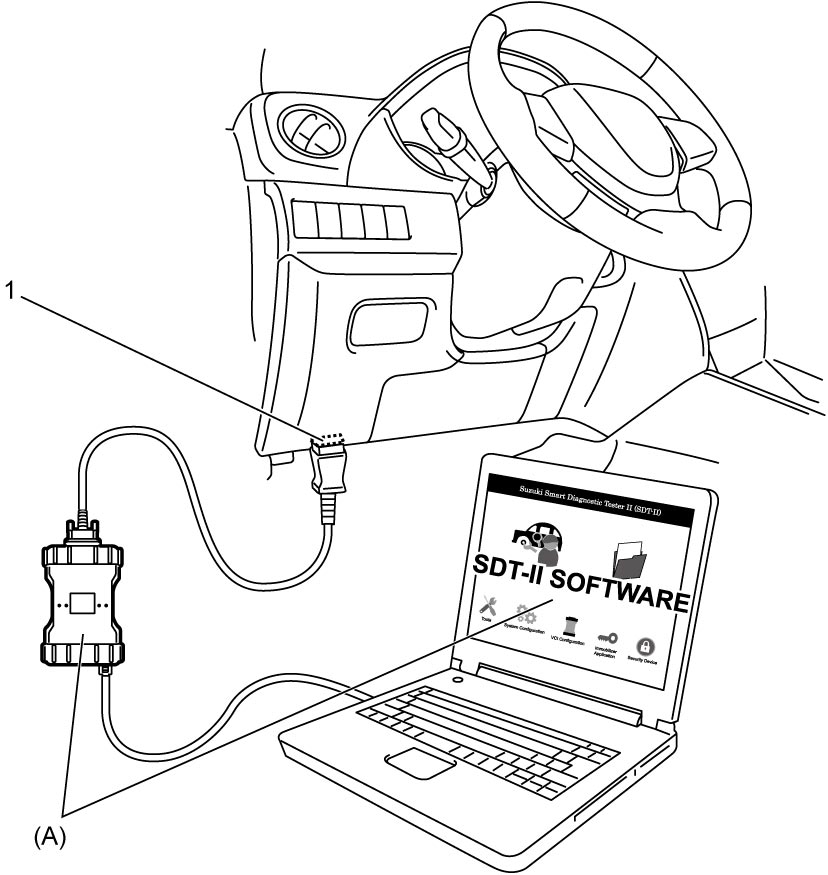
 b.With ignition “ON”, clear DTC and select “Active Test” mode on SUZUKI scan tool.
•Without using SUZUKI scan tool:NOTE:
WGV-VSV is operated using scan tool as follows.
•WGV-VSV is OFF: 0%
•WGV-VSV is ON: 100%
•WGV-VSV is ON: 100%
a.Connect service wire (1) between WGV-VSV (2) and WGV-VSV connector with ignition “OFF”.
b.Set ignition “ON”.
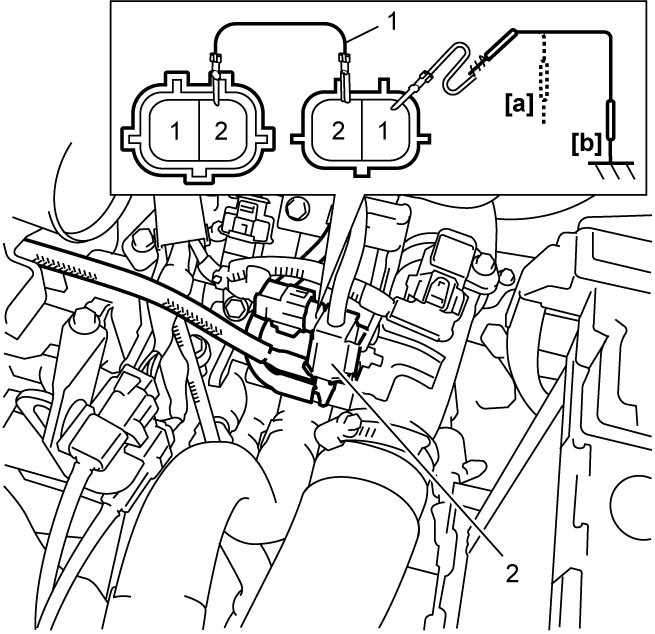
b.Set ignition “ON”.
NOTE:
WGV-VSV is operated using service wire as follows.
•WGV-VSV is OFF:
[a]: Unground “GRY” harness side terminal of WGV-VSV.
•WGV-VSV is ON:
[b]: Ground “GRY” harness side terminal of WGV-VSV.
[a]: Unground “GRY” harness side terminal of WGV-VSV.
•WGV-VSV is ON:
[b]: Ground “GRY” harness side terminal of WGV-VSV.
4)Set ignition “OFF”.
5)Disconnect vacuum hoses (1) from WGV-VSV.
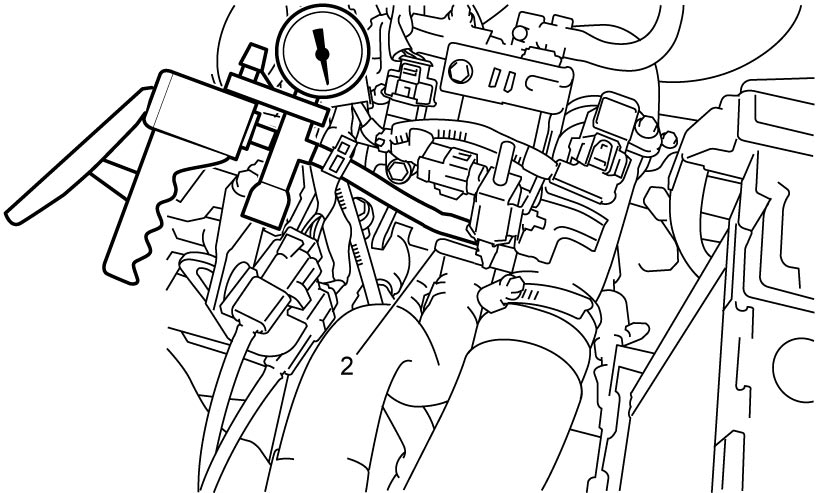
6)Disconnect vacuum hose (2) from waste gate valve.
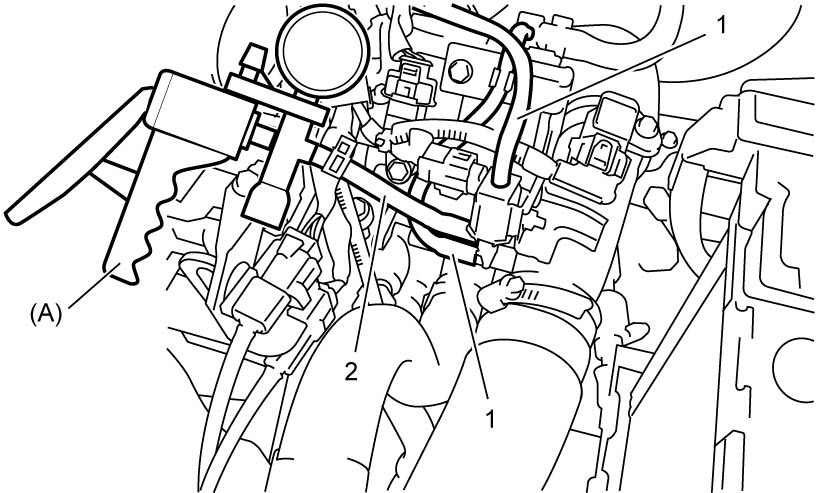
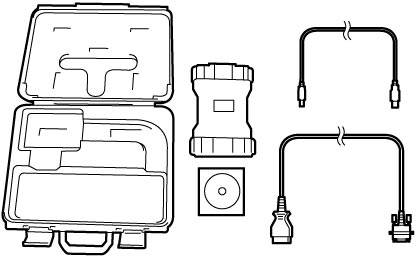
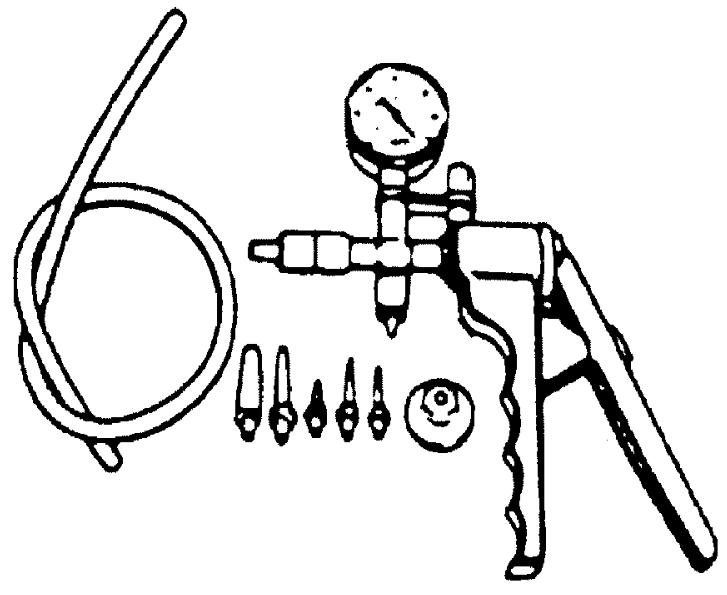
8)Set ignition “ON”.
9)Check WGV-VSV operation as follows.
a)Close port (1) with your finger or a rubber plug and check that vacuum of –60 kPa (–0.6 kgf/cm2, –8.7 psi, –0.6 bar) can be applied when WGV-VSV is turned off.
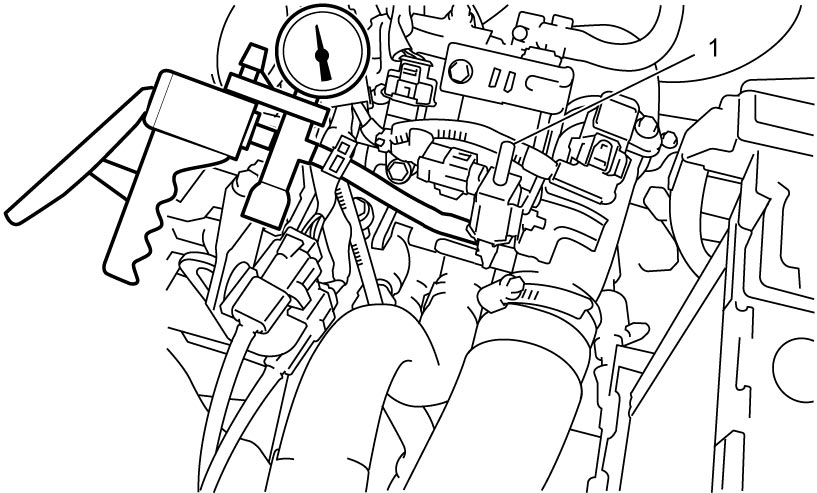
b)Open port (1) and check that the vacuum decreases when WGV-VSV is turned off.
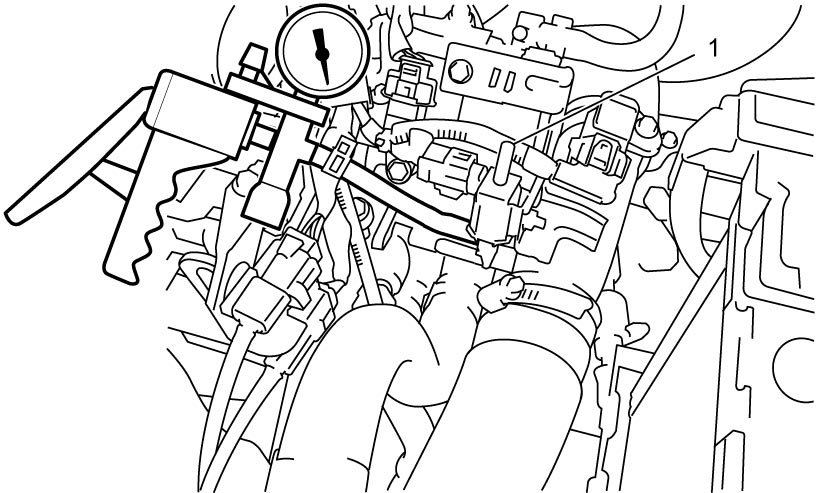
c)Close port (2) with your finger or a rubber plug and check that vacuum of –60 kPa (–0.6 kgf/cm2, –8.7 psi, –0.6 bar) can be applied when WGV-VSV is turned on.
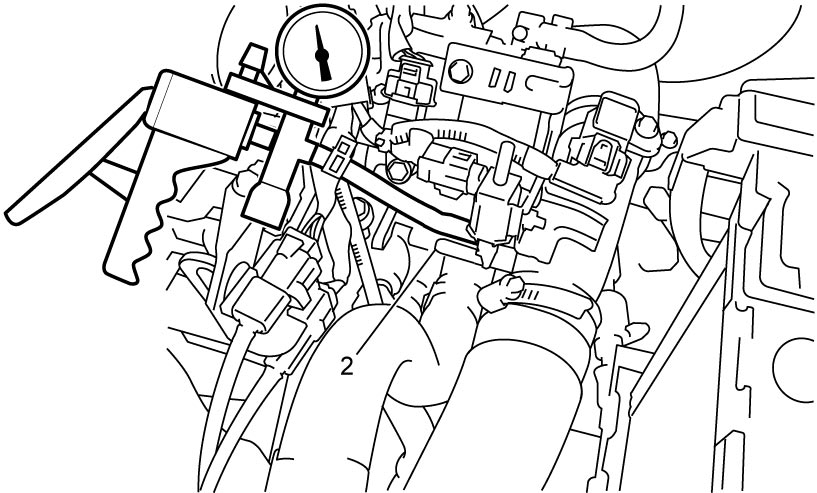
d)Open port (2) and check that the vacuum decreases when WGV-VSV is turned on.
10)If faulty condition is found, check the following items.
•Wire harness and connections
•WGV-VSV
•Vacuum hose
•WGV-VSV
•Vacuum hose