Engine Oil and Filter Change
Precautions: General safety (00)
 CAUTION:
There is an increased risk of severe personal injury or health problems if the procedure described below is performed without taking proper precautions.
•Engine oil has an adverse health effect. Read and understand the instructions in General Precautions and follow all the instructions.
•Check that the engine is not running when performing Step 1) – 7) of the procedure.
•Adequately ventilate the working area when starting the engine in Step 8).
•Check that the engine is not running when performing Step 1) – 7) of the procedure.
•Adequately ventilate the working area when starting the engine in Step 8).
NOTE:
For type distinction of OBD system, refer to “Discrimination for OBD System” under OBD System Description:M16A.
Before draining engine oil, check engine for oil leakage.
If any evidence of leakage is found, correct defective part before proceeding to the following procedure.
1)Remove oil filler cap and dipstick from engine.
2)Hoist vehicle and remove engine undercover.
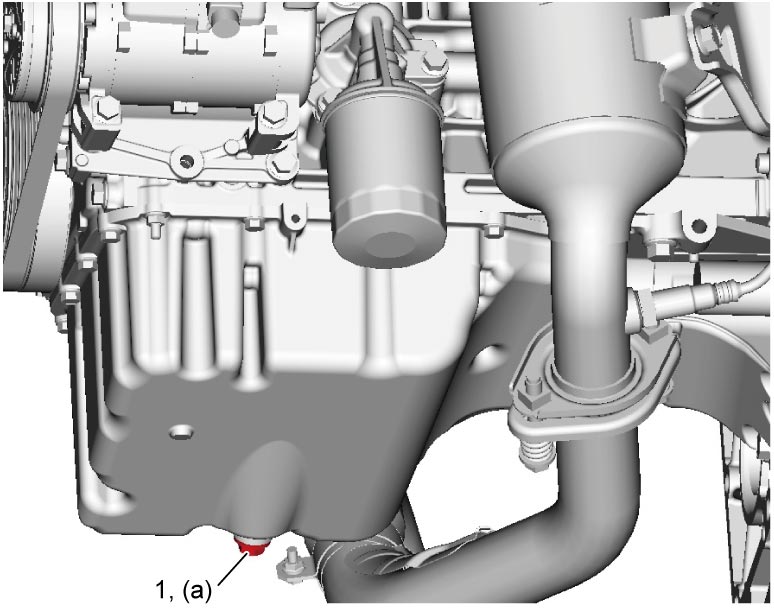
3)Drain engine oil by removing drain plug (1).
4)Wipe drain plug clean.
5)Replace gasket with new one.
6)Reinstall drain plug and tighten it to specified torque.

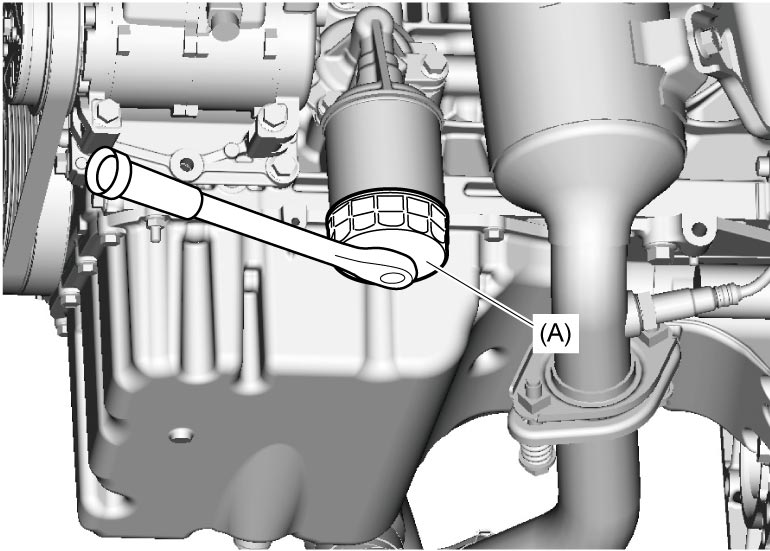
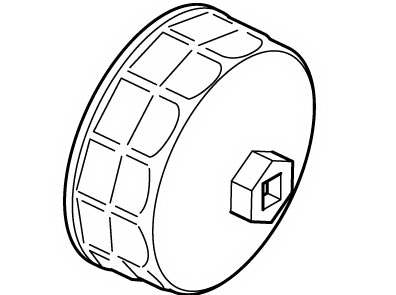
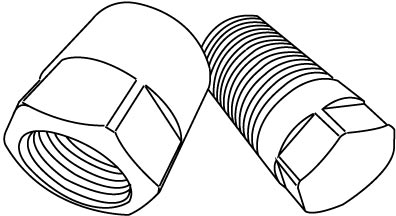
8)Remove oil filter stand (1) from oil filter adapter case using special tool and wrenches, if necessary.
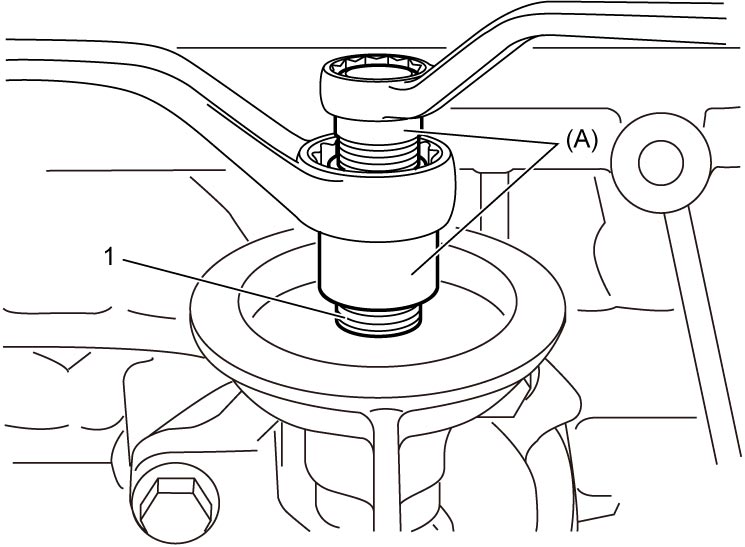
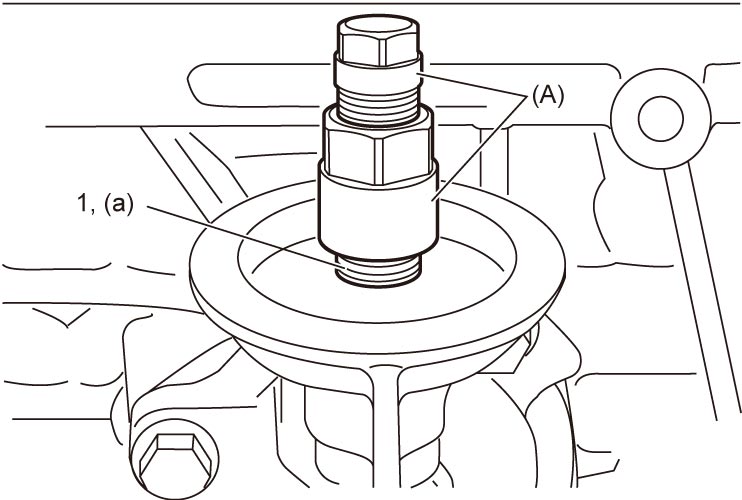
9)Install oil filter stand (1) to oil filter adapter case, if removed, and tighten it with special tool to specified torque.
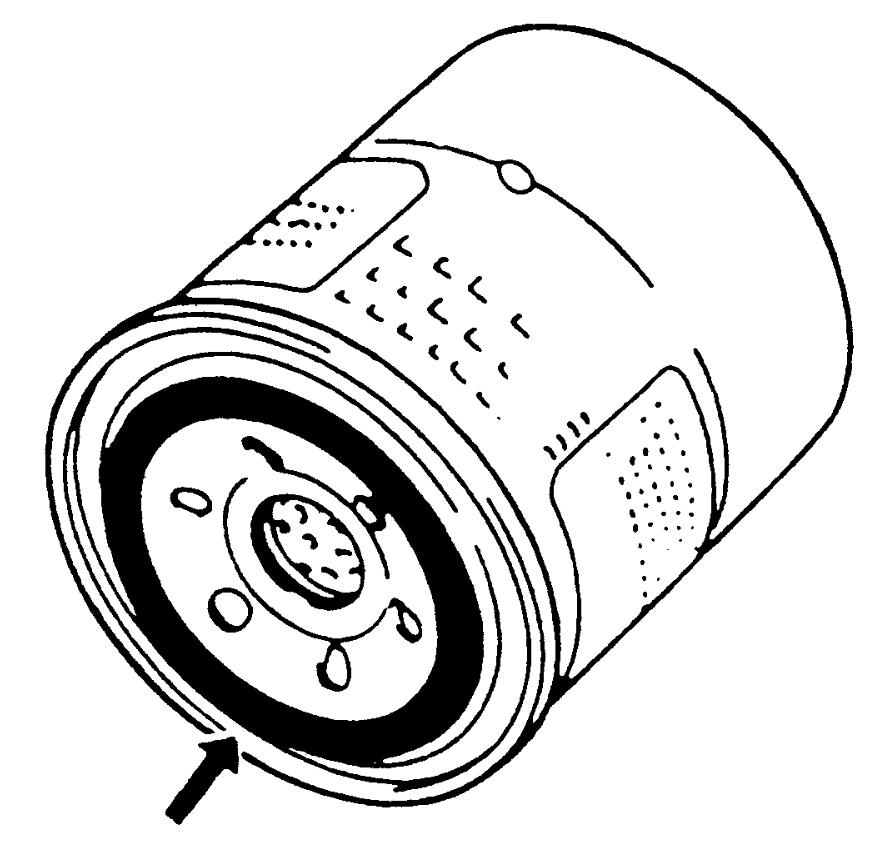
10)Wipe clean oil filter mounting surface on oil filter adapter case.
11)Apply engine oil to new oil filter gasket.
12)Install the oil filter according to the following procedure.
Using a torque wrench
 Not using a torque wrench
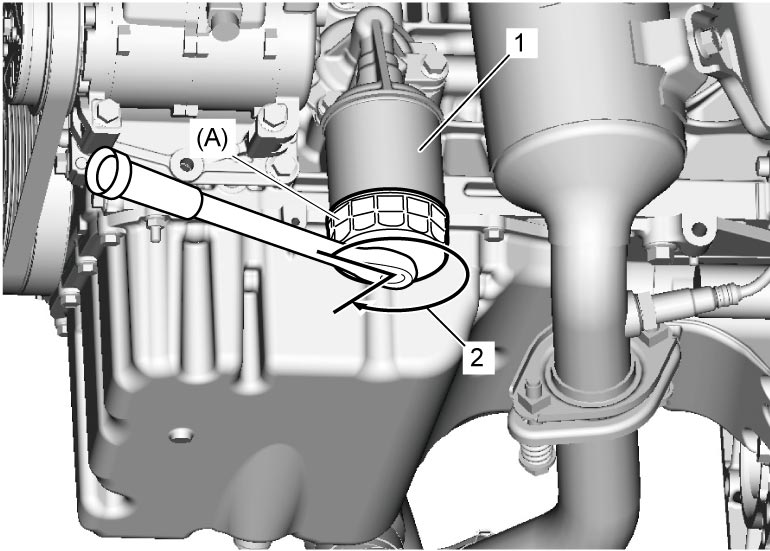
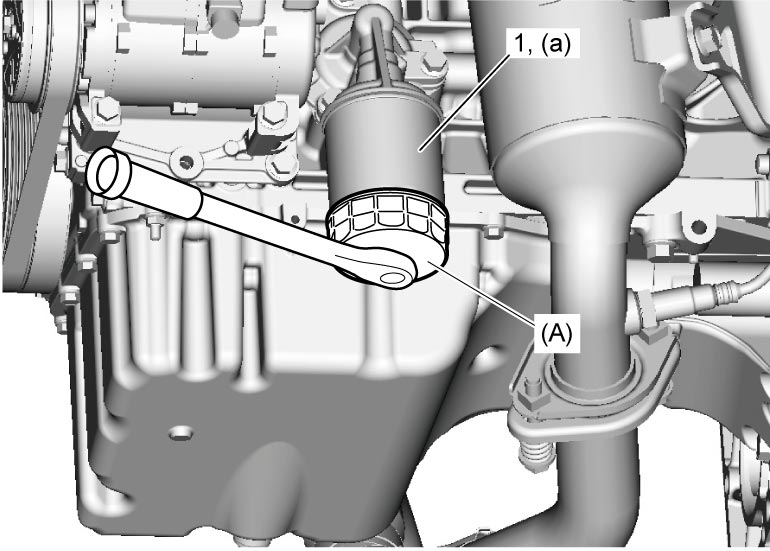
Using a torque wrench
a)Fit the oil filter (1) with the oil filter adapter case, and then tighten it to specified torque using the special tool.
a)Tighten the oil filter (1) by hand until its gasket touches the oil filter adapter case.
b)Using the special tool, rotate the oil filter three-quarters of one turn (2) to tighten it.
13)Add oil until oil level is brought to FULL level mark (hole) on oil level gauge (oil pan and oil filter capacity). Oil filler port is at top of cylinder head cover. It is recommended to use engine oil of SG, SH, SJ, SL or SM grade. Select appropriate oil viscosity according to engine oil viscosity chart [A] below.
SAE 0W-20 oil is the best choice for good fuel economy and good starting in cold weather.
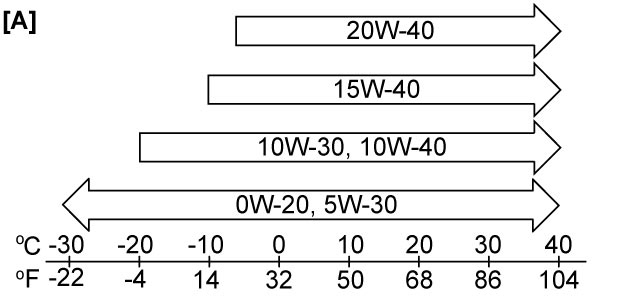
SAE 0W-20 oil is the best choice for good fuel economy and good starting in cold weather.
NOTE:
•Engine oil capacity is as specified below.
However, note that actual amount of oil required during oil change may somewhat differ from that indicated below depending on such factors as temperature, viscosity, etc.
•Engine oil specification and viscosity chart [A] indicated in this manual are typical ones.
For the specific information on the engine oil and proper engine oil viscosity, refer to “Engine Oil and Filter” section of the Owner's Manual.
However, note that actual amount of oil required during oil change may somewhat differ from that indicated below depending on such factors as temperature, viscosity, etc.
•Engine oil specification and viscosity chart [A] indicated in this manual are typical ones.
For the specific information on the engine oil and proper engine oil viscosity, refer to “Engine Oil and Filter” section of the Owner's Manual.
Engine oil specification
Oil pan capacity:
About 3.7 liters (7.82 / 6.51 US / Imp pt.)
Oil filter capacity:
About 0.2 liter (0.42 / 0.35 US / Imp pt.)
Others:
About 0.4 liter (0.85 / 0.70 US / Imp pt.)
Total:
About 4.3 liters (9.09 / 7.57 US / Imp pt.)
14)Install oil filler cap and dipstick to engine.
15)Start engine and run it for 5 minutes. Stop it and wait for 5 minutes before checking oil level. Add oil, if necessary, to bring oil level to FULL level mark (hole) (1) on oil level gauge.
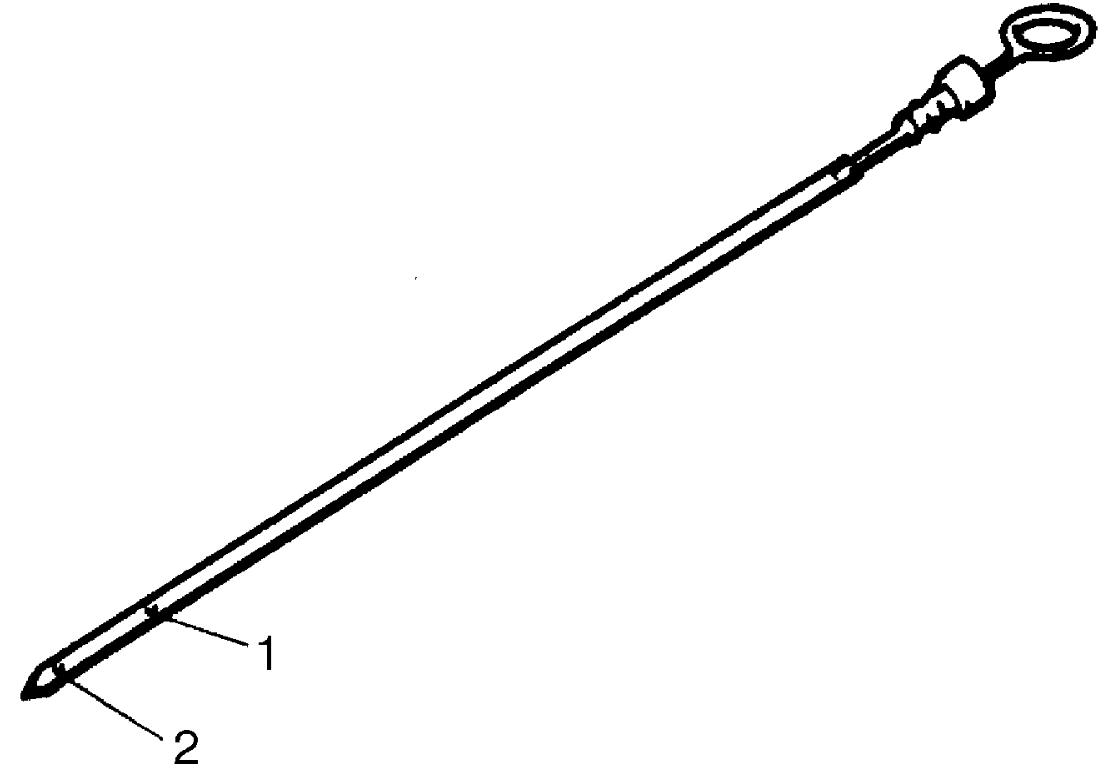
| 2. | LOW level mark (hole) |
16)Check oil filter and drain plug for oil leakage.
17)Install engine undercover.
18)For market code P02, P22 and P54, after replacing engine oil and filter, reset cumulative distance and period of oil change request light referring to Combination Meter Description.