Generator Disassembly and Reassembly
Precautions: Precautions for Handling Battery · Precautions for Replacing Battery · General safety (00)
Disassembly
1)Remove pulley cover (1).
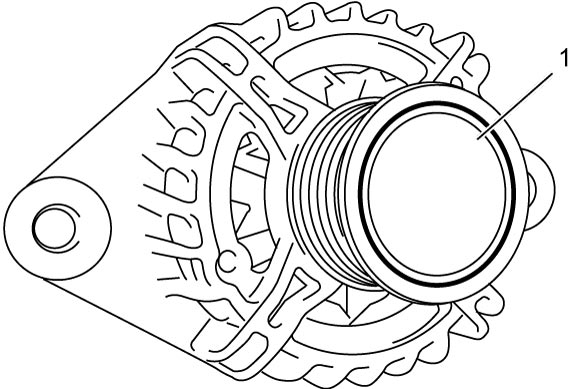

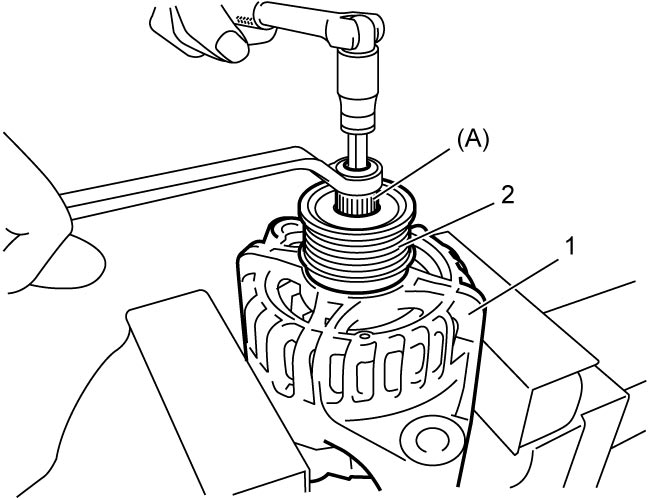
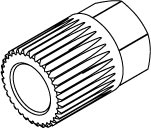
2)Remove pulley using the following procedure:
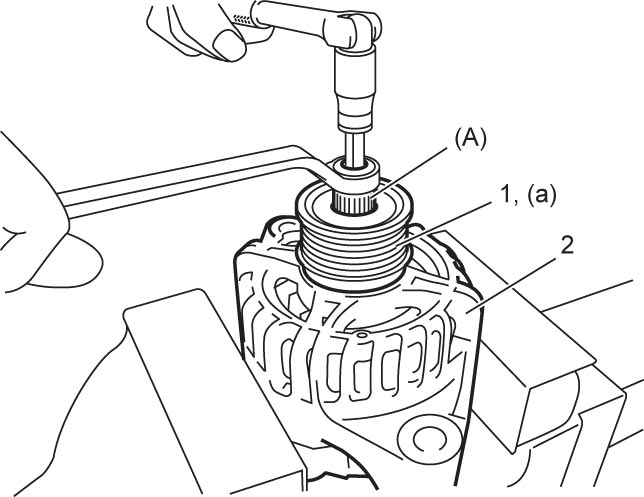
a)Hold generator (1), using vise with aluminum plates.
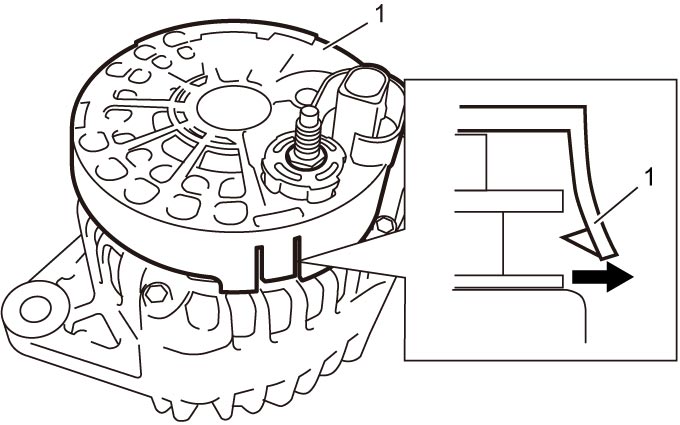
3)Remove rear end cover (1).
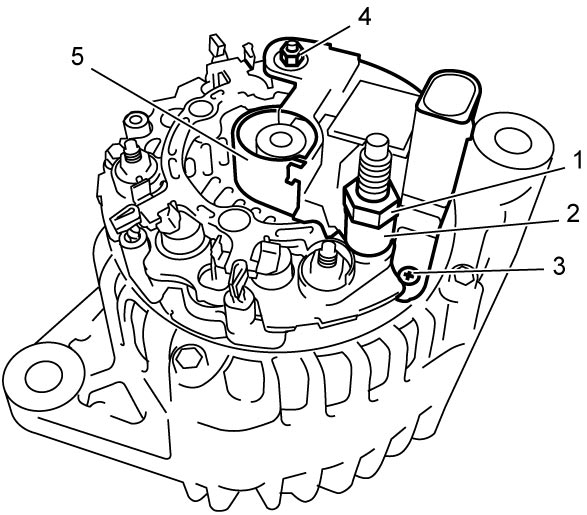
4)Remove “B” terminal inner nut (1) and spacer (2).
5)Remove IC regulator assembly (5) by removing screws (3) and nut (4).
Reassembly
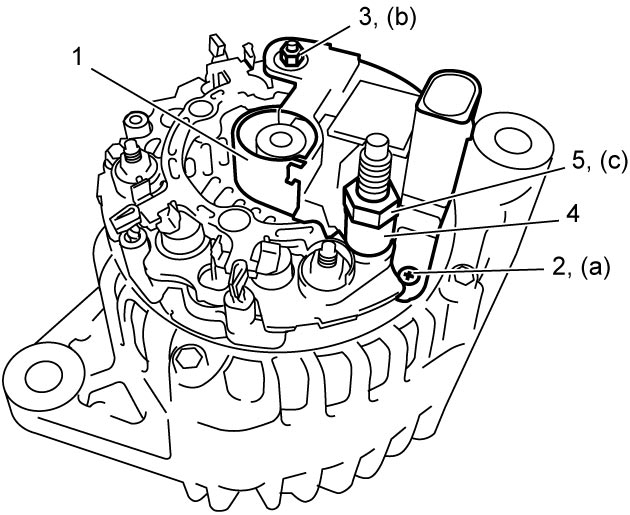
1)Place IC regulator assembly (1) on rear end frame.
2)Tighten IC regulator screws (2) and nut (3) to specified torque.
3)Install spacer (4), and then tighten “B” terminal inner nut (5) to specified torque.
4)Install rear end cover (1).
5)Install new pulley (1) using the following procedure:
a)Hold generator (2), using vise with aluminum plates.
b)Install new pulley to generator.
c)Using special tool, tighten pulley to specified torque.
M = T x L1 ÷ (L1 + L2)
M: Torque wrench reading value when using attachment
T: Specified torque
L1: Torque wrench length
L2: Dimension of attachment
NOTICE:
If the pulley is tightened using the attachment until the torque wrench reads the specified torque below, the pulley may be damaged.
Follow the steps below to tighten the pulley to specified torque using the attachment.
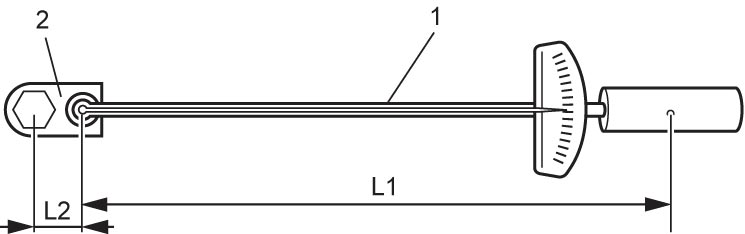
i)Measure length (L1) of torque wrench (1).
ii)Measure length (L2) of attachment (2).
iii)Calculate reading value (M) of the torque wrench using the following formula.
Formula for torque wrench reading value when using attachmentM = T x L1 ÷ (L1 + L2)
M: Torque wrench reading value when using attachment
T: Specified torque
L1: Torque wrench length
L2: Dimension of attachment
d)Tighten pulley (1) until torque wrench reads the value obtained in the above Step c).
6)Check that rotor turns smoothly.
7)Install new pulley cover (1).