Clutch Cover and Clutch Disc Removal and Installation
Precautions: General safety (00)
NOTICE:
The clutch cover bolt is pre-coated with adhesive.
If the bolt is reused, it may work loose.
Replace the clutch cover bolt with a new one.
Removal
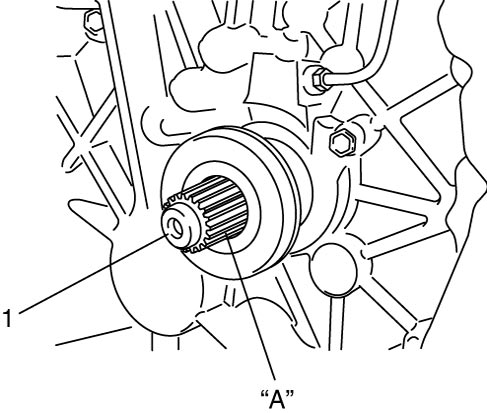
1)Dismount manual transaxle. 
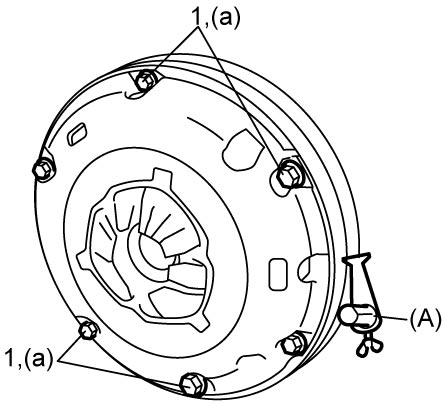
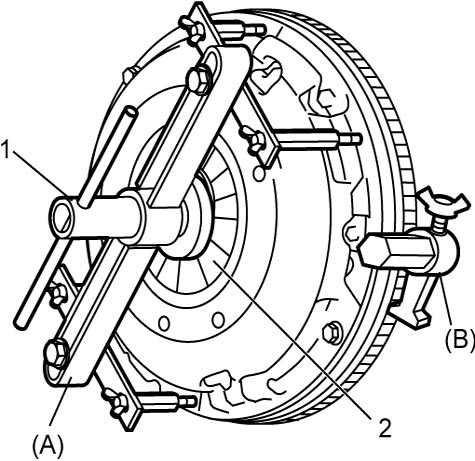
2)Install special tool to clutch cover (1).
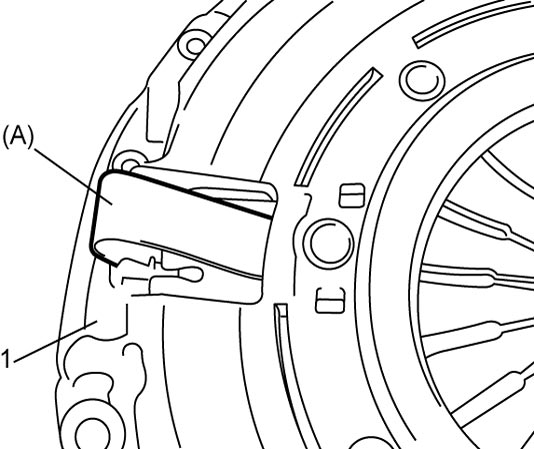

NOTE:
Keep special tool installed until clutch cover is reinstalled.
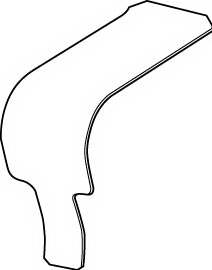
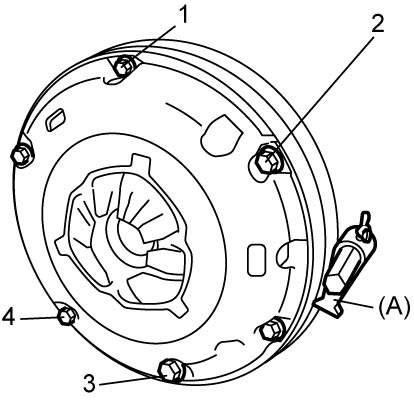
3)Hold flywheel with special tool and remove four clutch cover bolts (1) – (4) shown in figure.
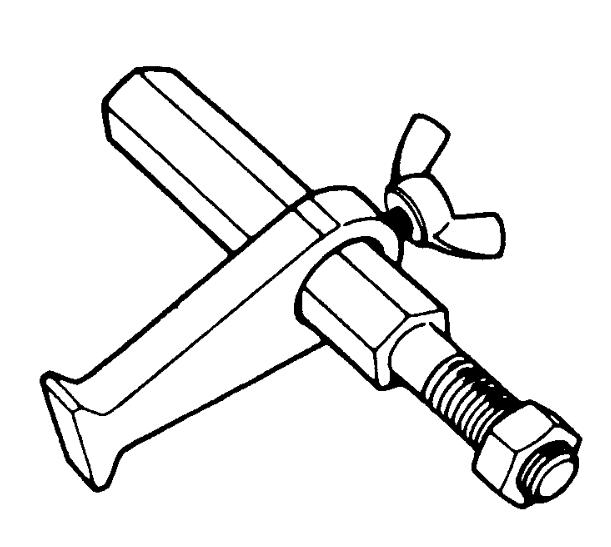
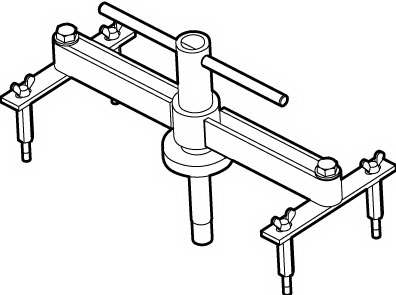
4)Install special tool and tighten its push rod (1) and push in diaphragm (2) until clutch disc becomes free.
NOTE:
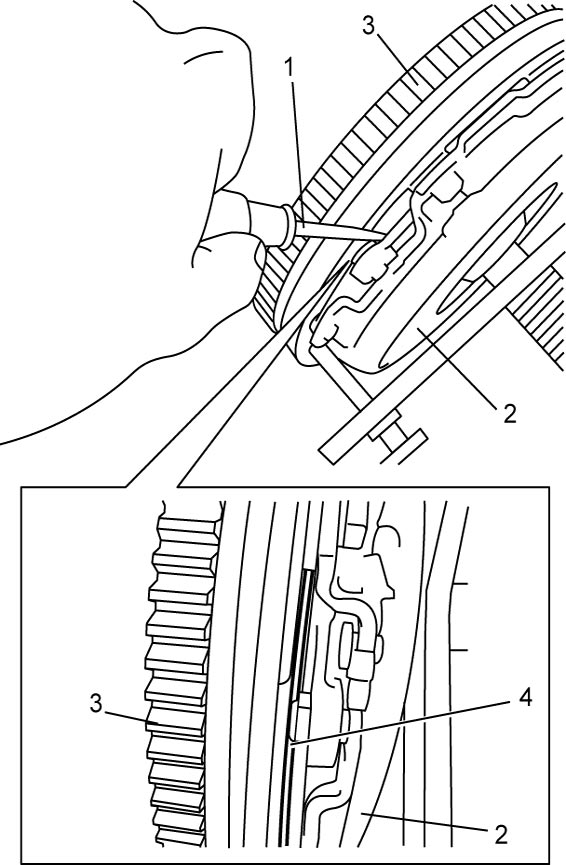
Check that clutch disc is in free condition, inserting a small flat-bladed screwdriver (1) between clutch cover (2) and flywheel (3) and push clutch disc (4).
5)Remove two remaining clutch cover mounting bolts.
6)Loosen push rod and remove special tool, clutch cover and clutch disc.
Installation
NOTE:
Before installation, check that flywheel surface and pressure plate surface have been cleaned and dried thoroughly.
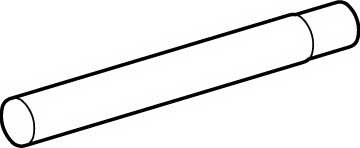
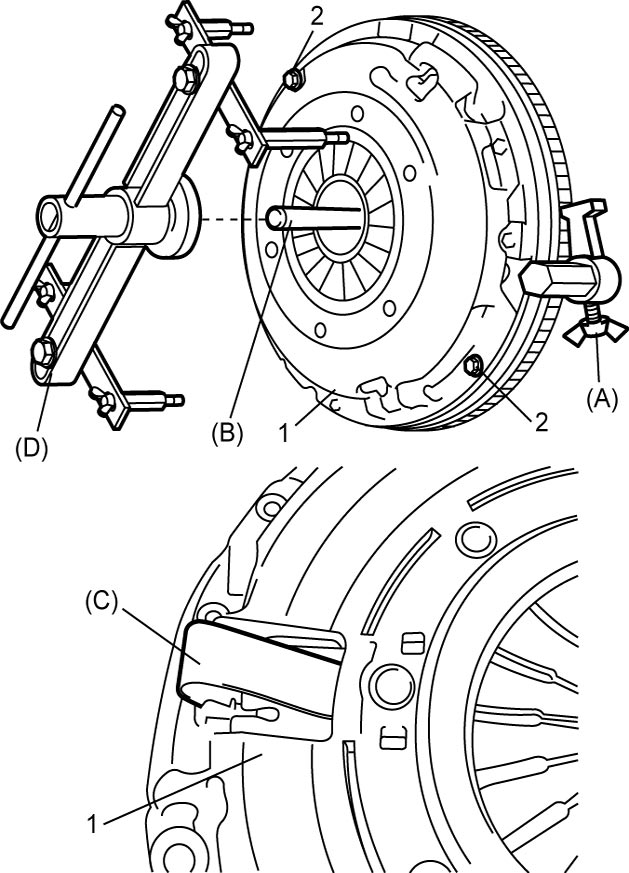
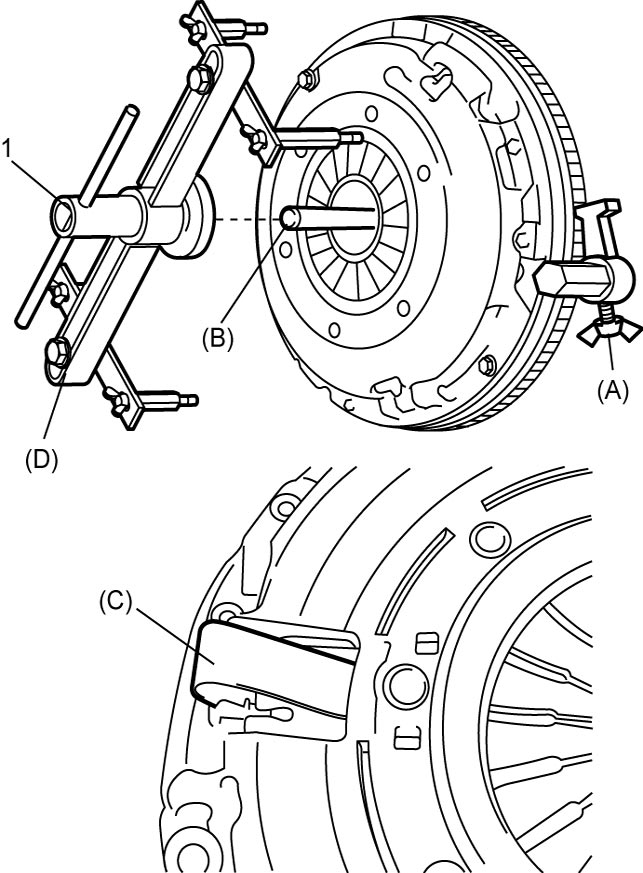
1)Aligning clutch disc with flywheel center using special tool (B), install clutch cover (1) and tighten two bolts (2) positioning on the opposite sides by hand.
2)Install special tools (A) and (D).
NOTE:
•When reinstalling clutch cover, check that special tool (C) is installed.
•When installing new clutch cover, special tool (C) is not necessary.
•When installing new clutch cover, special tool (C) is not necessary.
3)Tighten push rod (1) of special tool and diaphragm until flywheel mounting surface of clutch cover touches flywheel and tighten two clutch cover bolts (2) evenly and gradually to specified torque.
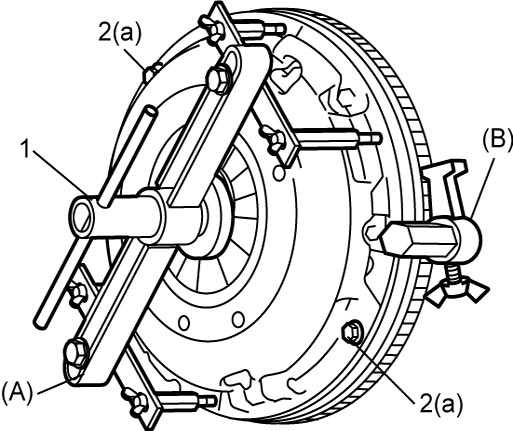
4)Loosen push rod (1) and remove special tools (B) and (D).
5)Tighten four remaining clutch cover bolts (1) evenly and gradually in diagonal order to specified torque.