Removal / installation · Vehicles built Oct 2006 – May 2009
Versions by build date: Oct 2006 – May 2009from Jun 2009
1.
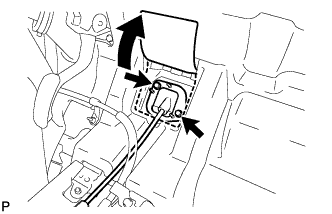
INSTALL NO. 2 SHIFT CABLE GROMMET RETAINER
Pass the transmission control cable assembly from the cabin to the engine compartment.
Install the No. 2 shift cable grommet retainer with the 2 bolts.
Torque:
5.0 N*m{
51 kgf*cm
, 44 in.*lbf
}
2.
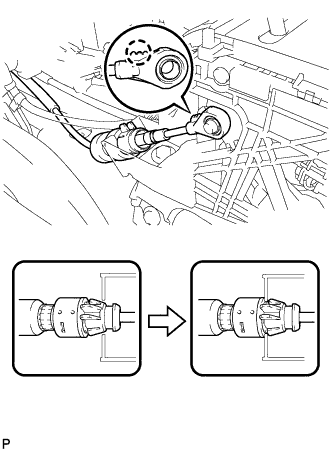
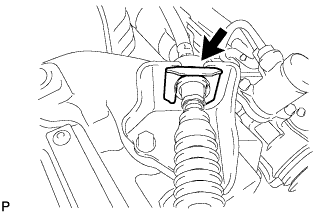
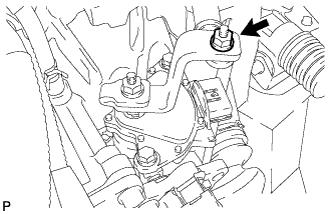
INSTALL TRANSMISSION CONTROL CABLE ASSEMBLY
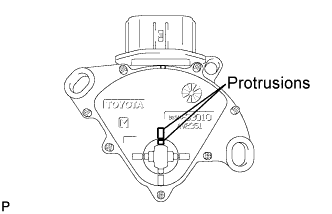
Move the shift lever to the N position.
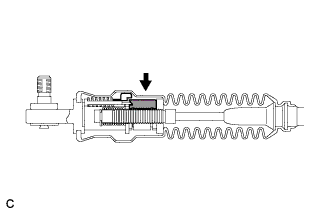
Install the transmission control cable assembly as shown in the illustration.
HINT:
Install the transmission control cable assembly with the uneven surface facing up.
Securely engage the claws of the transmission control cable assembly.
Connect the transmission control cable assembly to the bracket with a new clip.
Install the transmission control cable assembly to the control shaft lever with the nut.
Torque:
13 N*m{
133 kgf*cm
, 10 ft.*lbf
}
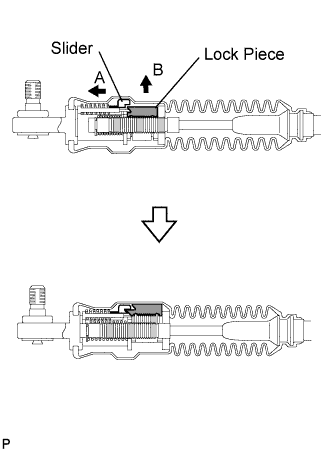
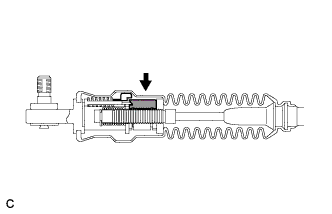
Push in the lock piece of the transmission control cable assembly.
NOTICE:
Firmly push in the lock piece until the slider lock is engaged.
HINT:
After pushing in the lock piece, make sure that the boot is not deformed.
3.
INSTALL CENTER AIRBAG SENSOR ASSEMBLY (for LHD)
Check that the ignition switch is off.
Check that the battery negative (-) cable is disconnected.
CAUTION:
Wait for 90 seconds after disconnecting the cable to prevent airbag deployment.
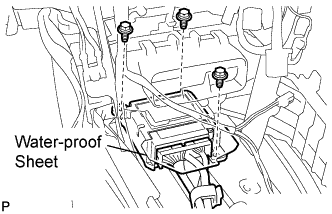
Install the center airbag sensor assembly with the 3 bolts.
Torque:
17.5 N*m{
179 kgf*cm
, 13 ft.*lbf
}
NOTICE:
If the center airbag sensor assembly has been dropped, or there are any cracks, dents or other defects in the case, bracket or connector, replace it with a new one.
When installing the center airbag sensor assembly, be careful that the SRS wiring does not interfere with other parts and that it is not pinched between other parts.
Check that there is no looseness in the installation parts of the center airbag sensor assembly.
Connect the holder (with connectors).
Check that the water-proof sheet is properly set.
4.
INSTALL CENTER AIRBAG SENSOR ASSEMBLY (for RHD)
Check that the ignition switch is off.
Check that the battery negative (-) cable is disconnected.
CAUTION:
Wait for 90 seconds after disconnecting the cable to prevent airbag deployment.
Install the center airbag sensor assembly with the 3 bolts.
Torque:
17.5 N*m{
179 kgf*cm
, 13 ft.*lbf
}
NOTICE:
If the center airbag sensor assembly has been dropped, or there are any cracks, dents or other defects in the case, bracket or connector, replace it with a new one.
When installing the center airbag sensor assembly, be careful that the SRS wiring does not interfere with other parts and that it is not pinched between other parts.
Check that there is no looseness in the installation parts of the center airbag sensor assembly.
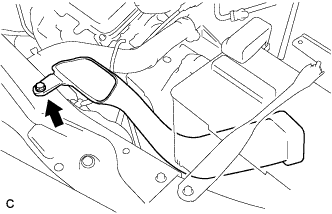
Install the No. 1 air cleaner inlet with the bolt.
Torque:
5.0 N*m{
51 kgf*cm
, 44 in.*lbf
}
8.
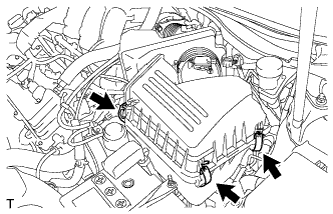
INSTALL AIR CLEANER CASE SUB-ASSEMBLY
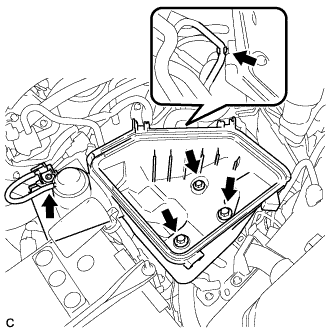
Install the air cleaner case with the 3 bolts.
Torque:
5.0 N*m{
51 kgf*cm
, 44 in.*lbf
}
Connect the vacuum hose and hose clamp.
9.
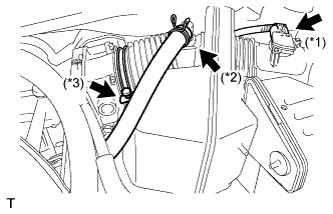
INSTALL AIR CLEANER CAP SUB-ASSEMBLY
Install the air cleaner cap sub-assembly, and connect the 3 bands.
Connect the mass air flow meter connector (*1).
Connect the No. 2 ventilation hose (*2).
Connect the hose band (*3).
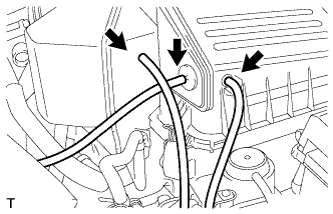
Connect the 3 vacuum hoses.
10.
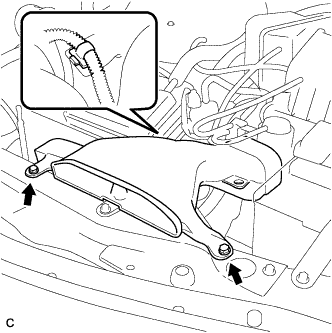
INSTALL AIR CLEANER INLET ASSEMBLY
Install the air cleaner inlet with the clamp and 2 bolts.
Torque:
5.0 N*m{
51 kgf*cm
, 44 in.*lbf
}
11.
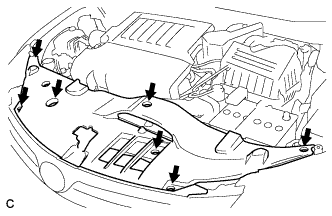
INSTALL COOL AIR INTAKE DUCT SEAL
Install the intake duct seal with the 7 clips.
12.
INSPECT SHIFT LEVER POSITION
When shifting from the P to the R position with the ignition switch on (IG) and the brake pedal depressed, make sure that the shift lever moves smoothly and moves correctly into position.
Start the engine and make sure that the vehicle moves forward when shifting from the N to the D position and moves rearward when shifting to the R position. If operation cannot be done as specified, inspect the park/neutral position switch assembly and check the shift lever assembly installation condition.
13.
ADJUST SHIFT LEVER POSITION
Remove the cool air intake duct seal (Click here).
Remove the air cleaner inlet assembly (Click here).
Remove the air cleaner cap sub-assembly (Click here).
Remove the air cleaner case sub-assembly (Click here).
Install the air cleaner case sub-assembly (Click here).
Install the air cleaner cap sub-assembly (Click here).
Install the air cleaner inlet assembly (Click here).
Install the cool air intake duct seal (Click here).
Start the engine and make sure that the vehicle moves forward when moving the lever from the N to the D position and moves rearward when moving it to the R position. If it becomes hard to move the shift lever, readjust the shift lever position.