Removal / installation · Vehicles built Oct 2006 – May 2009
Versions by build date: Oct 2006 – May 2009from Jun 2009
NOTICE:
Wear protective gloves. Sharp areas on the seat frame and adjuster may injure your hands.
1.
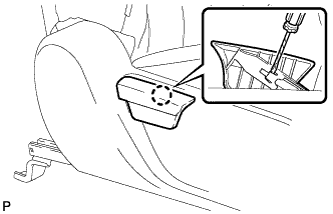
REMOVE RECLINING ADJUSTER RELEASE HANDLE
Lift the reclining adjuster release handle.
Using a screwdriver, disengage the claw and remove the reclining adjuster release handle.
HINT:
Tape the screwdriver tip before use.
2.
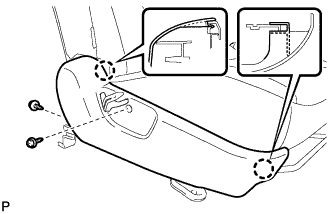
REMOVE FRONT SEAT CUSHION SHIELD
Disengage the 2 hooks.
Remove the 2 screws.
Disengage the 2 claws and remove the front seat cushion shield.
3.
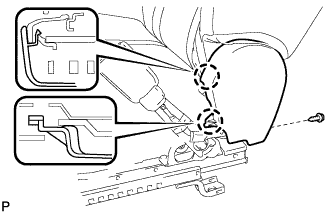
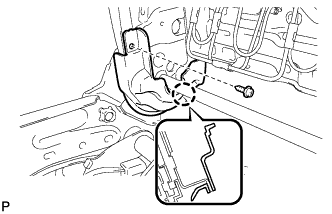
REMOVE FRONT INNER SEAT CUSHION SHIELD
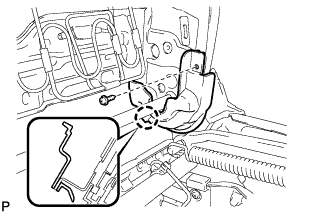
Remove the screw.
Disengage the 2 claws and remove the front inner seat cushion shield.
4.
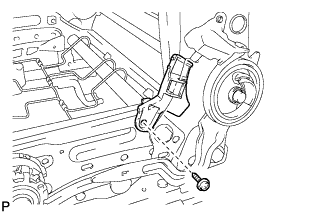
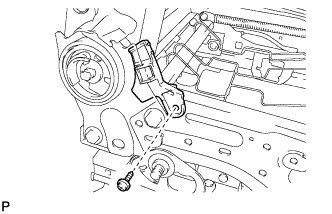
REMOVE FRONT SEAT INNER BELT ASSEMBLY
for LHD:
Disengage the 2 hooks.
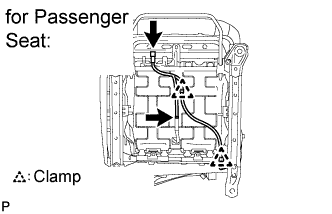
Disconnect the connectors and disengage 2 clamps.
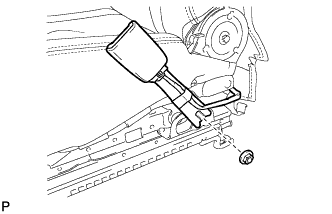
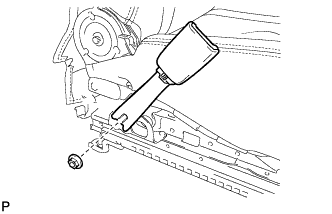
Remove the nut and front seat inner belt assembly.
for RHD:
Remove the nut and front seat inner belt assembly.
5.
REMOVE FRONT SEAT CUSHION ASSEMBLY
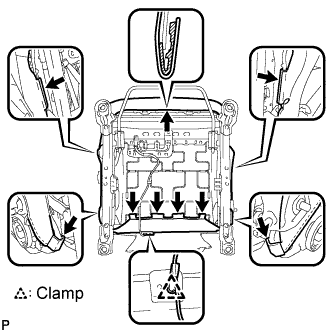
Disengage the clamp.
Disengage the hooks and remove the front seat cushion assembly.
6.
REMOVE FRONT SEPARATE TYPE SEAT CUSHION COVER
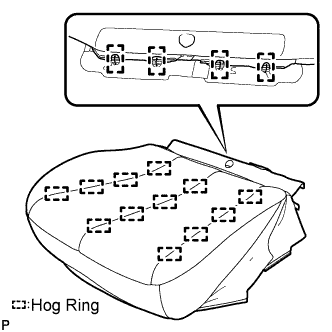
Remove the 16 hog rings and front separate type seat cushion cover.
7.
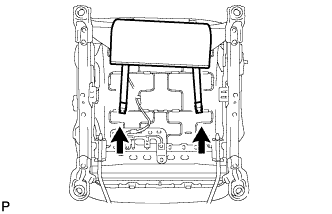
REMOVE FRONT SEATBACK BOARD SUB-ASSEMBLY
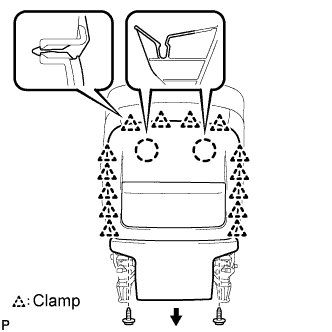
Remove the 2 screws.
Disconnect the 14 clamps and front separate type seatback cover.
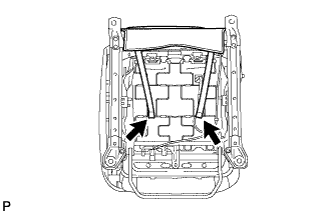
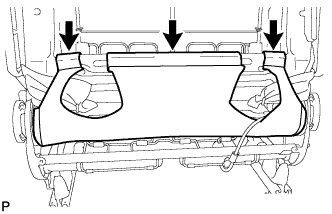
Pull the seatback board in the direction indicated by the arrow in the illustration to detach the 2 claws. Then, remove the front seatback board sub-assembly.
8.
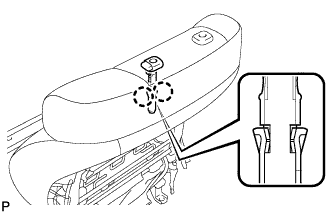
REMOVE FRONT SEAT HEADREST SUPPORT
Detach the 2 claws and remove the headrest support.
HINT:
Use the same procedure for the RH side and LH side.
9.
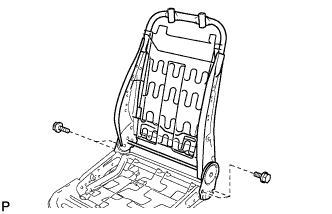
REMOVE FRONT SEATBACK ASSEMBLY
Disengage the 3 hooks.
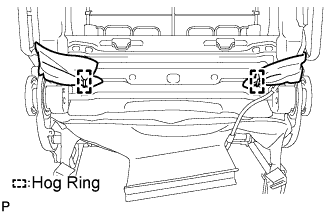
Remove the 2 hog rings.
Remove the front seatback assembly.
10.
REMOVE FRONT SEPARATE TYPE SEATBACK COVER
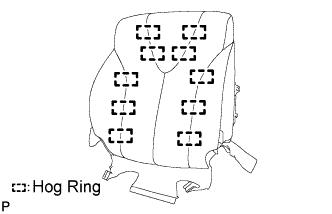
Remove the 10 hog rings and front separate type seatback cover.