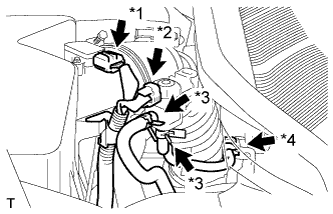
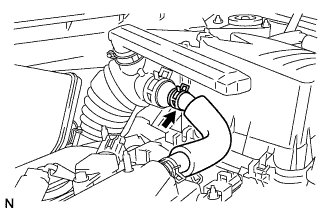
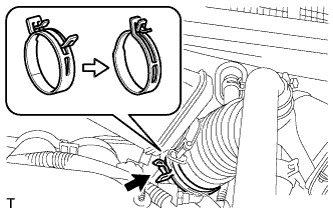
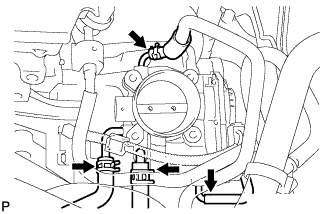
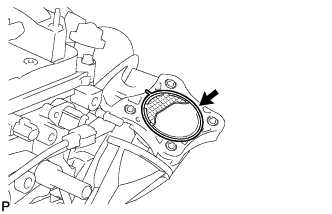
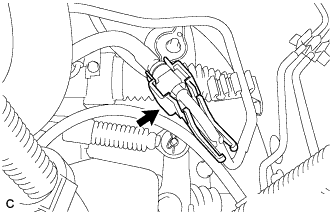
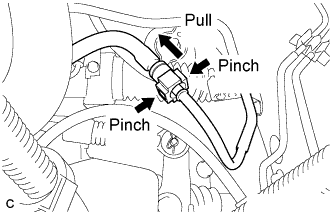
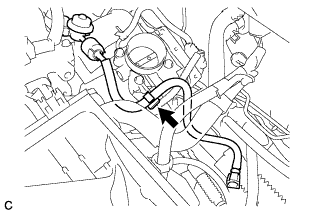
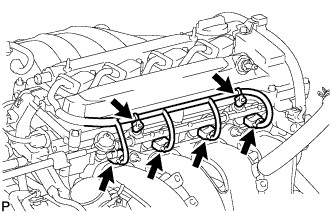
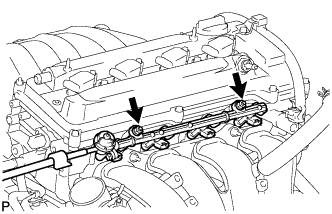
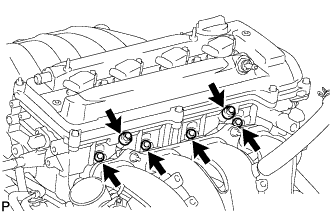
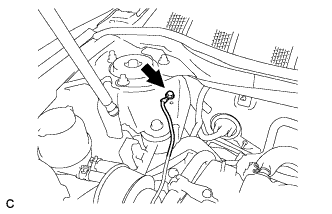
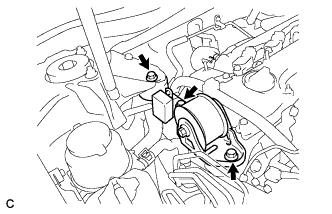
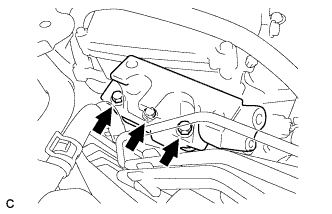
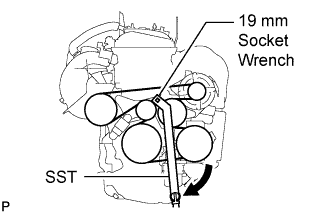
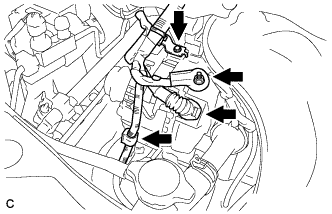
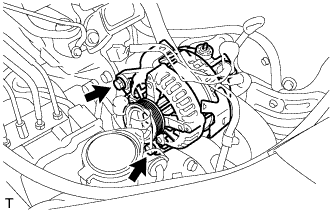
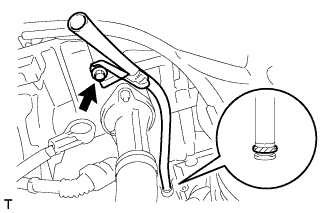
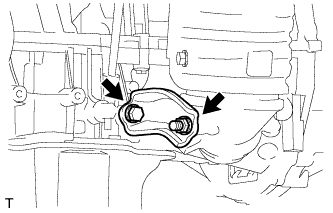
2.
DISCONNECT CABLE FROM NEGATIVE BATTERY TERMINAL
3.
REMOVE FRONT WHEEL RH
4.
REMOVE ENGINE UNDER COVER LH
5.
REMOVE ENGINE UNDER COVER RH
6.
REMOVE FRONT FENDER APRON SEAL RH
7.
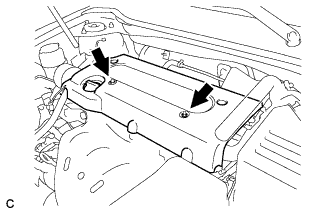
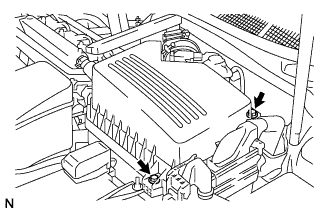
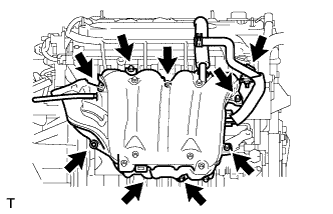
REMOVE NO. 1 ENGINE COVER SUB-ASSEMBLY
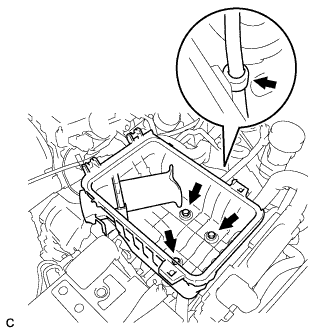
Remove the 2 nuts and cover.
8.
DRAIN ENGINE OIL
Remove the oil filler cap.
Remove the oil drain plug and drain the oil into a container.
9.
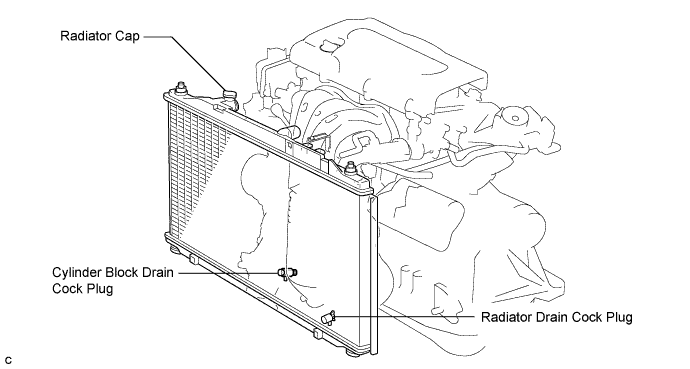
DRAIN ENGINE COOLANT
NOTICE:
Do not remove the radiator cap sub-assembly while the engine and radiator are still hot. Pressurized, hot engine coolant and steam may be released and cause serious burns.
Remove the radiator cap sub-assembly from the radiator assembly.
Loosen the radiator drain cock plug and cylinder block drain cock plug, then drain the coolant.
HINT:
Collect the coolant in a container and dispose of it according to the regulations in your area.
10.
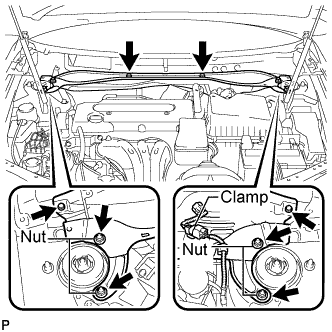
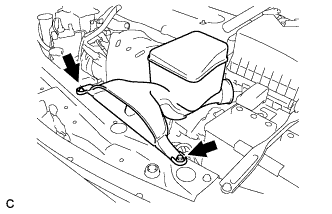
REMOVE WINDSHIELD WIPER MOTOR AND LINK ASSEMBLY
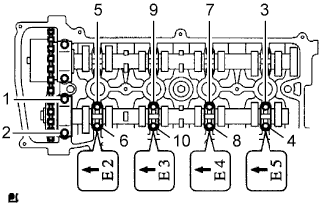
Using several steps, uniformly loosen and remove the 10 bearing cap bolts in the sequence shown in the illustration.
Remove the 5 bearing caps and No. 2 camshaft.
34.
REMOVE CAMSHAFT
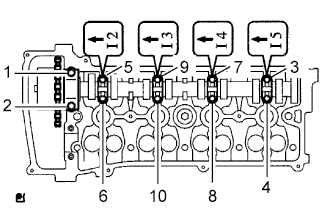
Using several steps, uniformly loosen and remove the 10 bearing cap bolts in the sequence shown in the illustration.
Remove the 5 bearing caps and camshaft.
35.
REMOVE CAMSHAFT TIMING OIL CONTROL VALVE ASSEMBLY
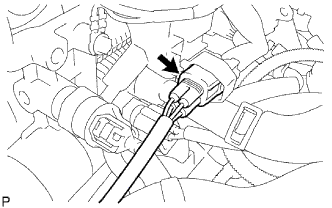
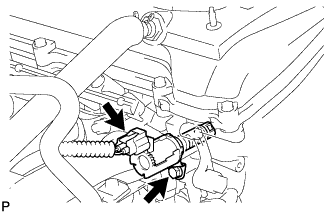
Disconnect the camshaft timing oil control valve assembly connector.
Remove the bolt and camshaft timing oil control valve assembly.
36.
DISCONNECT RADIATOR HOSE INLET
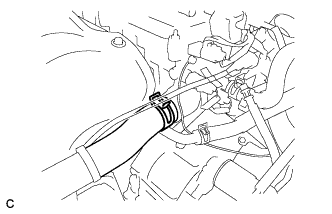
Remove the clamp and disconnect the No. 1 radiator hose.
37.
DISCONNECT HEATER WATER HOSE INLET
38.
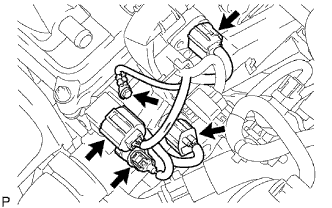
DISCONNECT ENGINE WIRE
Disconnect the radio setting condenser connector.
Disconnect the engine oil pressure switch connector.
Disconnect the engine coolant temperature sensor connector.
Disconnect the camshaft position sensor connector.
Remove the bolt and ground cable.
39.
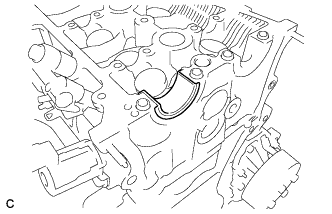
REMOVE NO. 2 CAMSHAFT BEARING
Remove the No. 2 camshaft bearing.
40.
REMOVE CYLINDER HEAD SUB-ASSEMBLY
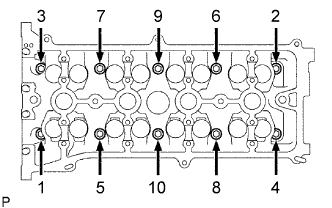
Using several steps, uniformly loosen and remove the 10 cylinder head set bolts and 10 plate washers with a 10 mm bi-hexagon wrench in the sequence shown in the illustration.
NOTICE:
Head warpage or cracking could result from removing the bolts in the wrong order.
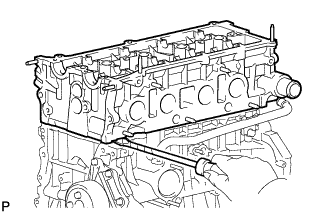
Using a screwdriver with its tip wrapped with tape, pry between the cylinder head and cylinder block, and remove the cylinder head.
NOTICE:
Be careful not to damage the contact surfaces of the cylinder head and cylinder block.