MIRROR OUTER REAR VIEW MIRROR REASSEMBLY
PROCEDURE

 87966
1.INSTALL OUTER MIRROR RETRACTOR
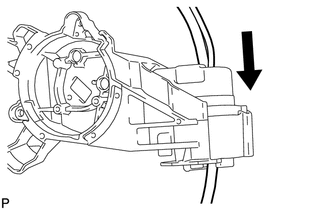
Pass the new wire harness through the frame sub-assembly.
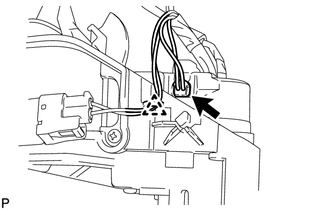
Connect the connector.
Engage the clamp.
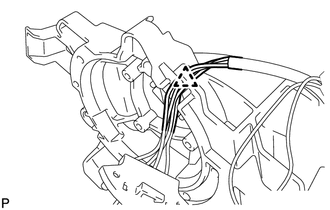
Engage the clamp.
Pass the wire harnesses through the housing.
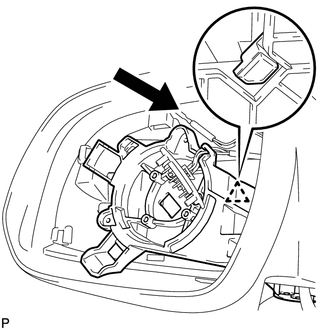
Slide the guide in the direction indicated by the arrow in the illustration.
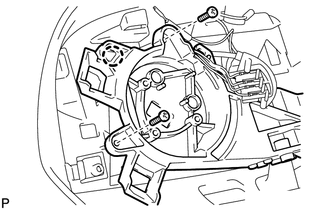
Engage the claw.
Temporarily install the new frame sub-assembly with the 2 screws.
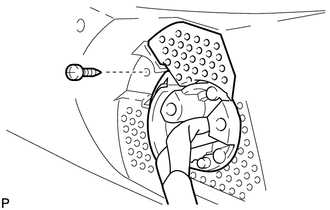
Install the frame sub-assembly with the screw.
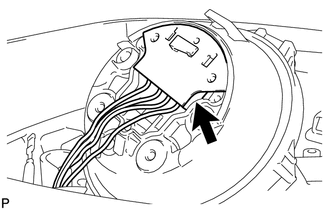
Connect the connector.
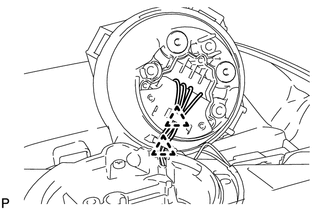
Engage the 2 clamps.
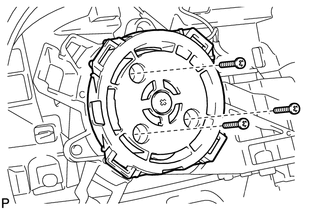
Install the mirror actuator with the 3 screws.
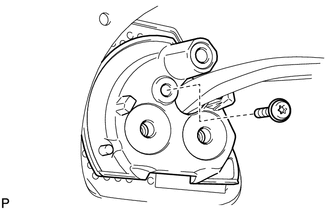
Using a T25 "TORX" socket wrench, install the base plate with a new screw.
- Torque:
- 3.8 N*m (39 kgf*cm, 34 in.*lbf)
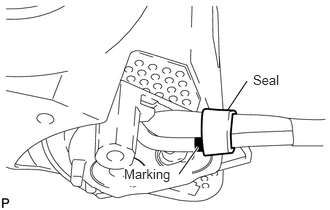
As shown in the illustration, align the seal with the marking on the wire harness.
Align the marking on the wire harness with the base plate clamp and engage the harnesses to the clamp.
Pass the wire harness through the base.
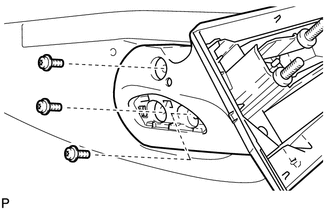
Using a T25 "TORX" socket wrench, install the base with 3 new screws.
- Torque:
- 3.8 N*m (39 kgf*cm, 34 in.*lbf)
- NOTICE:
-
When installing the base, check that the wire harness is not caught between the base and housing. Failure to do so may cause a short circuit.
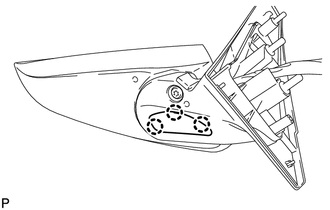
Engage the 3 claws and install the lower cover.
Pass the wire harness through the new gasket and install the gasket.
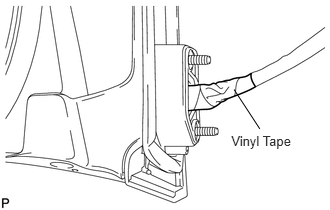
Wind vinyl tape around the wire harness to secure it.
- NOTICE:
-
If the vinyl tape is wrinkled, water may run down the wire harness and enter the vehicle. Make sure to wind the vinyl tape properly.
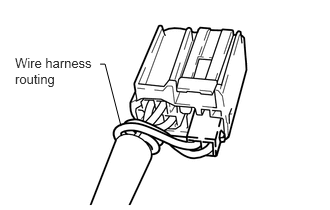
Connect the connector of the shorter wire harness to the adapter.
Route the longer wire harness as shown in the illustration and connect the connector to the adapter.
81740
2.INSTALL SIDE TURN SIGNAL LIGHT ASSEMBLY LH