INSTALLATION
Removal / installation · Vehicles built Jul 2007 – Oct 2010
Versions by build date: Jul 2007 – Oct 2010 Nov 2010 – Oct 2012 from Nov 2012
| 1.
TEMPORARILY TIGHTEN FRONT LOWER SUSPENSION ARM |
 |
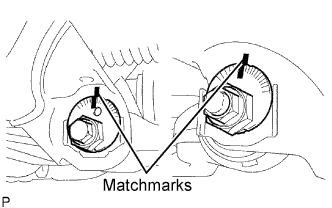
Align the matchmarks on the No. 2 camber adjust cam and toe adjust cam.
Temporarily tighten the bolt and the nut.
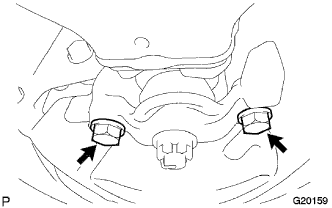
Install the lower ball joint attachment, a new nut and a new cotter pin.
-
Torque:
- 140 N*m{
1,428 kgf*cm
, 103 ft.*lbf
}
- Install the lower ball joint attachment with the 2 bolts.
-
Torque:
- 160 N*m{
1,631 kgf*cm
, 118 ft.*lbf
}
| 2.
TEMPORARILY TIGHTEN FRONT SHOCK ABSORBER WITH COIL SPRING |
|
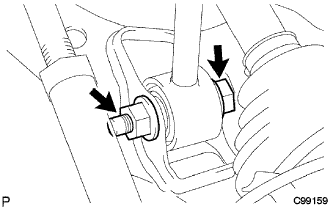
Install the front shock absorber with coil spring, bolt and washer, and temporarily tighten the nut.
| 3.
INSTALL FRONT WHEEL |
|
-
Torque:
- 112 N*m{
1,137 kgf*cm
, 82 ft.*lbf
}
| 4.
STABILIZE SUSPENSION |
|
Jack down the vehicle.
Bounce the vehicle up and down several times to stabilize the suspension.
| 5.
FULLY TIGHTEN FRONT LOWER SUSPENSION ARM |
|
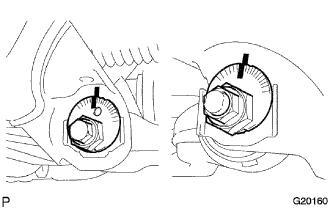
Fully tighten the bolt and the nut.
-
Torque:
- 175 N*m{
1,785 kgf*cm
, 129 ft.*lbf
}
| 6.
FULLY TIGHTEN FRONT SHOCK ABSORBER WITH COIL SPRING |
|
Fully tighten the nut.
-
Torque:
- 95 N*m{
969 kgf*cm
, 70 ft.*lbf
}
| 7.
INSPECT AND ADJUST FRONT WHEEL ALIGNMENT |
|
(Click here)