DISASSEMBLY
Removal / installation · Vehicles built from Aug 2009
Versions by build date: Jul 2007 – Jul 2009 from Aug 2009
| 1. INSPECT FRONT DRIVE SHAFT |

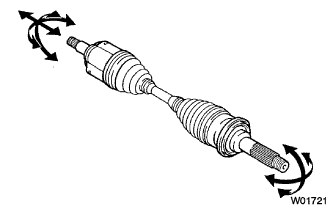  |
Check that there is no remarkable play in the outboard joint.
Check that the inboard joint slides smoothly in the thrust direction.
Check that there is no remarkable play in the radial direction of the inboard joint.
Check the boots for damage.
- NOTICE:
- Move the drive shaft while keeping it level.
| 2. REMOVE FRONT AXLE INBOARD JOINT BOOT NO. 2 CLAMP |
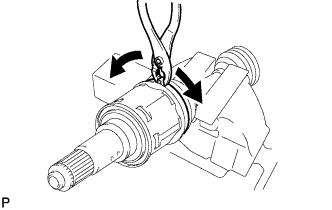 |
Hold the drive shaft lightly in a vise between aluminum plates.
- NOTICE:
- Do not overtighten the vise.
Using pliers, remove the front axle inboard joint boot No. 2 clamp as shown in the illustration.
| 3. REMOVE FRONT AXLE INBOARD JOINT BOOT CLAMP |
Remove the front axle inboard joint boot clamp.
- HINT:
- Perform the same procedures described for the front No. 2 axle inboard joint boot clamp.
| 4. SEPARATE INBOARD JOINT BOOT |
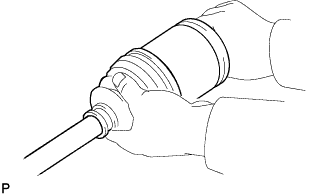 |
Separate the inboard joint boot from the inboard joint.
| 5. REMOVE FRONT DRIVE INBOARD JOINT ASSEMBLY |
Remove the old grease from the inboard joint.
Place matchmarks on the inboard joint and outboard joint shaft.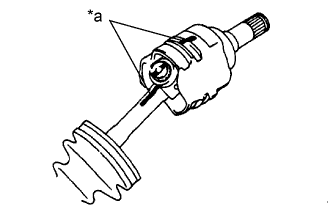
Text in Illustration *a
Matchmarks
- NOTICE:
- Do not punch the marks.
Remove the inboard joint from the outboard joint shaft.
Fix the outboard joint shaft in a vise between aluminum plates.
- NOTICE:
- Do not overtighten the vise.
Using a snap ring expander, remove the snap ring.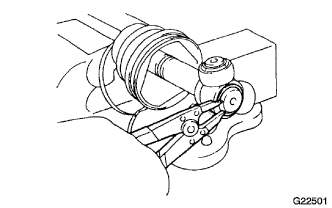
Place matchmarks on the outboard joint shaft and tripod.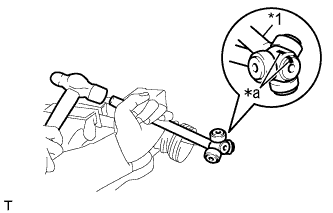
Text in Illustration *1
Brass bar
*a
Matchmarks
- NOTICE:
- Do not punch the marks.
Using a brass bar and hammer, remove the tripod from the outboard joint shaft.
- NOTICE:
- Do not tap the roller.
Remove the inboard joint boot No. 2 clamp, the inboard joint boot and the inboard joint boot clamp.
| 6. REMOVE FRONT DRIVE SHAFT HOLE SNAP RING |
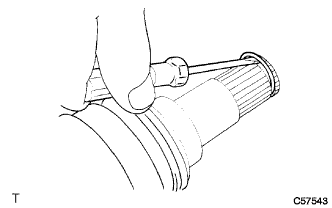 |
Using a screwdriver, remove the snap ring.
| 7. REMOVE FRONT DRIVE SHAFT DUST COVER |
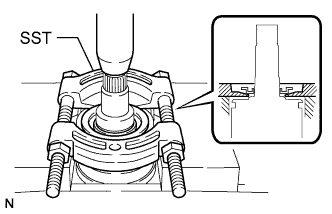 |
Using SST and a press, remove the dust cover.
- SST
- 09950-00020
| 8. REMOVE FRONT AXLE OUTBOARD JOINT BOOT NO. 2 CLAMP |
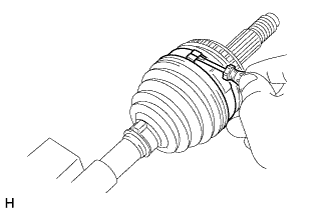 |
for one-touch clamp type
Using a screwdriver, release the staked part of the boot clamp and remove the boot clamp.
for omega clamp type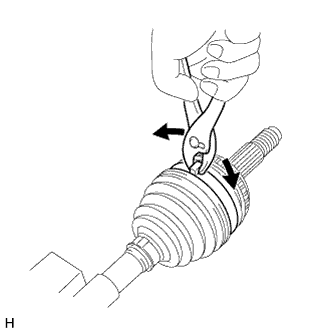
Using pliers, remove the front axle outboard joint boot No.2 clamp as shown in the illustration.
| 9. REMOVE FRONT AXLE OUTBOARD JOINT BOOT CLAMP |
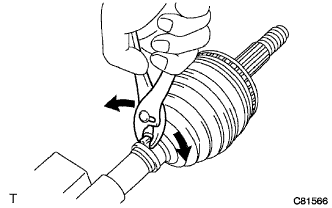 |
Using pliers, remove the boot clamp, as shown in the illustration.
| 10. REMOVE OUTBOARD JOINT BOOT |
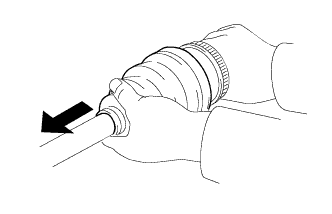 |
Remove the outboard joint boot from the outboard joint shaft.
Remove the old grease from the outboard joint.