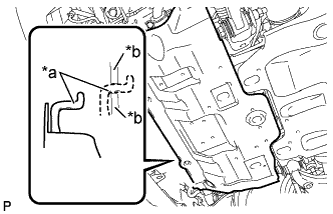
Unhook the engine under cover from the frame as shown in the illustration.
Text in Illustration
*a
Hook
*b
Frame
2.
DRAIN ENGINE COOLANT
CAUTION:
Do not remove the radiator cap sub-assembly while the engine and radiator assembly are still hot. Pressurized, hot engine coolant and steam may be released and cause serious burns.
Remove the service hole cover from the engine under cover.
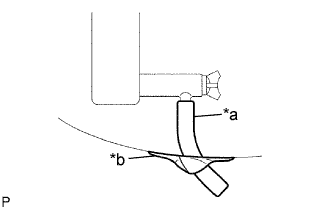
Install a vinyl hose to the radiator drain cock on the radiator assembly side.
Text in Illustration
*a
Vinyl Hose
*b
Tape
Fix the vinyl hose with tape.
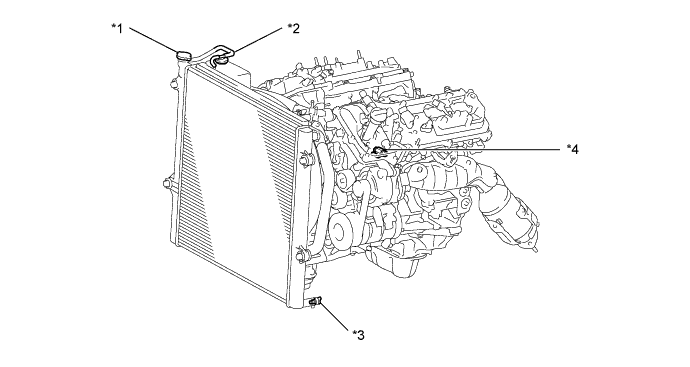
Text in Illustration
*1
Radiator Cap Sub-assembly
*2
Radiator Reserve Tank Cap Sub-assembly
*3
Radiator Drain Cock Plug
*4
Cylinder Block Drain Cock Plug
Loosen the radiator drain cock plug.
Remove the radiator cap sub-assembly and drain the engine coolant.
HINT:
Collect the engine coolant in a container and dispose of it according to the regulations in your area.
Loosen the cylinder block drain cock plug and drain the engine coolant from the engine.
NOTICE:
If engine coolant is not drained from the radiator drain cock plug, cylinder block drain cock plug and radiator reservoir, clogging in the radiator assembly or engine coolant leakage from the seal of water pump may result.
3.
DRAIN ENGINE OIL
Remove the oil filler cap.
Remove the oil pan drain plug and drain the engine oil into a container.
Install a new gasket and the oil pan drain plug.
Torque:
40 N*m{
408 kgf*cm
, 30 ft.*lbf
}
4.
REMOVE OIL FILTER ELEMENT
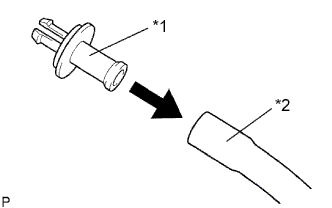
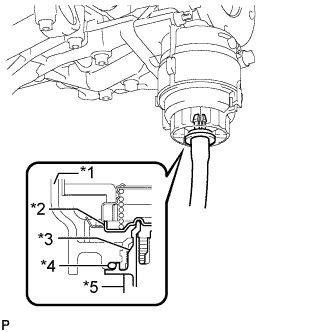
Connect a hose with an inside diameter of 15 mm (0.591 in.) to the pipe.
Text in Illustration
*1
Pipe
*2
Hose
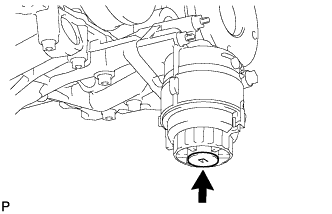
Remove the oil filter drain plug.
Install the pipe to the oil filter cap.
Text in Illustration
*1
Cap
*2
Valve
*3
Pipe
*4
O-Ring
*5
Hose
NOTICE:
If the O-ring is removed with the drain plug, install the O-ring together with the pipe.
HINT:
Use a container to catch the draining oil.
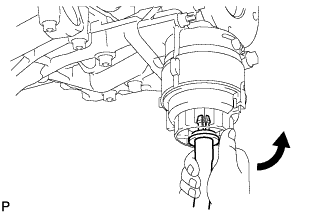
Check that oil is drained from the oil filter. Then disconnect the pipe and remove the O-ring, as shown in the illustration.
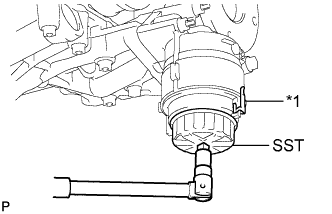
Using SST, remove the oil filter cap.
Text in Illustration
*1
Oil Filter Bracket Clip
SST
09228-06501
NOTICE:
Do not remove the oil filter bracket clip.
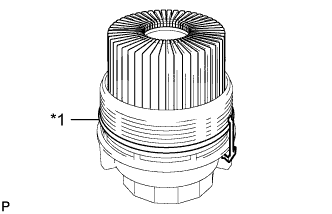
Remove the oil filter element and O-ring from the oil filter cap.
Text in Illustration
*1
O-Ring
NOTICE:
Be sure to remove the O-ring (for the cap) by hand, without using any tools, to prevent damage to the groove for the O-ring on the cap.
5.
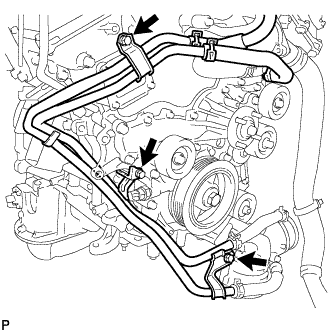
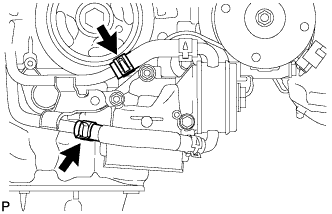
DISCONNECT WATER BY-PASS PIPE SUB-ASSEMBLY
Remove the 3 bolts.
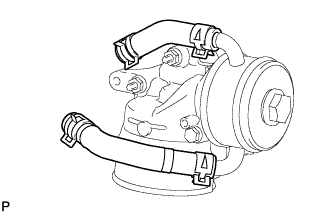
Disconnect the 2 hoses and water by-pass pipe.
6.
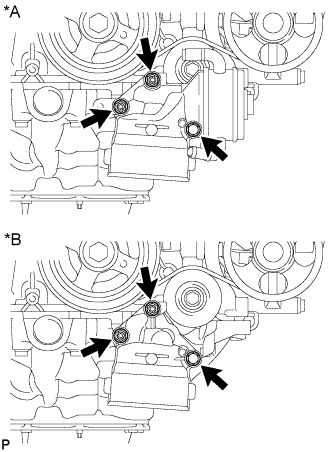
REMOVE OIL FILTER BRACKET
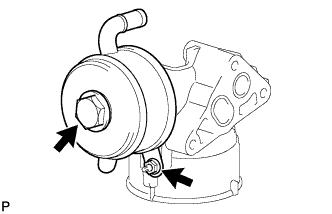
Remove the 2 nuts, bolt, oil filter bracket and gasket.