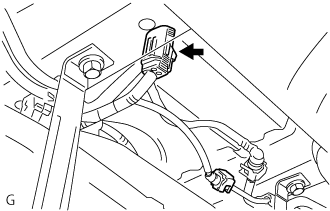
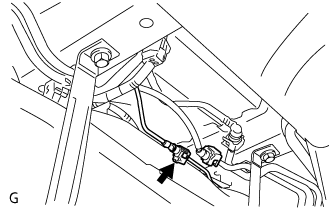
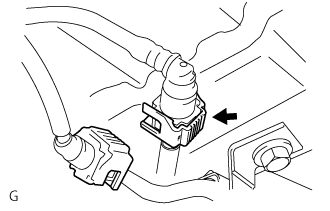
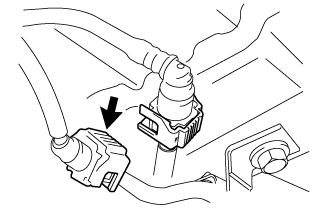
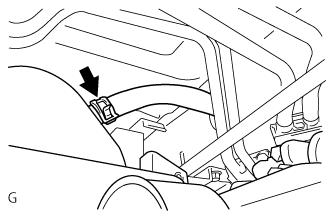
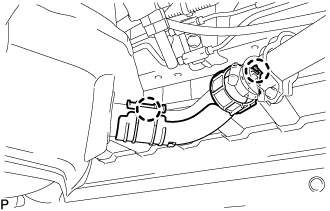
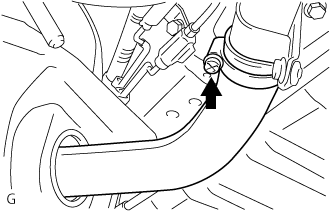
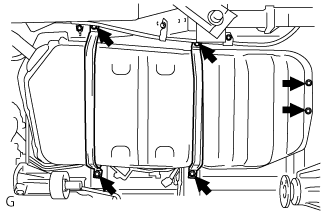
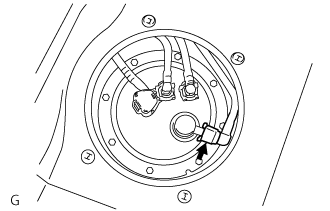
After turning the ignition switch off, waiting time may be required before disconnecting the cable from the battery terminal. Therefore, make sure to read the disconnecting the cable from the battery terminal notice before proceeding with work (Click here).
3.
DISCONNECT CABLE FROM NEGATIVE BATTERY TERMINAL
NOTICE:
When disconnecting the cable, some systems need to be initialized after the cable is reconnected (Click here).
Disconnect the No. 1 fuel evaporation tube sub-assembly from the fuel suction with pump and gauge tube assembly (Click here).
14.
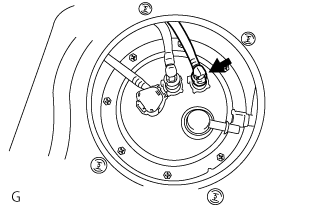
REMOVE FUEL TANK RETURN TUBE
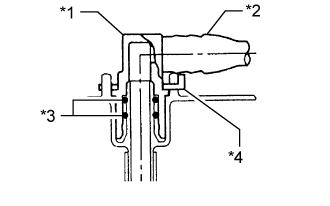
Remove the tube joint clip and pull the fuel tank return tube out of the plug of the fuel suction with pump and gauge tube assembly.
NOTICE:
Remove any dirt and foreign matter on the fuel tube joint before performing this step.
Do not allow any scratches or foreign matter on the parts when disconnecting them as the fuel tube joint contains the O-rings that seal the plug.
Perform this step by hand. Do not use any tools.
Do not forcibly bend or twist the nylon tube.
Protect the disconnected parts by covering them with plastic bags and tape after disconnecting the fuel tubes.
Text in Illustration
*1
Fuel Tube Joint
*2
Fuel Tube
*3
O-Ring
*4
Tube Joint Clip
15.
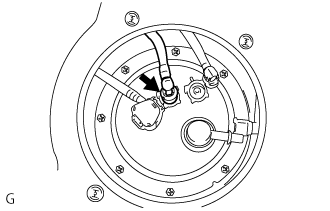
REMOVE FUEL TANK MAIN TUBE SUB-ASSEMBLY
Remove the tube joint clip and pull the fuel tank main tube sub-assembly out of the plug of the fuel suction with pump and gauge tube assembly.
NOTICE:
Remove any dirt and foreign matter on the fuel tube joint before performing this step.
Do not allow any scratches or foreign matter on the parts when disconnecting them as the fuel tube joint contains the O-rings that seal the plug.
Perform this step by hand. Do not use any tools.
Do not forcibly bend or twist the nylon tube.
Protect the disconnected parts by covering them with plastic bags and tape after disconnecting the fuel tubes.
Text in Illustration
*1
Fuel Tube Joint
*2
Fuel Tube
*3
O-Ring
*4
Tube Joint Clip
16.
REMOVE FUEL SUCTION WITH PUMP AND GAUGE TUBE ASSEMBLY
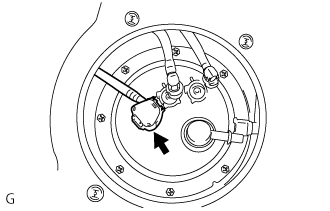
Disconnect the fuel tank wire connector.
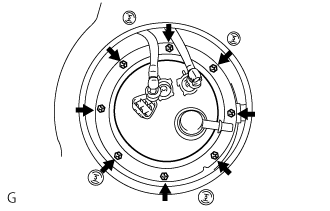
Press down on the fuel suction with pump and gauge tube assembly and remove the 8 bolts and fuel tank vent tube set plate.
NOTICE:
When the fuel tank vent tube set plate is removed, be careful as the fuel suction with pump and gauge tube assembly will spring upward from the force of the spring.
Remove any foreign matter around the fuel suction with pump and gauge tube assembly before this operation.
Remove the fuel suction with pump and gauge tube assembly from the fuel tank assembly.
NOTICE:
Be careful not to bend the arm of the fuel sender gauge assembly.
Remove the fuel suction tube set gasket from the fuel tank assembly.
17.
REMOVE FUEL HOSE GROMMET
Remove the fuel hose grommet from the fuel tank assembly.