DISASSEMBLY
Removal / installation · Vehicles built from Oct 2014
| 1. REMOVE MODE CONTROL CABLE |

Using a screwdriver wrapped with protective tape, release the claw and remove the mode control cable.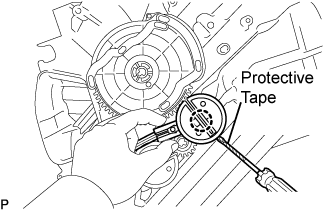

| 2. REMOVE AIR MIX CONTROL CABLE |
Using a screwdriver wrapped with protective tape, release the claw and remove the air mix control cable.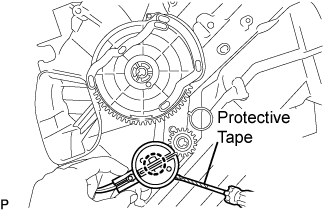
| 3. REMOVE INSTRUMENT PANEL REGS CONNECTOR ASSEMBLY CENTER |
Release the 4 claws and remove the instrument panel regs connector assembly center.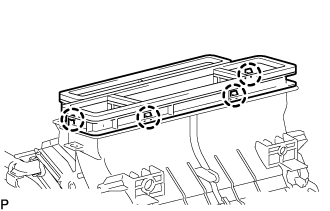
| 4. REMOVE QUICK HEATER ASSEMBLY (w/ PTC) |
Remove the 2 screws and quick heater assembly.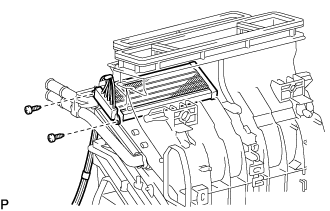
| 5. REMOVE HEATER RADIATOR UNIT SUB-ASSEMBLY |
Remove the screw and heater radiator unit sub-assembly.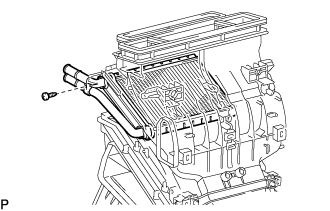
| 6. REMOVE AIR DUCT NO.3 |
Remove the 2 screws.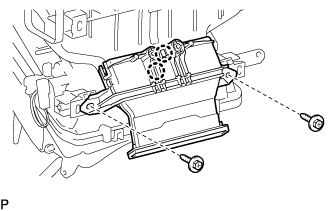
Release the 2 claws and remove the air duct No.3.
| 7. REMOVE DRAIN COOLER HOSE |
Remove the drain cooler hose.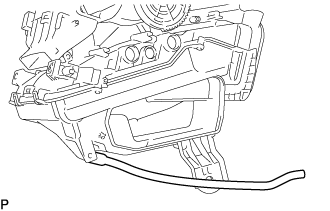
| 8. REMOVE HEATER BRACKET |
Remove the screw and heater bracket.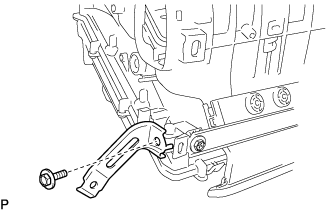
| 9. REMOVE COOLER EXPANSION VALVE |
Using a hexagon wrench 4 mm, remove the 2 hexagon bolts and cooler expansion valve.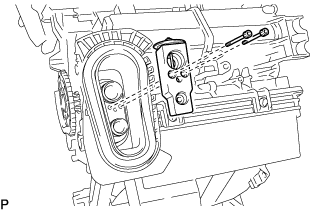
| 10. REMOVE COOLER EVAPORATOR SUB-ASSEMBLY NO.1 |
Remove the 4 screws.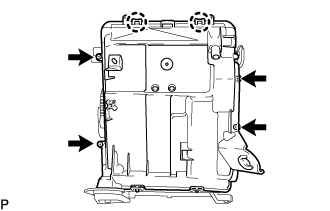
Release the 2 claws and remove the heater case lower.
Release the clamp and remove the cooler evaporator sub-assembly.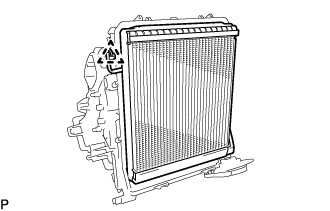
| 11. REMOVE EVAPORATOR TEMPERATURE SENSOR |
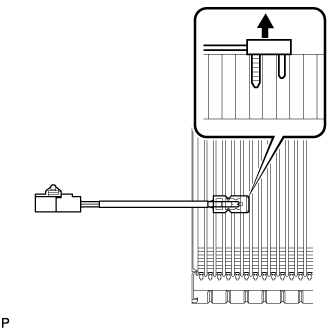
Remove the evaporator temperature sensor.