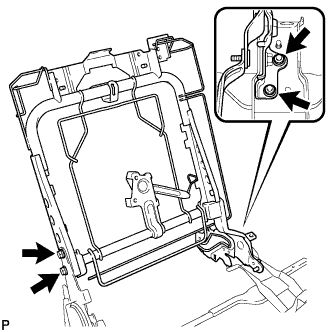
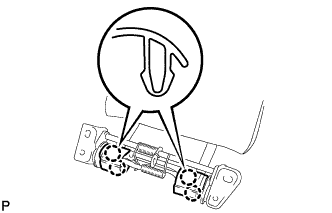
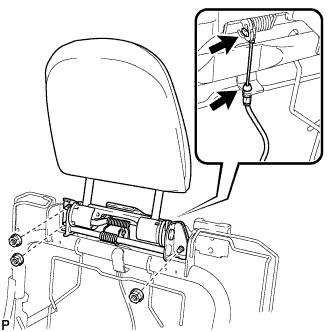
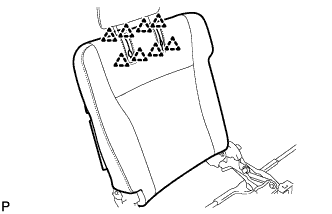
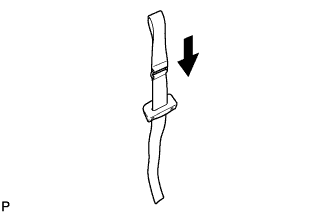
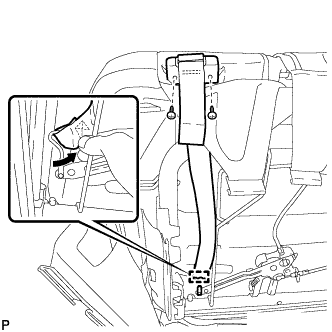
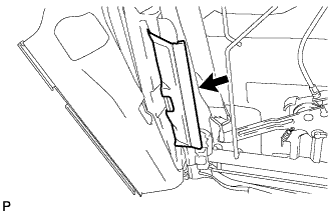
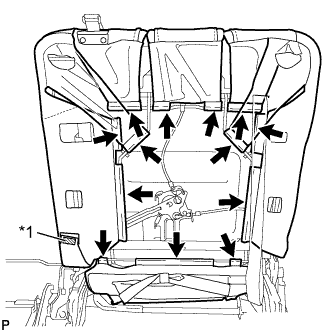
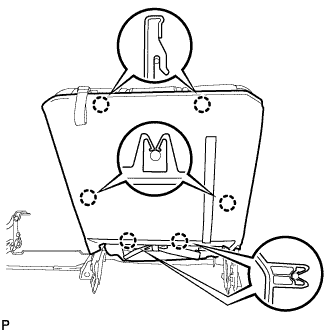
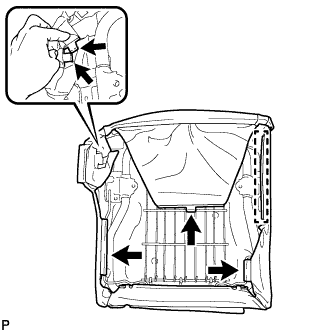
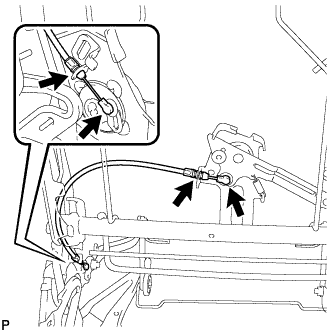
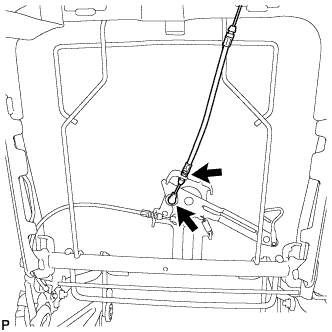
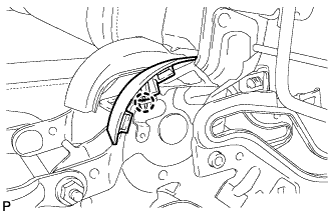
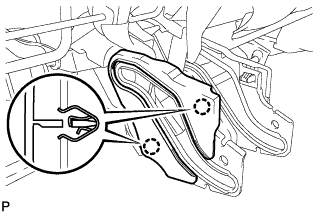
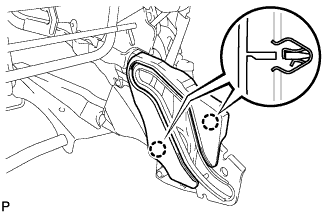
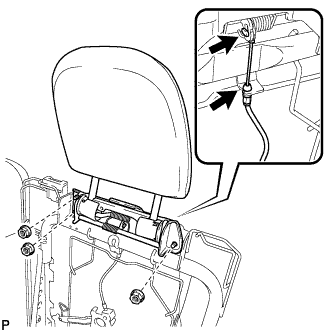
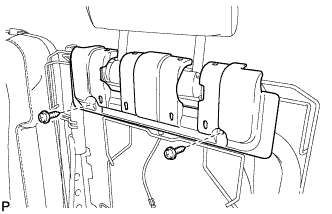
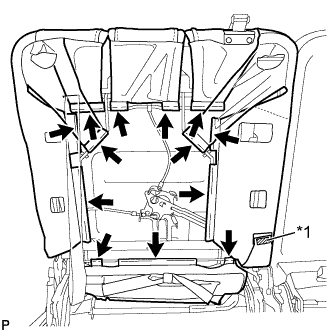
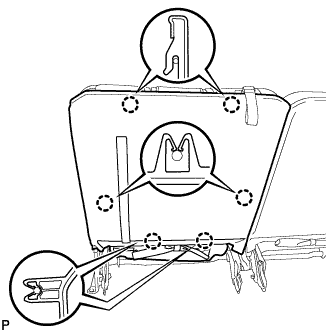
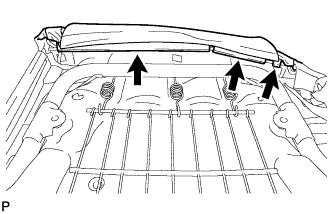
Install the No. 2 seatback frame sub-assembly RH with the 2 nuts.
Torque:
32 N*m{
327 kgf*cm
, 24 ft.*lbf
}
2.
INSTALL REAR SEAT INNER SUSPENSION LINK SUB-ASSEMBLY RH
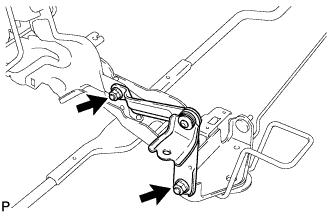
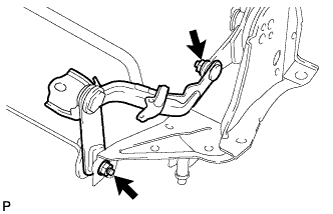
Install the rear seat inner suspension link sub-assembly RH with the 2 nuts.
Torque:
20 N*m{
204 kgf*cm
, 15 ft.*lbf
}
3.
INSTALL REAR SEAT OUTER SUSPENSION LINK SUB-ASSEMBLY RH
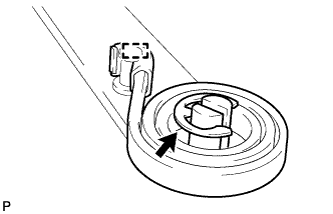
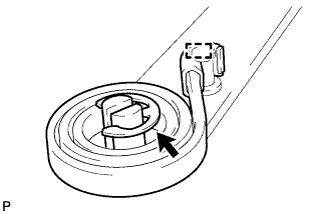
Engage the hook.
Install the spring with the E-ring.
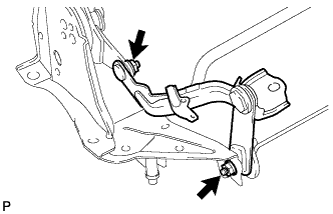
Install the rear seat outer suspension link sub-assembly RH with the 2 nuts.
Torque:
20 N*m{
204 kgf*cm
, 15 ft.*lbf
}
4.
INSTALL REAR NO. 2 SIDE SEAT BAND SUB-ASSEMBLY RH
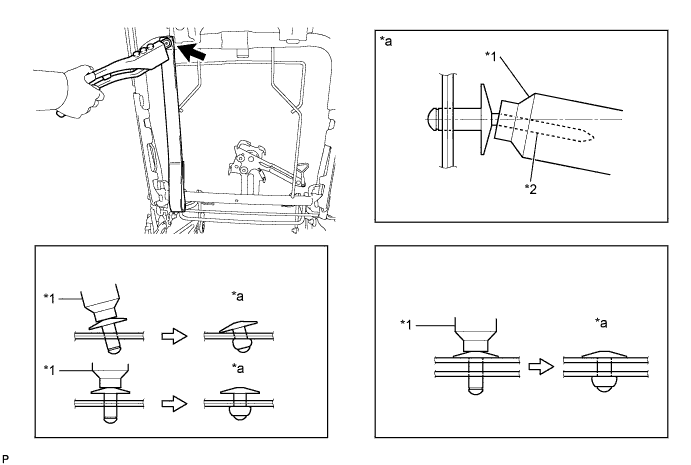
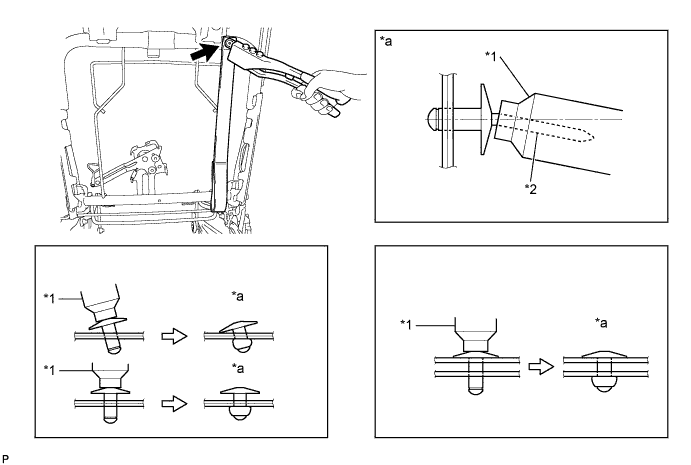
Using an air riveter or a hand riveter, install the rear No. 2 side seat band sub-assembly RH.
Text in Illustration
*1
Riveter
*2
Mandrel
*a
INCORRECT
-
-
NOTICE:
Do not pry the rivet with the riveter, as this will cause damage to the riveter and mandrel.
Confirm that the rivet is seated properly against the seat frame. Do not tilt the riveter when installing the rivet to the seat frame. Do not leave any clearance between the rivet head and seat frame.
Do not leave any clearance between the rear No. 2 side seat band sub-assembly RH and seat frame. Firmly hold the 2 items together while installing the rivet.
HINT:
If the rivet cannot be cut, pull it once and cut it.
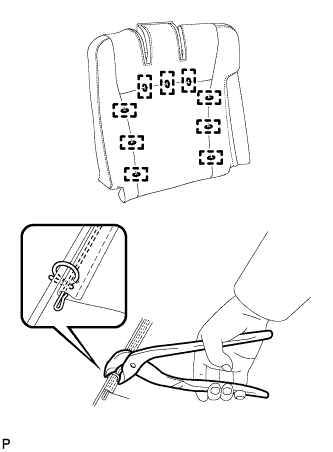
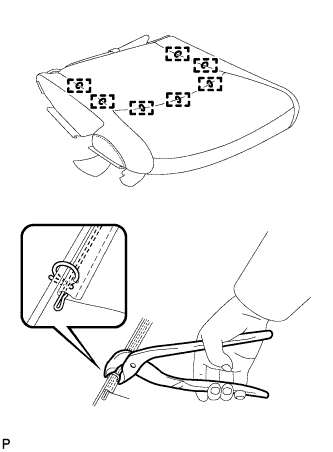
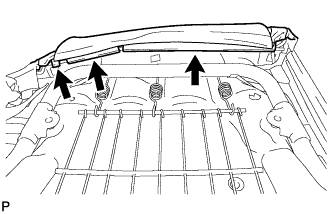
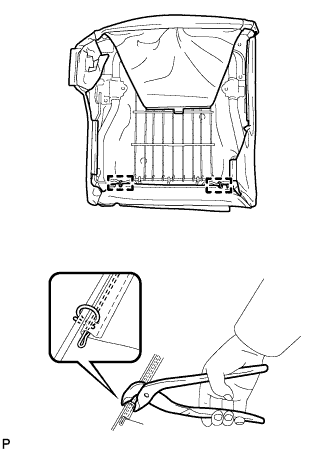
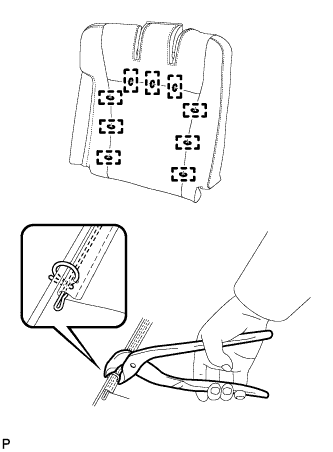
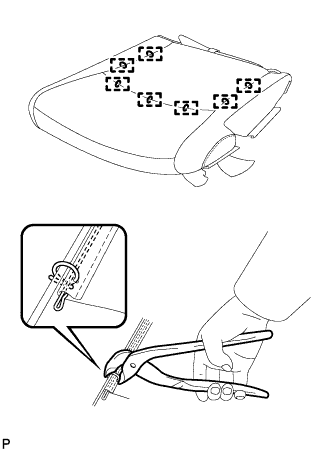
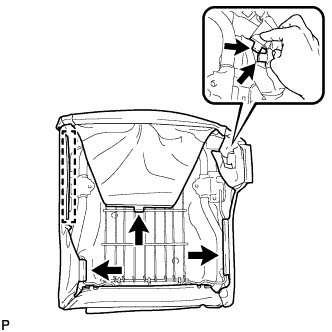
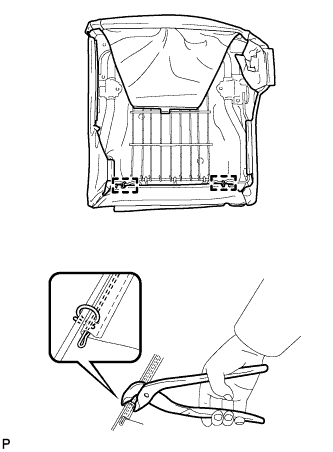
Using hog ring pliers, install the No. 2 seat cushion cover sub-assembly with 2 new hog rings.
19.
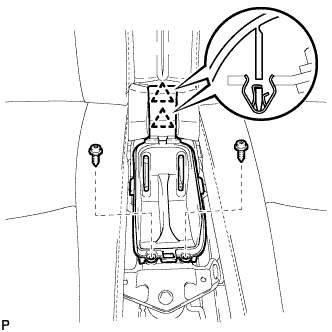
INSTALL REAR SEAT CUSHION COVER WITH PAD RH
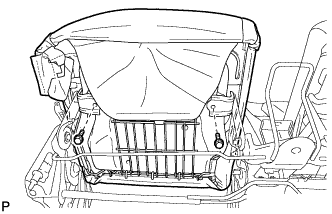
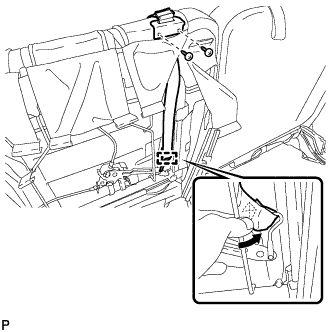
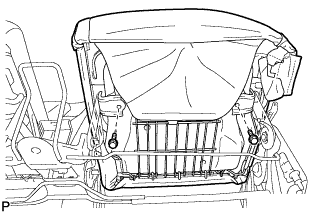
Install the 2 bolts.
Torque:
21 N*m{
214 kgf*cm
, 16 ft.*lbf
}
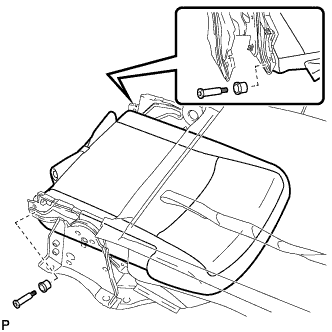
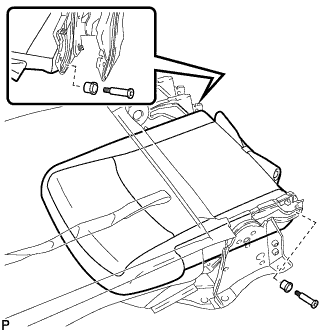
Using a "T45" TORX socket wrench, install the rear seat cushion cover with pad RH with the 2 bolts and 2 bushes.
Torque:
32 N*m{
326 kgf*cm
, 24 ft.*lbf
}
20.
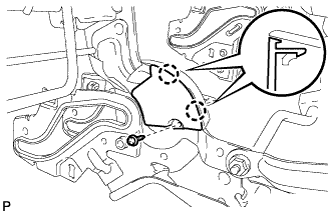
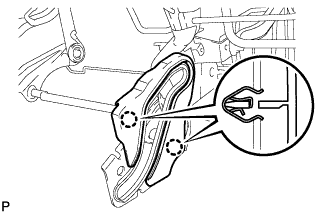
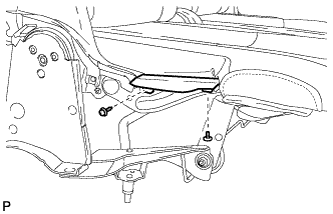
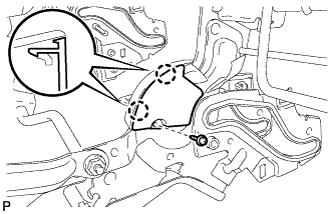
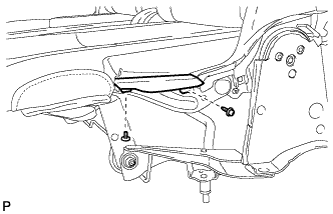
INSTALL NO. 2 SEAT OUTER HINGE COVER RH
Install the No. 2 seat outer hinge cover RH with the 2 screws.
21.
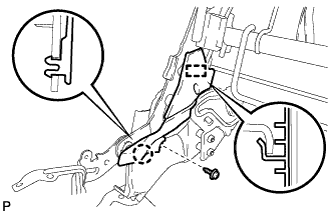
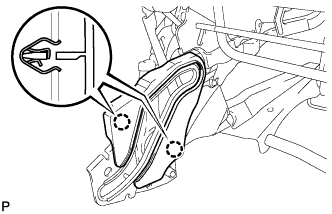
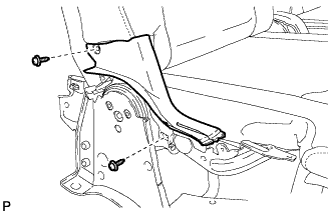
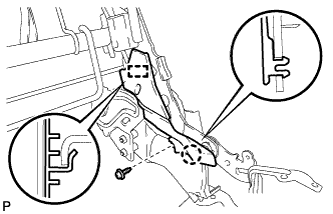
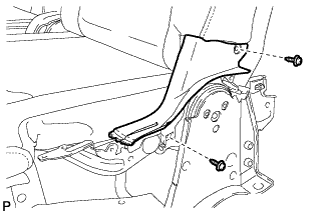
INSTALL RECLINING COVER PROTECTOR RH
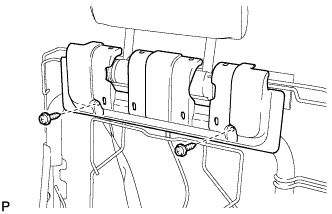
Install the reclining cover protector RH with the 2 screws.
22.
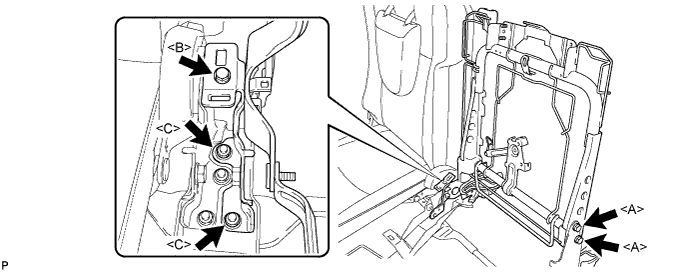
INSTALL NO. 2 SEATBACK FRAME SUB-ASSEMBLY LH
Install the 2 nuts <C>.
Torque:
32 N*m{
326 kgf*cm
, 24 ft.*lbf
}
Install the bolt <B>.
Torque:
32 N*m{
326 kgf*cm
, 24 ft.*lbf
}
Install the No. 2 seatback frame sub-assembly LH with the 2 bolts <A>.
Torque:
42 N*m{
428 kgf*cm
, 31 ft.*lbf
}
23.
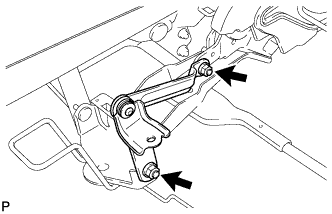
INSTALL REAR SEAT INNER SUSPENSION LINK SUB-ASSEMBLY LH
Install the rear seat inner suspension link sub-assembly LH with the 2 nuts.
24.
INSTALL REAR SEAT OUTER SUSPENSION LINK SUB-ASSEMBLY LH
Engage the hook.
Install the spring with the E-ring.
Install the rear seat outer suspension link sub-assembly LH with the 2 nuts.
Torque:
20 N*m{
204 kgf*cm
, 15 ft.*lbf
}
25.
INSTALL REAR NO. 2 SIDE SEAT BAND SUB-ASSEMBLY LH
Using an air riveter or a hand riveter, install the rear No. 2 side seat band sub-assembly LH.
Text in Illustration
*1
Riveter
*2
Mandrel
*a
INCORRECT
-
-
NOTICE:
Do not pry the rivet with the riveter, as this will cause damage to the riveter and mandrel.
Confirm that the rivet is seated properly against the seat frame. Do not tilt the riveter when installing the rivet to the seat frame. Do not leave any clearance between the rivet head and seat frame.
Do not leave any clearance between the rear No. 2 side seat band sub-assembly RH and seat frame. Firmly hold the 2 items together while installing the rivet.
HINT:
If the rivet cannot be cut, pull it once and cut it.