REAR SUSPENSION REAR UPPER ARM(for HV Model) REMOVAL
CAUTION / NOTICE / HINT
The necessary procedures (adjustment, calibration, initialization, or registration) that must be performed after parts are removed and installed, or replaced during rear upper control arm assembly removal/installation are shown below.
| Replaced Part or Performed Procedure | Necessary Procedure | Effect/Inoperative Function when Necessary Procedure not Performed | Link |
|---|---|---|---|
|
*1: Learning can also be performed using the GTS. Click here( |
|||
for 4WD/AWD:
Auxiliary battery terminal is disconnected/reconnected |
Perform steering sensor zero point calibration | Lane Control System | ( ) |
| Parking Support Brake System*1 | |||
| Pre-collision System | |||
| Memorize steering angle neutral point | Parking Assist Monitor System | ()
|
|
| Panoramic View Monitor System | ()
|
||
| Initialize back door lock | Power Door Lock Control System | ()
|
|
| Reset back door close position | Power Back Door System | ()
|
|
| Rear wheel alignment adjustment | Perform "Calibration". | ·
DTCs are stored ·
ABS warning light illuminates ·
Brake system warning light (yellow indicator) illuminates ·
Slip indicator light illuminates ·
VSC disabled or malfunctions |
()
|
| Suspension, tires, etc.
(The vehicle height changes because of suspension or tire replacement) |
·
Measurement of ultrasonic sensor detection angle ·
Ultrasonic sensor detection angle registration |
Parking Support Brake System | ()
|
| Rear television camera assembly optical axis (Back camera position setting) | Parking Assist Monitor System | ()
|
|
·
Parking assist ECU initialization ·
Adjust steering angle |
Panoramic View Monitor System | ()
|
|
| Gas leak from exhaust system is repaired | Perform Inspection After Repair | ·
Poor idle, etc. ·
Engine start function, etc. |
()
|
- CAUTION:
- ·
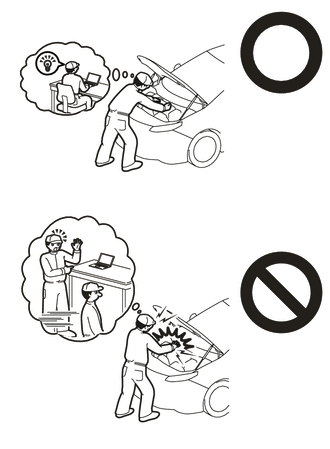
Orange wire harnesses and connectors indicate high-voltage circuits. To prevent electric shock, always follow the procedure described in the repair manual. (for 4WD/AWD)
Click hereEngine / Hybrid System>HYBRID / BATTERY CONTROL>HYBRID CONTROL SYSTEM (for 4WD/AWD)>PRECAUTION
·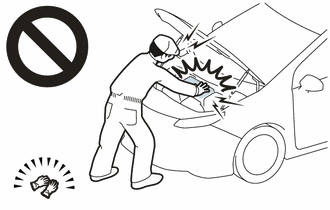
To prevent electric shock, wear insulated gloves when working on wire harnesses and components of the high voltage system. (for 4WD/AWD)
·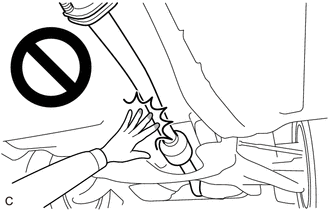
To prevent burns, do not touch the engine, exhaust pipe or other high temperature components while the engine is hot.
- NOTICE:
-
After the ignition switch is turned off, the radio and display receiver assembly or the radio receiver assembly records various types of memory and settings. As a result, after turning the ignition switch off, make sure to wait at least 120 seconds before disconnecting the cable from the negative (-) auxiliary battery terminal. (for 4WD/AWD)
PROCEDURE

 51206A
1.REMOVE REAR SUSPENSION MEMBER SUB-ASSEMBLY
48790
2.REMOVE REAR UPPER CONTROL ARM ASSEMBLY LH
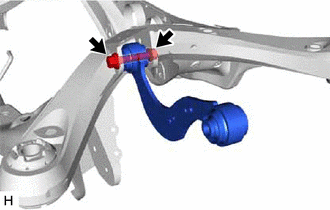
Remove the bolt, nut and rear upper control arm assembly LH from the rear suspension member sub-assembly.
- NOTICE:
-
Because the nut has its own stopper, do not turn the nut. Loosen the bolt with the nut secured.
48770A
3.REMOVE REAR UPPER CONTROL ARM ASSEMBLY RH
- HINT:
-
Perform the same procedure as for the LH side.