REMOVAL
Removal / installation · Vehicles built Jun 2011 – Jul 2012
Versions by build date: Jun 2011 – Jul 2012 Aug 2012 – Jul 2013 from Aug 2013
| 1.
DISCONNECT CABLE FROM NEGATIVE BATTERY TERMINAL |
|
| 2.
REMOVE DIESEL THROTTLE BODY ASSEMBLY (w/o EGR Cooler) |
 |
(Click here)
| 3.
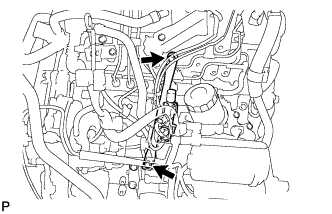
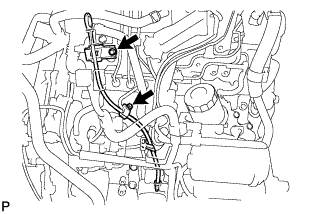
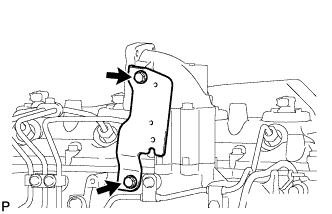
REMOVE MANIFOLD STAY |
|
w/ EGR Cooler:
Disconnect the 2 VSV connector and 3 vacuum hoses.
- Remove the 2 bolts and manifold stay.
w/o EGR Cooler:
- Remove the 2 bolts and manifold stay.
| 4.
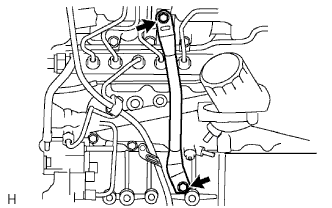
REMOVE ENGINE OIL LEVEL DIPSTICK GUIDE |
|
Remove the bolt and injection pipe clamp.
Remove the bolt and engine oil level dipstick guide.
Remove the O-ring from the engine oil level dipstick guide.
| 5.
REMOVE EGR COOLER |
|
(Click here)
| 6.
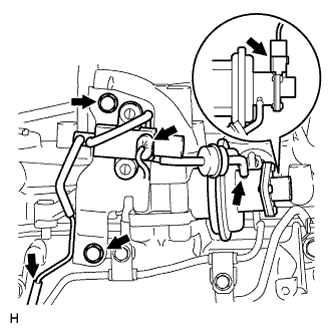
REMOVE VACUUM SWITCHING VALVE BRACKET |
|
w/ EGR System without EGR Cooler:
- Remove the 2 connectors from the E-VRV and EGR valve.
Disconnect the vacuum hoses from the 2 locations.
Remove the 2 bolts and vacuum switching valve bracket.
w/o EGR System:
- Remove the 2 bolts and vacuum switching valve bracket.
| 7.
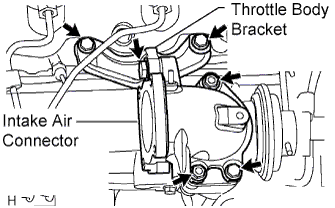
REMOVE THROTTLE BODY BRACKET (w/o EGR Cooler)
|
|
- Remove the 3 bolts and bracket.
| 8.
REMOVE INTAKE AIR CONNECTOR (w/o EGR Cooler)
|
|
Remove the 2 nuts, bolt, air connector and gasket.
| 9.
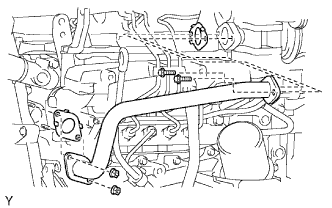
REMOVE NO. 1 EGR PIPE SUB-ASSEMBLY (w/ EGR System without EGR Cooler)
|
|
- Remove the 2 bolts, 2 nuts, pipe and 2 gaskets.
| 10.
REMOVE EGR VALVE ASSEMBLY (w/ EGR System without EGR Cooler)
|
|
Remove the EGR valve and gasket.
| 11.
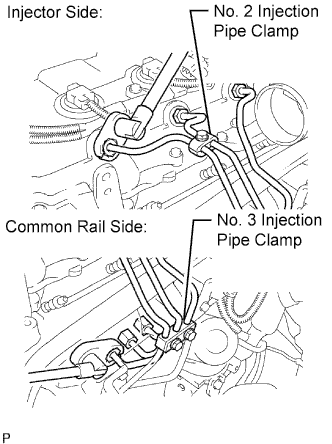
REMOVE NO. 1, NO. 2 AND NO. 3 INJECTION PIPE SUB-ASSEMBLY (w/o EGR Cooler)
|
|
- NOTICE:
- After removing the fuel pipe, cover the outlets on the common rail with tape to keep out foreign matter.
- After removing the fuel pipe, put it in a plastic bag to prevent foreign matter from contaminating its injector inlet.
- Remove the bolt and No. 2 injection pipe clamp.
Remove the 2 nuts and No. 3 injection pipe clamp.
Using a 17 mm union nut wrench, loosen the union nuts and remove the No. 1, No. 2 and No. 3 injection pipes.
| 12.
REMOVE NO. 4 INJECTION PIPE SUB-ASSEMBLY (w/ EGR Cooler)
|
|
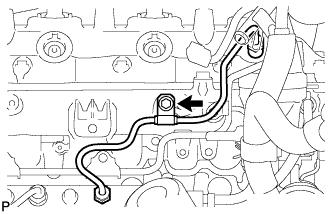
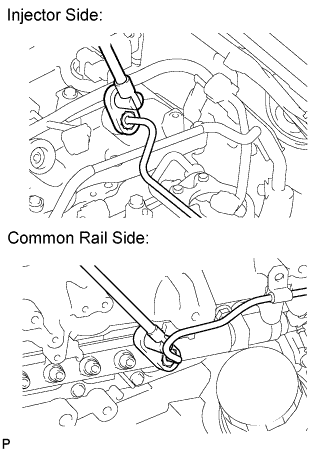
- Remove the bolt and disconnect the injection pipe clamp.
- NOTICE:
- If an injection pipe clamp is removed from the No. 4 injection pipe, replace the injection clamp with a new one.
- Using a 17 mm union nut wrench, loosen the union nuts and remove the No. 4 injection pipe.
| 13.
REMOVE NO. 4 INJECTION PIPE SUB-ASSEMBLY (w/o EGR Cooler)
|
|
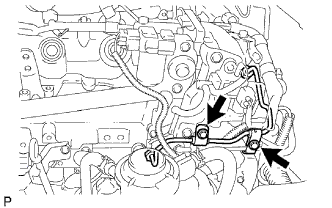
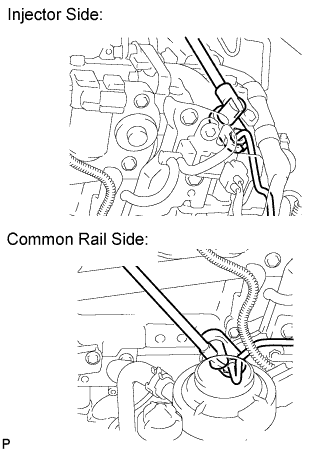
- Remove the 2 bolts.
- NOTICE:
- If an injection pipe clamp is removed from the No. 4 injection pipe, replace the injection clamp with a new one.
- Using a 17 mm union nut wrench, loosen the union nuts and remove the No. 4 injection pipe.
| 14.
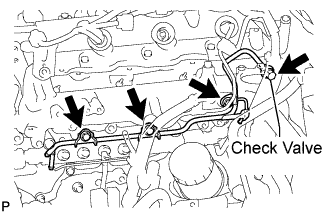
REMOVE NO. 2 NOZZLE LEAKAGE PIPE ASSEMBLY (w/ EGR Cooler)
|
|
- Disconnect the 3 fuel hoses.
Remove the check valve, 3 bolts, leakage pipe and gasket.
| 15.
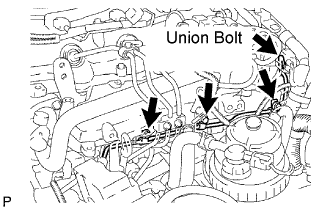
REMOVE NO. 2 NOZZLE LEAKAGE PIPE ASSEMBLY (w/o EGR Cooler)
|
|
Disconnect the 3 fuel hoses.
- Remove the union bolt, 3 bolts, No. 2 nozzle leakage pipe and gasket.
| 16.
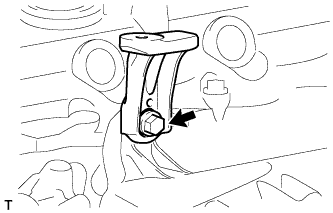
REMOVE NO. 3 INTERCOOLER SUPPORT BRACKET (w/ EGR Cooler) |
|
- Remove the bolt and support bracket.
| 17.
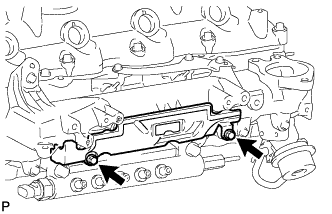
REMOVE INTAKE MANIFOLD INSULATOR (w/ EGR Cooler) |
|
- Remove the 2 bolts and insulator from the manifold.
| 18.
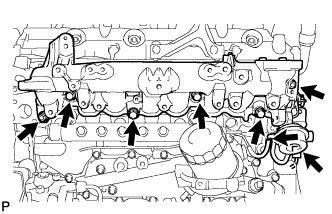
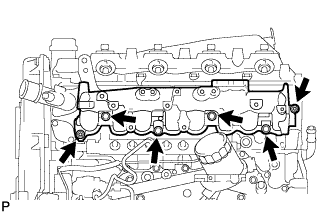
REMOVE INTAKE MANIFOLD |
|
w/ EGR Cooler:
- Disconnect the vacuum hose and vacuum switching valve connector.
Remove the 2 nuts, 4 bolts, intake manifold and gasket.
w/o EGR Cooler:
- Remove the 2 nuts, 4 bolts, intake manifold and gasket.