DISASSEMBLY
Removal / installation · Vehicles built from Jun 2011
| 1. REMOVE HOOD TO RADIATOR SUPPORT SEAL |

Detach the 6 clips and remove the hood to radiator support seal.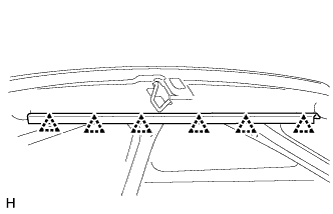

- NOTICE:
- If the clips are damaged, replace them with new clips.
| 2. REMOVE HOOD INSULATOR (w/ Hood Insulator) |
Remove the 15 clips and hood insulator.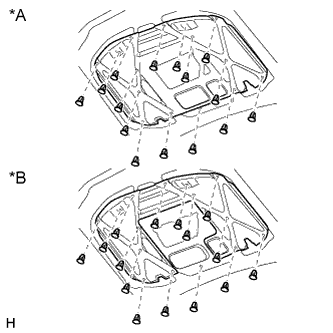
Text in Illustration *A
w/o Intercooler
*B
w/ Intercooler
| 3. REMOVE HOOD AIR INTAKE SEAL (w/ Intercooler) |
Remove the 18 clips and hood air intake seal.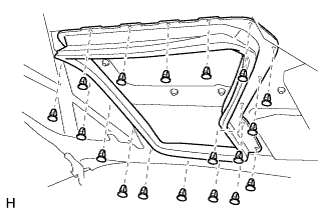
| 4. REMOVE HOOD BULGE (w/ Intercooler) |
Remove the 10 nuts and hood bulge.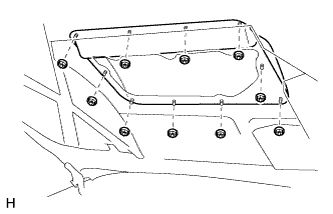
| 5. REMOVE NO. 1 HOOD BULGE PROTECTOR (w/ Intercooler) |
Remove the No. 1 hood bulge protector from the hood bulge.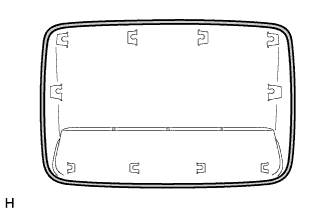
| 6. REMOVE WASHER NOZZLE SUB-ASSEMBLY |
Using a screwdriver, detach the 2 claws as shown in the illustration.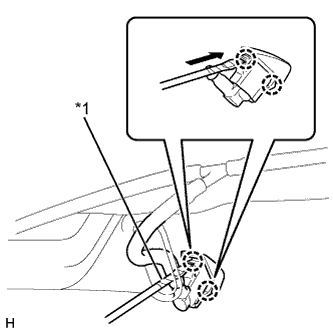
Text in Illustration *1
Protective Tape
- NOTICE:
- Be careful not to damage the windshield.
- HINT:
- Tape the screwdriver tip before use.
Move the washer nozzle as shown in the illustration and remove it.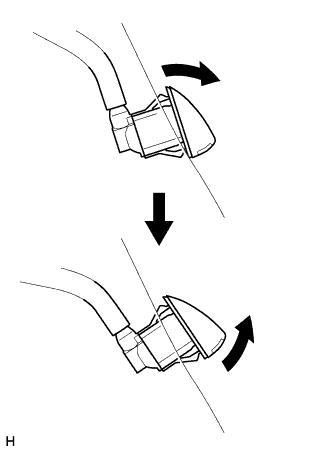
Disconnect the washer nozzle from the washer hose.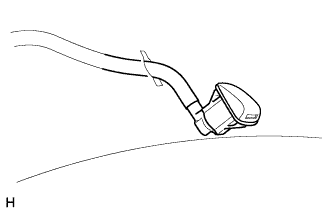
- NOTICE:
- Washer nozzles cannot be reused.
| 7. REMOVE WASHER HOSE ASSEMBLY |
Detach the 4 clamps and disconnect the washer hose from the hanger.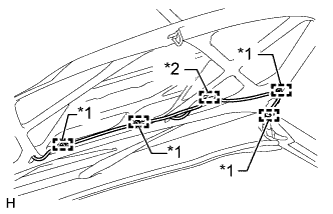
Text in Illustration *1
Clamp
*2
Hanger
| 8. REMOVE HOOD BUMPER CUSHION |
- HINT:
- Use the same procedure for both hood bumper cushions.
Remove the hood bumper cushion.