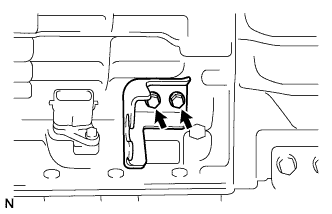
Removal / installation · Vehicles built Aug 2013 – Jul 2014
Versions by build date: Aug 2013 – Jul 2014from Aug 2014
1.
DISCONNECT CABLE FROM NEGATIVE BATTERY TERMINAL
NOTICE:
After turning the ignition switch off, waiting time may be required before disconnecting the cable from the battery terminal. Therefore, make sure to read the disconnecting the cable from the battery terminal notice before proceeding with work (Click here).
When disconnecting the cable, some systems need to be initialized after the cable is reconnected (Click here).
2.
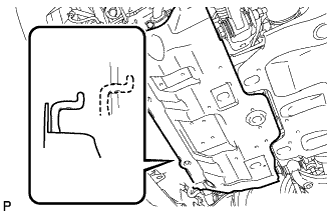
REMOVE NO. 1 ENGINE UNDER COVER SUB-ASSEMBLY
Remove the 4 bolts.
Unhook the engine under cover from the vehicle body as shown in the illustration.
3.
REMOVE REAR ENGINE UNDER COVER ASSEMBLY
Remove the 4 bolts and rear engine under cover.
4.
REMOVE FRONT FENDER APRON SEAL RH
Remove the 5 clips and front fender apron seal.
5.
REMOVE FRONT NO. 1 FENDER APRON TO FRAME SEAL RH
Remove the 5 clips and front No. 1 fender apron to frame seal.
6.
DRAIN AUTOMATIC TRANSMISSION FLUID
Remove the drain plug and gasket, and drain the ATF.
Install a new gasket and the drain plug.
Torque:
20 N*m{
204 kgf*cm
, 15 ft.*lbf
}
7.
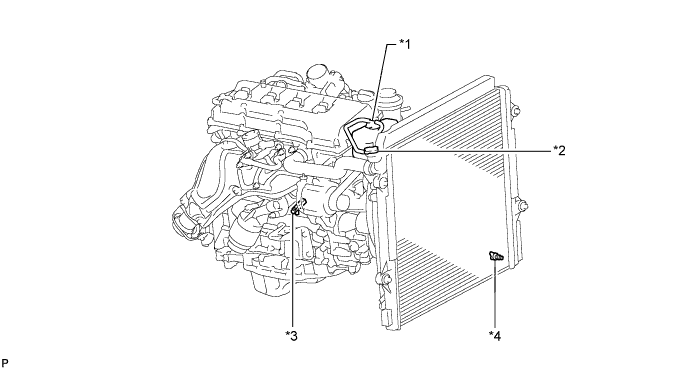
DRAIN ENGINE COOLANT (w/o Air Cooled Transmission Oil Cooler)
CAUTION:
Do not remove the radiator cap while the engine and radiator are still hot. Pressurized, hot engine coolant and steam may be released and cause serious burns.
Text in Illustration
*1
Reservoir Cap
*2
Radiator Cap
*3
Cylinder Block Drain Cock Plug
*4
Radiator Drain Cock Plug
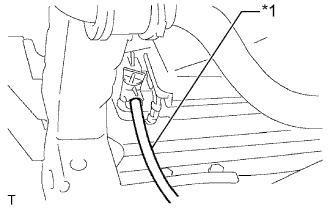
Install a vinyl hose to the radiator side.
Text in Illustration
*1
Vinyl Hose
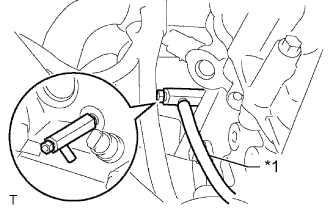
Install a vinyl hose to the engine side.
Text in Illustration
*1
Vinyl Hose
Loosen the radiator drain cock plug.
Remove the radiator cap and drain the coolant.
HINT:
Collect the coolant in a container and dispose of it according to the regulations in your area.
Loosen the cylinder block drain cock plug and drain the coolant from the engine.
8.
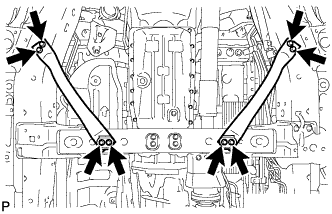
REMOVE TRANSFER CASE LOWER PROTECTOR
Remove the 4 bolts and transfer case lower protector.
9.
REMOVE FRONT EXHAUST PIPE ASSEMBLY
Remove the front exhaust pipe assembly (Click here).
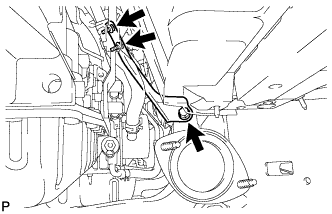
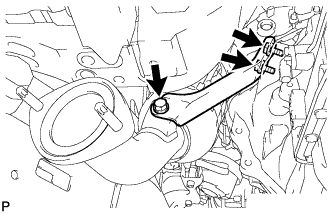
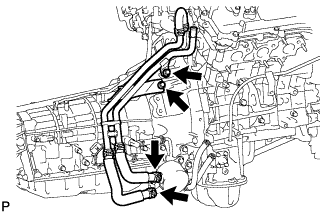
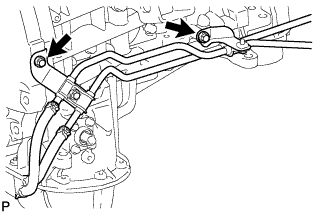
Disconnect the 2 water by-pass hoses from the transmission oil cooler, and remove the 2 bolts and separate the by-pass pipe from the automatic transmission.
NOTICE:
Use a container to catch any coolant which flows out of the water by-pass hoses.
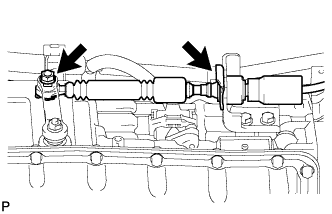
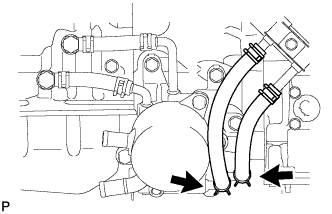
Disconnect the No. 2 oil cooler inlet hose and No. 2 oil cooler outlet hose from the transmission oil thermostat.
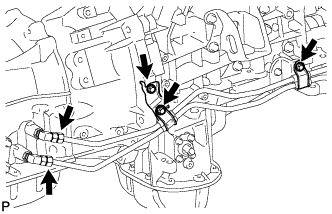
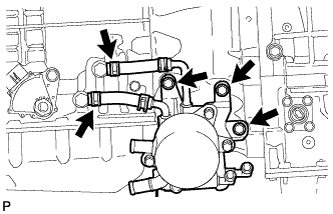
Disconnect the No. 1 oil cooler inlet hose and No. 1 oil cooler outlet hose from each oil cooler tube union.
Remove the 3 bolts and transmission oil cooler with transmission oil thermostat.