DISASSEMBLY
Removal / installation · Vehicles built from Aug 2013
- CAUTION:
- Wear protective gloves. Sharp areas on the parts may injure your hands.
- HINT:
- Use the same procedure for the RH and LH sides.
- The procedure listed below is for the LH side.
- Use the same procedure for the RH and LH sides.
| 1. REMOVE NO. 1 REAR SEAT LEG BRACKET COVER |

Remove the screw.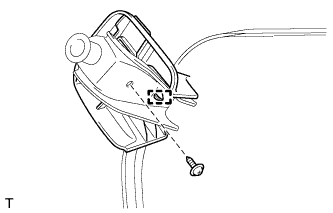

Text in Illustration *1
Guide
Detach the guide and remove the cover.
| 2. REMOVE NO. 2 REAR SEAT LEG BRACKET COVER |
Detach the claw and remove the cover.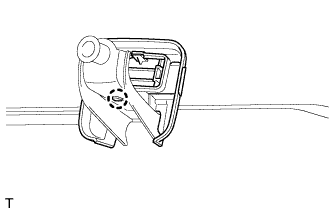
| 3. REMOVE NO. 1 REAR SIDE SEAT CUSHION LEG SUB-ASSEMBLY LH |
Using a screwdriver, remove the 2 E-rings.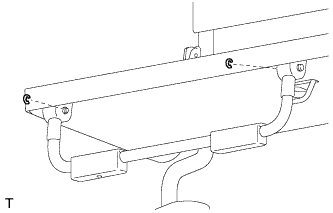
Remove the 2 pins and 2 washers.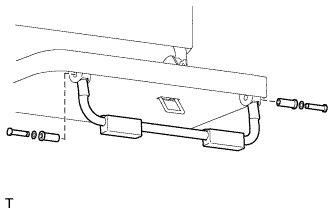
Remove the 2 spacers and seat cushion leg.
Remove the spring from the seat cushion leg.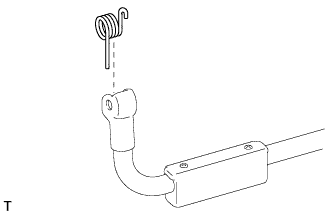
| 4. REMOVE SEAT CUSHION COVER WITH PAD |
Open the 2 fasteners.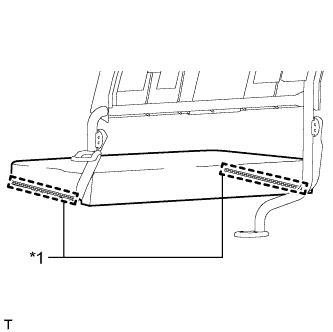
Text in Illustration *1
Fastener
Remove the hog rings and seat cushion cover with pad.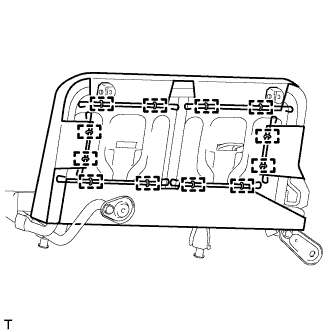
| 5. REMOVE REAR SIDE SEAT CUSHION COVER SUB-ASSEMBLY LH |
Remove the seat cushion cover from the seat cushion pad.
| 6. REMOVE SEATBACK COVER WITH PAD |
Remove the hog rings and seatback cover with pad.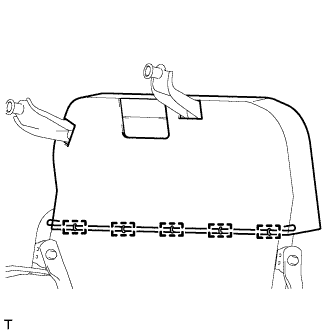
| 7. REMOVE REAR SIDE SEAT BAND SUB-ASSEMBLY |
Remove the screw and seat band.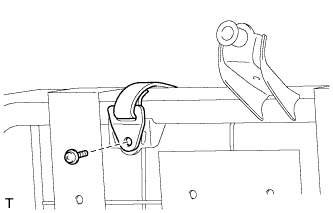
| 8. REMOVE REAR SIDE SEATBACK COVER SUB-ASSEMBLY LH |
Remove the seatback cover from the seatback pad.
| 9. REMOVE REAR SIDE SEATBACK FRAME SUB-ASSEMBLY LH |
Remove the 2 bolts.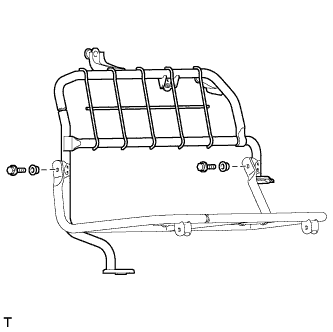
Remove the 2 bushes and seatback frame.