Removal / installation · Vehicles built Aug 2013 – Jul 2014
Versions by build date: Aug 2013 – Jul 2014from Aug 2014
NOTICE:
When replacing the injectors (including shuffling the injectors between the cylinders), common rail or cylinder head, it is necessary to replace the injection pipes with new ones.
When replacing the fuel supply pump, common rail, cylinder block, cylinder head, cylinder head gasket or timing gear case, it is necessary to replace the fuel inlet pipe with a new one.
1.
DISCONNECT CABLE FROM NEGATIVE BATTERY TERMINAL
NOTICE:
After turning the ignition switch off, waiting time may be required before disconnecting the cable from the battery terminal. Therefore, make sure to read the disconnecting the cable from the battery terminal notice before proceeding with work (Click here).
When disconnecting the cable, some systems need to be initialized after the cable is reconnected (Click here).
2.
DRAIN ENGINE OIL
Remove the oil filler cap.
Remove the oil pan drain plug and gasket, and then drain the engine oil into a container.
Wipe the oil pan and drain plug.
Install a new gasket and the oil pan drain plug.
Torque:
34 N*m{
347 kgf*cm
, 25 ft.*lbf
}
3.
REMOVE FRONT BUMPER LOWER COVER
Remove the clip, 5 bolts and front bumper lower cover.
4.
REMOVE NO. 1 ENGINE UNDER COVER SUB-ASSEMBLY
Remove the 4 bolts and No. 1 engine under cover.
5.
DRAIN ENGINE COOLANT
CAUTION:
Do not remove the radiator cap while the engine and radiator are still hot. Pressurized, hot engine coolant and steam may be released and cause serious burns.
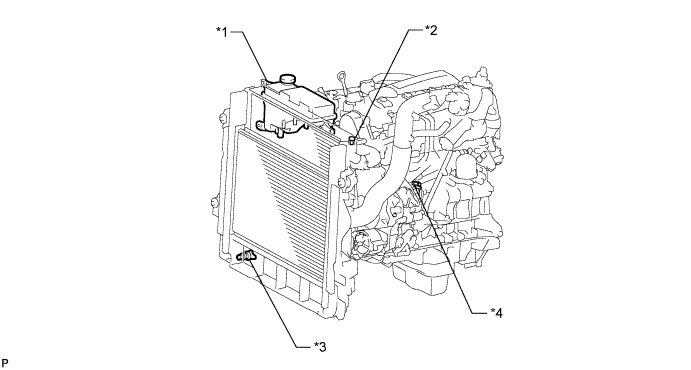
Loosen the radiator drain cock plug.
HINT:
Collect the coolant in a container and dispose of it according to the regulations in your area.
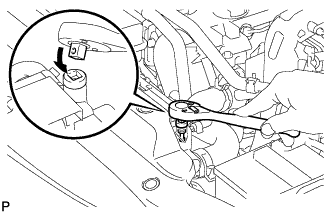
Drain the coolant by removing the reservoir cap and, using a wrench, remove the vent plug.
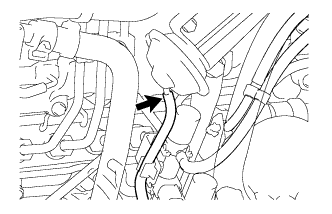
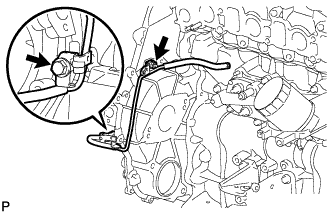
Remove the bolt, nut and No. 1 vacuum transmitting pipe.
31.
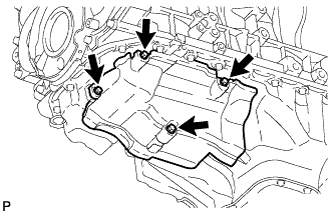
REMOVE NO. 1 OIL PAN COVER SUB-ASSEMBLY
Remove the 4 bolts and No. 1 oil pan cover.
32.
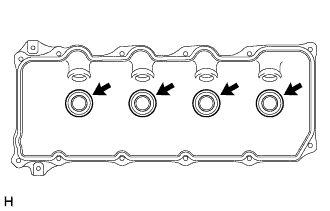
REMOVE NOZZLE HOLDER SEAL
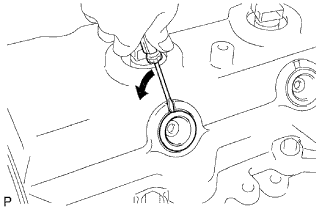
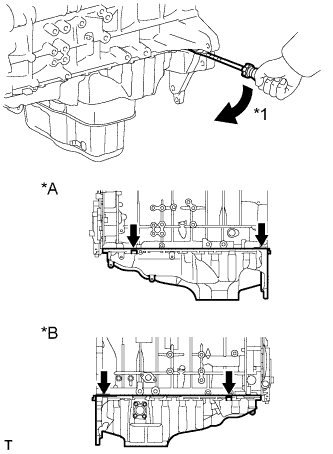
Using a small screwdriver, remove the 4 holder seals by prying between each holder seal and the cutout part of the cylinder head cover.
33.
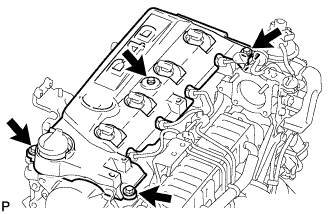
REMOVE CYLINDER HEAD COVER SUB-ASSEMBLY
NOTICE:
If the cylinder head cover is removed, replace the 4 No. 3 cylinder head cover gaskets with new ones.
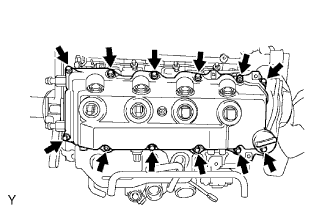
Remove the 10 bolts, 2 nuts, cylinder head cover and gasket.
Remove the 4 No. 3 cylinder head cover gaskets from the cylinder head cover.
34.
REMOVE INJECTOR ASSEMBLY
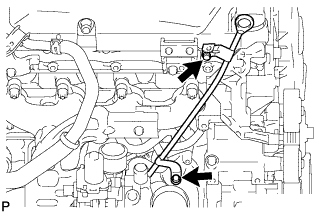
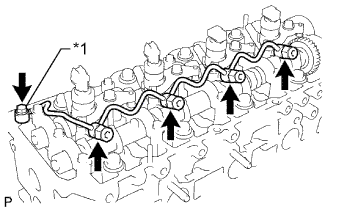
Remove the union bolt, 4 injector hollow screws, 5 gaskets and nozzle leakage pipe.
Text in Illustration
*1
Union Bolt
NOTICE:
When removing the nozzle leakage pipe, place a cushion under the pipe.
Be careful not to deform or scratch the union seal surface.
After removing the nozzle leakage pipe, put it in a plastic bag to prevent foreign matter from contaminating its injector inlet.
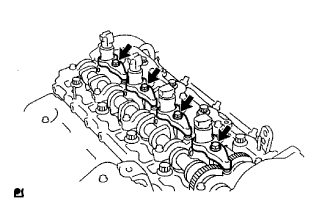
Remove the 4 bolts, 4 washers, 4 No. 1 nozzle holder clamps and 4 injectors.
HINT:
Arrange the injectors, No. 1 nozzle holder clamps, washers and bolts in the correct order.
Remove the O-ring from each injector.
Remove the 4 injection nozzle seats from the cylinder head.
35.
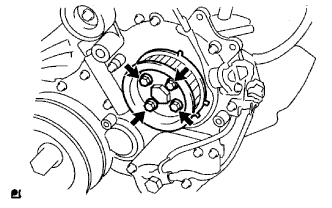
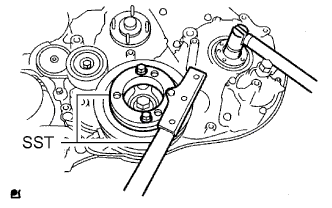
REMOVE CAMSHAFT TIMING PULLEY
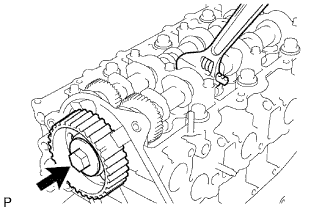
Remove the bolt of the camshaft timing pulley while holding the camshaft with a wrench.
NOTICE:
Make sure the timing belt is not installed when removing the bolt of camshaft timing pulley.
Remove the camshaft timing pulley.
36.
REMOVE NO. 2 TIMING BELT COVER
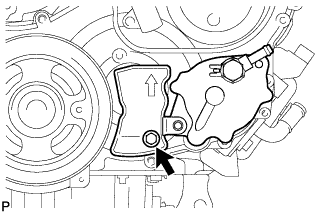
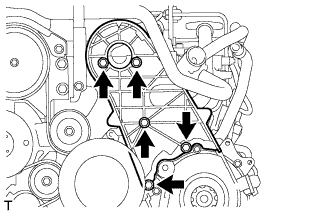
Remove the 4 bolts, nuts and No. 2 timing belt cover.
37.
REMOVE WATER PUMP ASSEMBLY
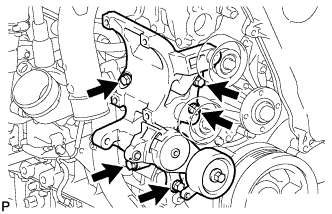
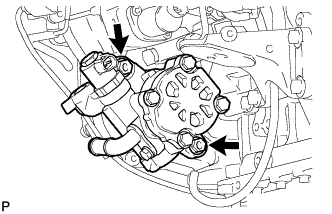
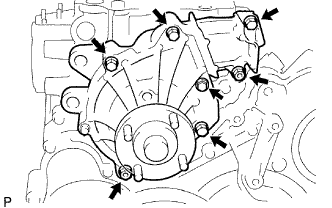
Remove the 5 bolts, 2 nuts, water pump and gasket.
38.
REMOVE TIMING GEAR COVER
NOTICE:
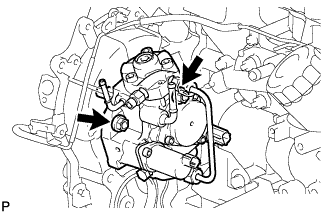
As the fuel supply pump is not installed, the injection gear is loose inside the timing gear case. Do not allow the injection gear to fall.
HINT:
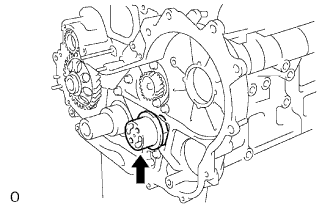
To prevent the injection gear from falling, temporarily install the fuel supply pump.
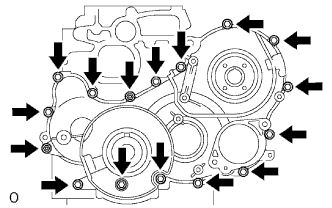
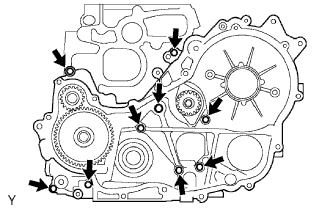
Remove the 14 bolts and 2 nuts.
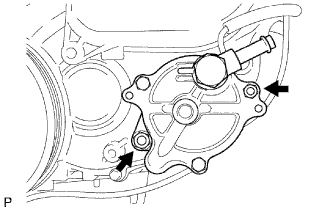
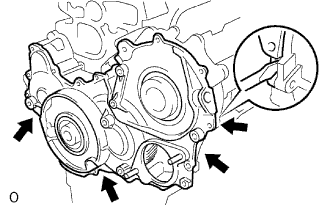
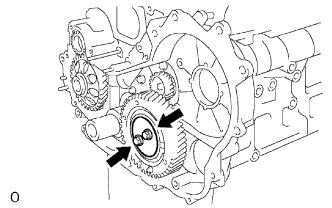
Pry the gear cover at the locations shown in the illustration, and remove the gear cover together with the injection gear.
NOTICE:
Be careful not to drop the injection gear.
Remove the O-ring from the timing gear case.
39.
REMOVE INJECTION GEAR
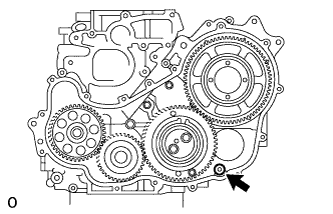
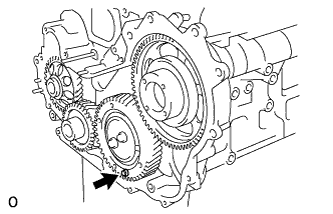
Secure the No. 2 idle sub gear to the No. 1 idle gear with a service bolt.
Torque:
8.0 N*m{
82 kgf*cm
, 71 in.*lbf
}
NOTICE:
If the bolt hole of the No. 2 idle sub gear is not aligned with the bolt hole of the No. 1 idle gear, rotate the crankshaft counterclockwise to align the bolt holes. Then install the service bolt.
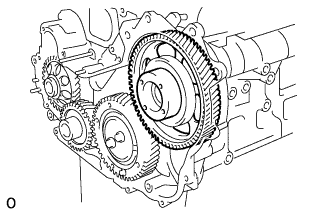
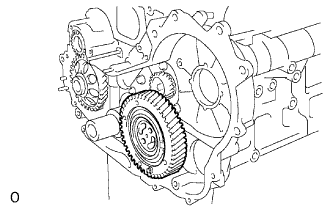
Remove the injection gear.
40.
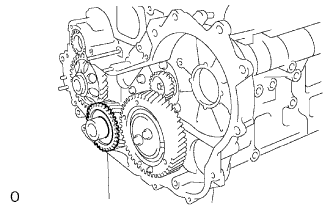
REMOVE NO. 1 CRANKSHAFT POSITION SENSOR PLATE
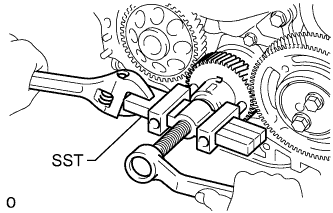
Remove the No. 1 crankshaft position sensor plate.