1GR-FE BATTERY / CHARGING GENERATOR REMOVAL
CAUTION / NOTICE / HINT
The necessary procedures (adjustment, calibration, initialization or registration) that must be performed after parts are removed, installed or replaced during the generator assembly removal/installation are shown below.
| Replaced Part or Performed Procedure | Necessary Procedure | Effect/Inoperative Function when Necessary Procedure not Performed | Link |
|---|---|---|---|
| Battery terminal is disconnected/reconnected | Correction of steering angle neutral point | Multi-terrain monitor system | ( ) |
- HINT:
-
When the cable is disconnected/reconnected to the auxiliary battery terminal, systems temporarily stop operating. However, each system has a function that completes learning the first time the system is used.
-
Learning completes when vehicle is driven
Effect/Inoperative Function When Necessary Procedures are not Performed Necessary Procedures Link Lane departure alert system Drive the vehicle straight ahead at 40 km/h (25 mph) or more for 10 seconds or more. ( )
Pre-collision system Lighting system (EXT) (for LED Headlight) Stop and start system Drive the vehicle until stop and start control is permitted (approximately 5 to 60 minutes) ( )
Vehicle stability control system (for Hydraulic brake booster) Drive the vehicle straight ahead at 40 km/h (25 mph) or more for at least 10 seconds. ( )
PROCEDURE

 1. PRECAUTION
- NOTICE:
-
After turning the ignition switch off, waiting time may be required before disconnecting the cable from the negative (-) battery terminal.
-
Click hereGeneral>INTRODUCTION>REPAIR INSTRUCTION>PRECAUTION
2.DISCONNECT CABLE FROM NEGATIVE BATTERY TERMINAL
3.DISCONNECT CABLE FROM POSITIVE BATTERY TERMINAL
74481
4.REMOVE BATTERY HOLD DOWN CLAMP
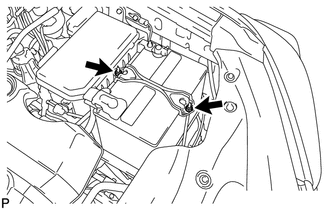
Loosen the 2 nuts and remove the battery hold down clamp.
28800
5.REMOVE BATTERY
74431
6.REMOVE BATTERY TRAY
11259
7.REMOVE V-BANK COVER
16361A
8.REMOVE FAN AND GENERATOR V BELT
16604
9.REMOVE NO. 2 IDLER PULLEY SUB-ASSEMBLY
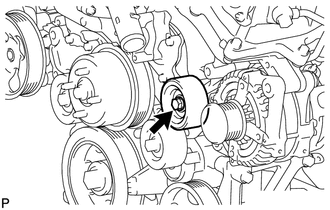
for Integrated Type:
Remove the bolt and No. 2 idler pulley.
for Separate Type:
Remove the bolt, No. 2 idler pulley cover plate, No. 2 idler pulley and idler pulley cover plate.
10.REMOVE WIRING HARNESS CLAMP BRACKET
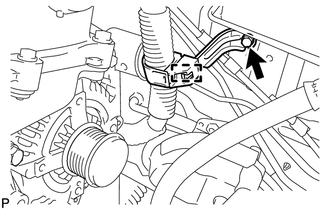
Detach the clamp.
Remove the bolt and wiring harness clamp bracket.
17168
11.REMOVE NO. 2 EXHAUST MANIFOLD HEAT INSULATOR
27060
12.REMOVE GENERATOR ASSEMBLY
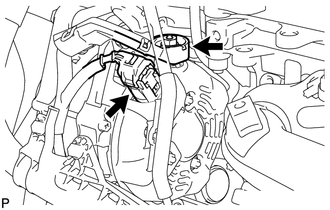
Open the terminal cap.
Remove the nut and disconnect the wire harness from terminal B.
Disconnect the generator connector from the generator assembly.
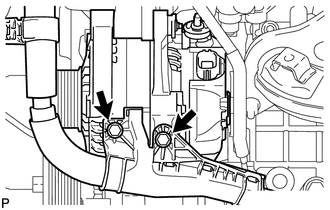
Remove the 2 bolts and disconnect the wire harness.
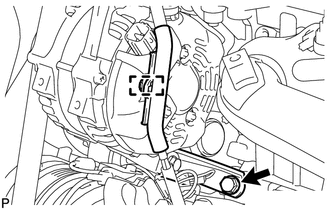
Disconnect the wire harness clamp.
Remove the bolt and disconnect the generator bracket.
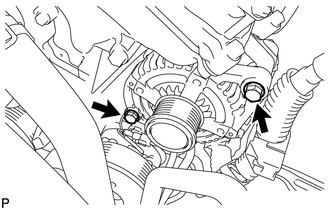
Remove the 2 bolts and generator assembly.
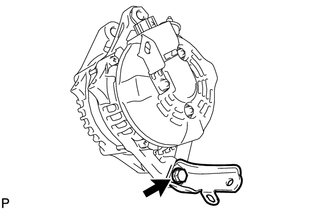
Remove the bolt and generator bracket.