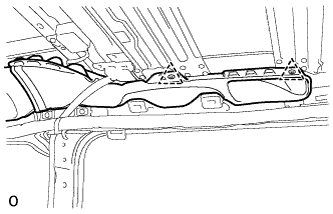
Use the same procedures described for the No. 5 roof air duct.
7.
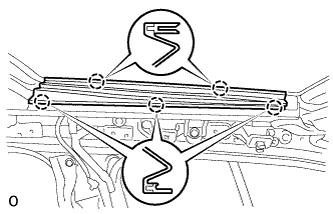
REMOVE SLIDING ROOF SIDE GARNISH LH
Detach the 5 claws and remove the side garnish.
8.
REMOVE SLIDING ROOF SIDE GARNISH RH
HINT:
Use the same procedures described for the LH side.
9.
REMOVE SLIDING ROOF GLASS SUB-ASSEMBLY
Using a T25 "TORX" driver, remove the 4 screws and glass.
10.
REMOVE SLIDING ROOF WEATHERSTRIP
Remove the sliding roof weatherstrip.
11.
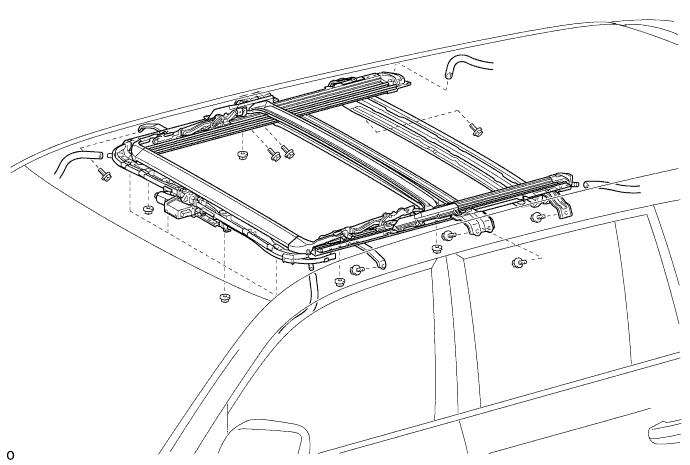
REMOVE SLIDING ROOF HOUSING SUB-ASSEMBLY
w/ Sliding Roof Lock Catch Plate LH, for Steel Type:
Disconnect the 4 sliding roof drain hoses.
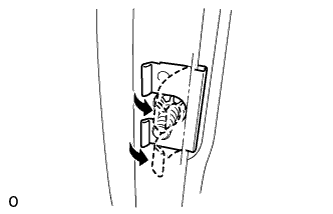
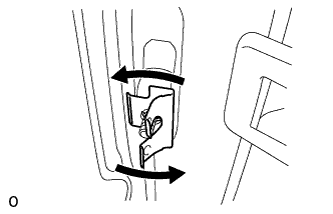
Break off the sliding roof lock catch plate LH as shown in the illustration.
NOTICE:
Do not damage the sliding roof housing or vehicle body.
Remove the 8 bolts, 8 nuts and housing.
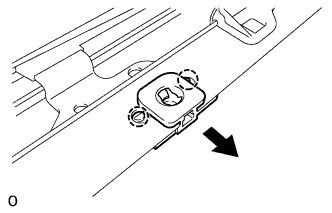
Rotate the sliding roof lock catch plate LH as shown in the illustration and remove it.
HINT:
This part is used when the vehicle is assembled at the factory and is not needed for the reinstallation.
w/ Sliding Roof Lock Catch Plate LH, for Resin Type:
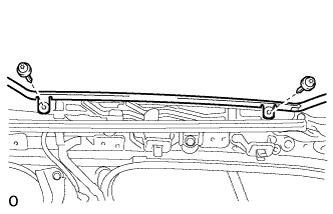
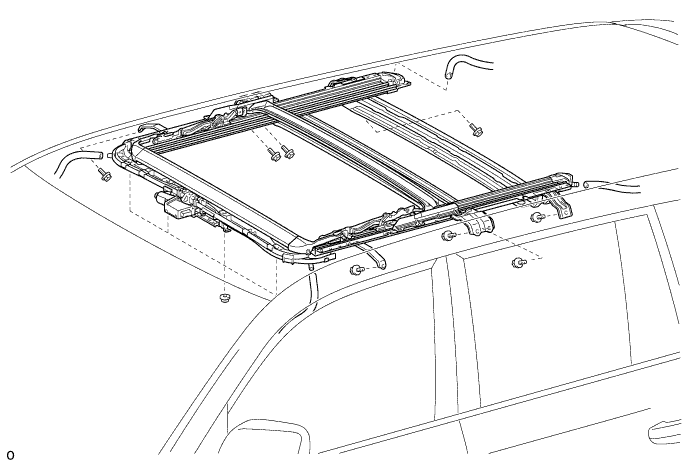
Disconnect the 4 sliding roof drain hoses.
Remove the 4 bolts and 4 nuts.
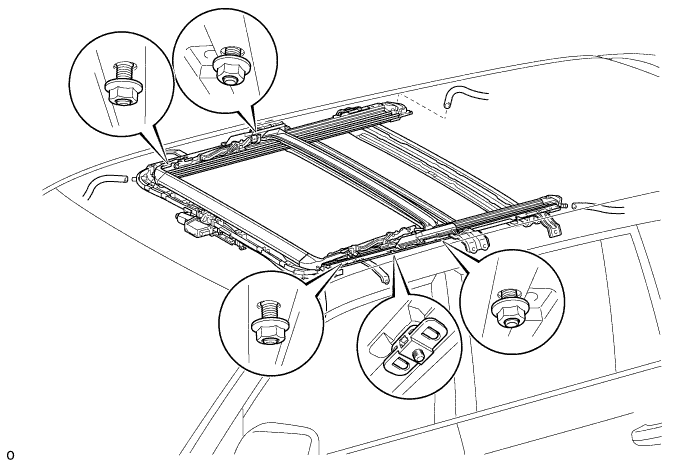
Loosen the 4 nuts as shown in the illustration.
NOTICE:
Be sure that the nuts are fully threaded onto the bolts.
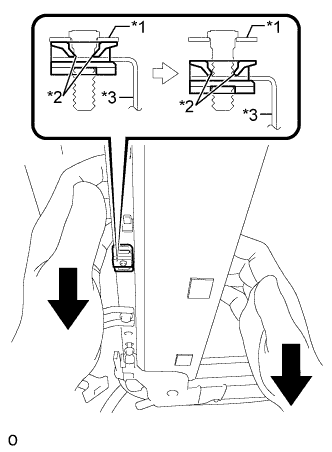
Pull the sliding roof housing sub-assembly downward and detach the 2 claws of the sliding roof lock catch plate LH form the stud bolt as shown in the illustration.
Text in Illustration
*1
Bracket (Roof Panel)
*2
Sliding Roof Lock Catch Plate LH Claw
*3
Sliding Roof Housing Sub-assembly
NOTICE:
Performing this procedure breaks the claws of the sliding roof lock catch plate LH so that the sliding roof housing sub-assembly can be removed. However, do not use excessive force.
Remove the 4 nuts and sliding roof housing subassembly.
Detach the 2 claws and remove the sliding roof lock catch plate LH from the sliding roof housing subassembly.
HINT:
The sliding roof lock catch plate LH is used when the vehicle is assembled at the factory and is not needed for reinstallation.