Removal / installation · Vehicles built Sep 2011 – Dec 2011
Versions by build date: Sep 2011 – Dec 2011from Jan 2012
1.
REPLACE VALVE STEM OIL SEAL
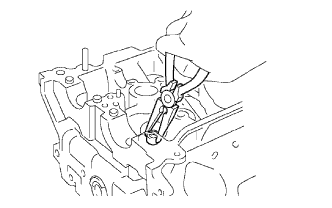
Using needle-nose pliers, remove the valve stem oil seal.
Apply a light coat of engine oil to the valve stem oil seal.
HINT:
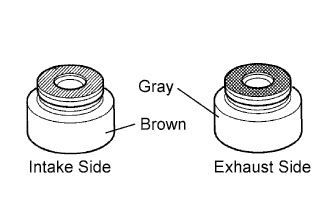
The intake valve stem oil seal is light brown and the exhaust valve stem oil seal is gray.
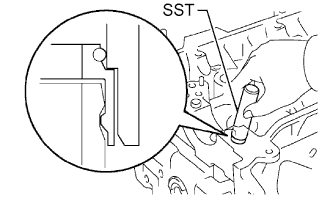
Using SST and a hammer, push in a new valve stem oil seal.
SST
09201-41020
2.
REPLACE VALVE GUIDE BUSH
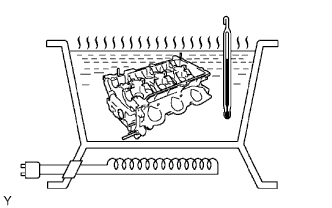
Gradually heat the cylinder head to 80 to 90°C (176 to 212°F).
Place the cylinder head on wooden blocks.
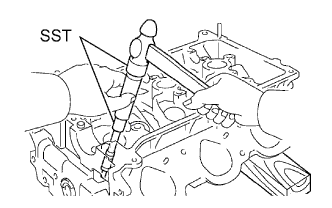
Using SST and hummer, tap out the valve guide bush.
SST
09201-10000 09201-01055 09950-70010
(09951-07100)
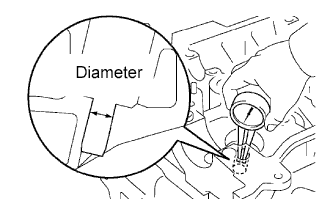
Using a caliper gauge, measure the bush bore diameter of the cylinder head.
Standard bush bore diameter:
10.295 to 10.315 mm (0.405 to 0.406 in.)
If the bush bore diameter of the cylinder head is more than 10.315 mm (0.406 in.), machine the bush bore to a diameter of 10.345 to 10.365 mm (0.407 to 0.408 in.).
Standard Valve Guide Bush Diameter:
Item
Specified Condition
STD
10.333 to 10.344 mm (0.4068 to 0.4072 in.)
O/S 0.05
10.383 to 10.394 mm (0.4088 to 0.4092 in.)
If the bush bore diameter of the cylinder head is more than 10.365 mm (0.4081 in.), replace the cylinder head.
Gradually heat the cylinder head to 80 to 100°C (176 to 212°F).
Place the cylinder head on wooden blocks.
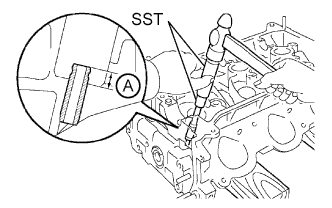
Using SST, tap in a new valve guide bush to the standard protrusion height labeled A shown in the illustration.
SST
09201-10000 09201-01055 09950-70010
(09951-07100)
Standard protrusion height:
9.3 to 9.7 mm (0.366 to 0.382 in.)
Using a sharp 5.5 mm reamer, ream the valve guide bush to obtain the standard specified clearance between the valve guide bush and valve stem.
Standard Overall Length:
Item
Specified Condition
Intake
0.025 to 0.060 mm (0.00984 to 0.00236 in.)
Exhaust
0.030 to 0.065 mm (0.00118 to 0.00256 in.)
3.
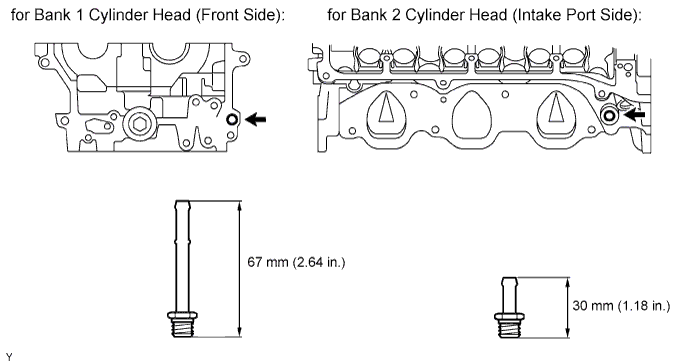
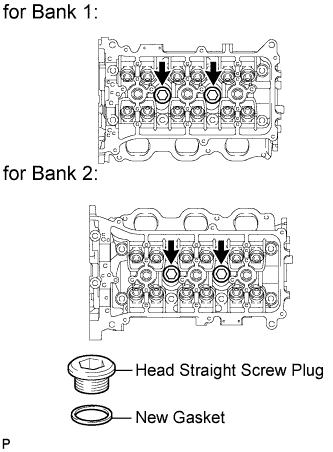
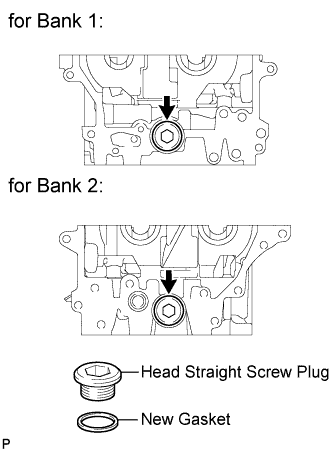
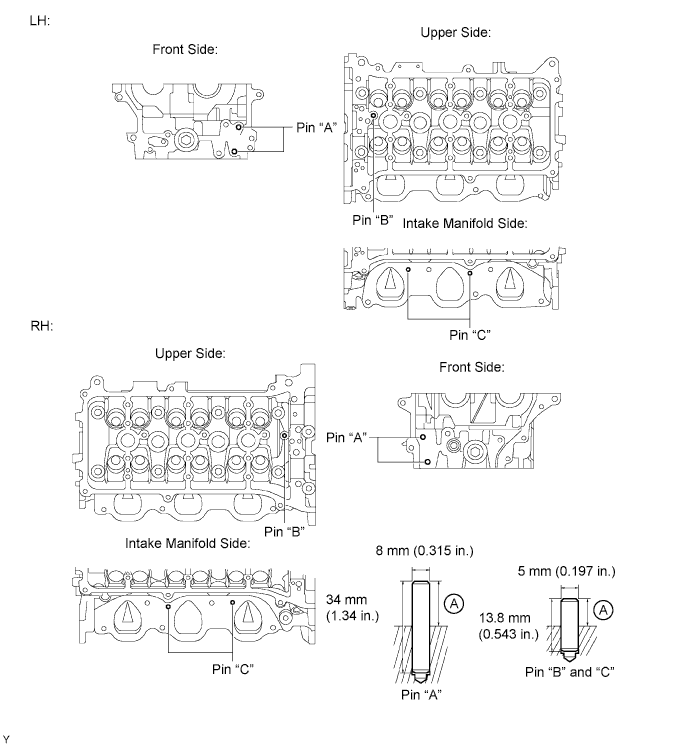
REPLACE UNION
Remove the union from the bank 1 cylinder head (front side) and bank 2 cylinder head (intake port side).
Apply adhesive to 2 or 3 threads of the bolt ends of new unions.
Adhesive:
Toyota Genuine Seal Adhesive 1324, Three Bond 1324 or equivalent
Using a 12 mm deep socket wrench, install the 2 unions.
Torque:
15 N*m{
150 kgf*cm
, 11 ft.*lbf
}
4.
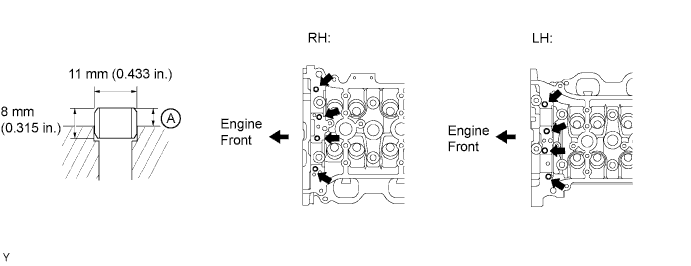
REPLACE TIGHT PLUG
NOTICE:
If water leaks from the tight plug or the plug corrodes, replace it.
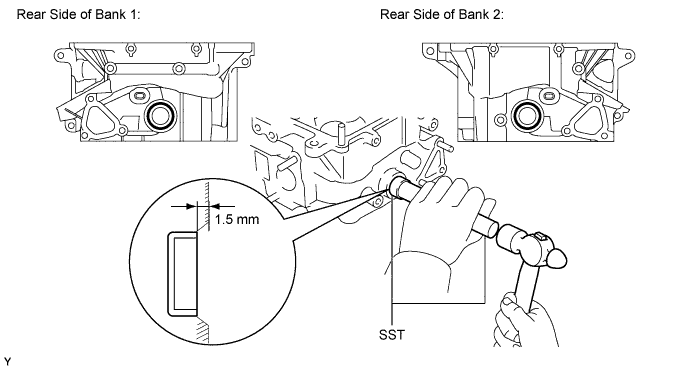
Remove the tight plugs.
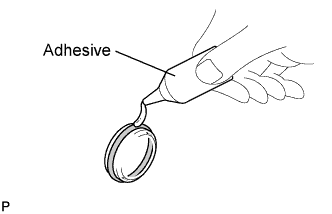
Apply adhesive around new tight plugs.
Adhesive:
Toyota Genuine Adhesive 1324, Three Bond 1324 or equivalent
Using SST and a hammer, tap in the tight plugs to the standard depth.