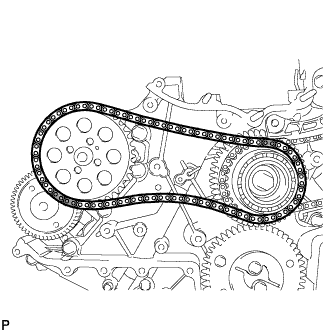
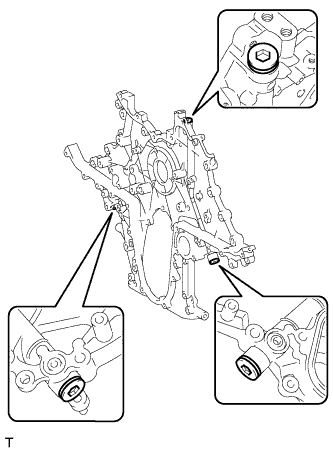
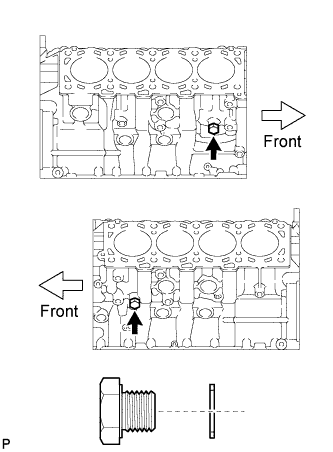
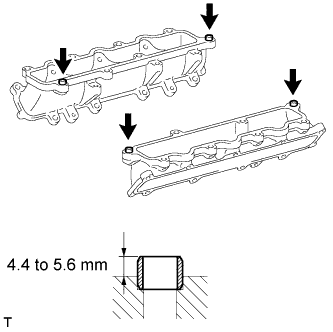
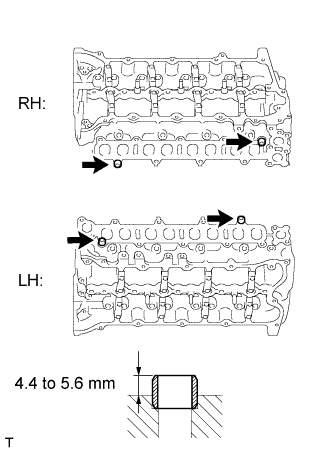
Removal / installation · Vehicles built Sep 2011 – Dec 2011
Versions by build date: Sep 2011 – Dec 2011from Jan 2012
CAUTION:
When replacing an injector (including interchanging injectors between cylinders), common rail, cylinder head, or intake manifold, replace the corresponding injection pipes with a new one.
1.
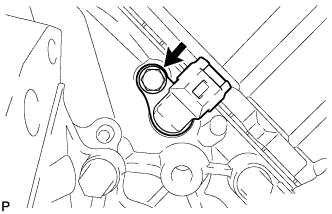
REMOVE CAMSHAFT POSITION SENSOR
Remove the bolt and sensor.
2.
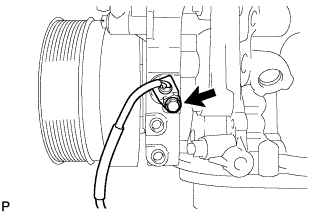
REMOVE CRANKSHAFT POSITION SENSOR
Remove the bolt and sensor.
3.
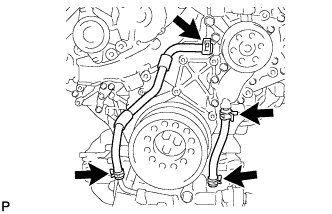
DISCONNECT NO. 1 OIL COOLER HOSE
4.
DISCONNECT NO. 2 OIL COOLER HOSE
5.
REMOVE CRANKSHAFT PULLEY
NOTICE:
This procedure is intended for removal/installation of the crankshaft pulley only. Do not use this procedure for removal/installation of the flywheel or the drive plate and ring gear.
Install the 2 bolts to the bolt holes of the crankshaft rear side.
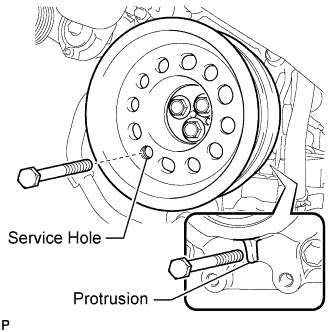
Using a bar, turn the crankshaft until the crankshaft pulley service hole is a little to the left of bottom dead center.
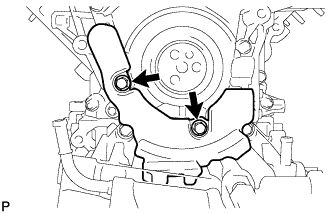
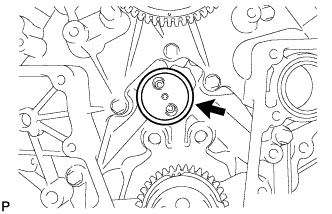
Install a 14 mm x 1.5 pitch service bolt with a length of 70 mm or more to the crankshaft pulley service hole, and hold the crankshaft using the timing chain cover protrusion.
Remove the 3 bolts and crankshaft pulley.
NOTICE:
If the crankshaft pulley cannot be removed, temporarily install a bolt to the crankshaft so that the pulley does not fall, and lightly tap the outer edge of the mass damper with a plastic-faced hammer to remove the pulley. Do not tap the pulley V-ribbed belt ribs, as the crankshaft may be damaged.
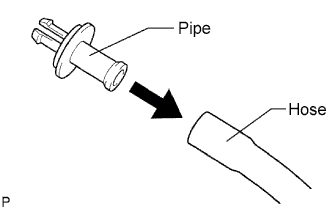
Connect a hose with an inside diameter of 15 mm (0.591 in.) to the pipe.
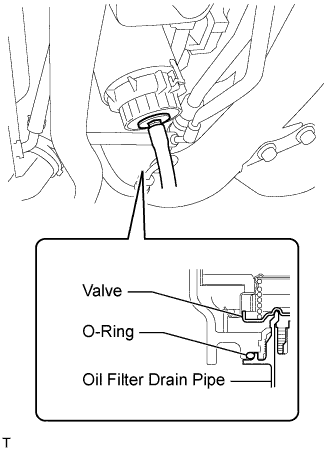
Remove the O-ring from the oil filter drain plug and install it to the drain pipe.
Install the oil filter drain pipe to the oil filter cap and drain the engine oil.
Remove the oil filter drain pipe.
Apply a light coat of engine oil to a new O-ring, and install it to the oil filter drain plug.
Install the oil filter drain plug to the oil filter cap.
Torque:
13 N*m{
127 kgf*cm
, 9 ft.*lbf
}
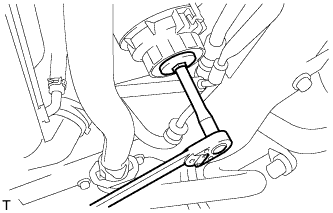
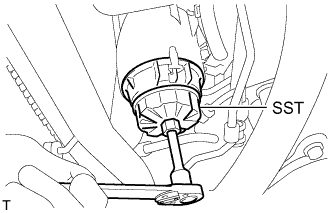
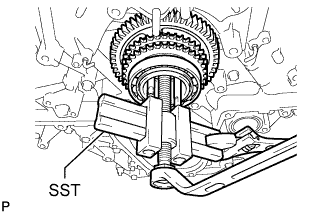
Using SST, remove the oil filter cap.
SST
09228-06501
HINT:
Use a container to catch the draining oil. After the oil filter cap is loosened approximately 4 turns and the cap ribs are vertical, engine oil drains from the gap between the oil filter cap and oil pan.
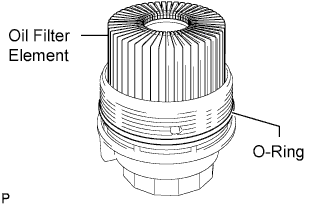
Remove the oil filter element and O-ring from the oil filter cap.
NOTICE:
Be sure to remove the cap O-ring by hand, without using any tools, to prevent damage to the cap O-ring groove.
8.
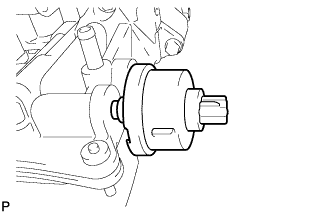
REMOVE OIL PRESSURE SENDER GAUGE ASSEMBLY
Remove the oil pressure sender gauge.
9.
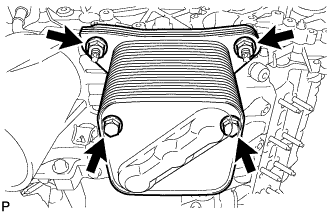
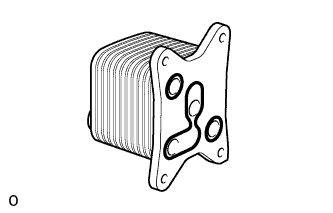
REMOVE OIL COOLER ASSEMBLY
Remove the 2 bolts, 2 nuts and oil cooler.
Remove the 2 O-rings and oil cooler gasket.
10.
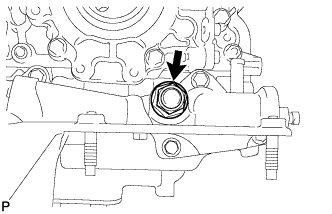
REMOVE OIL COOLER RELIEF VALVE ASSEMBLY
Remove the oil cooler relief valve and gasket.
11.
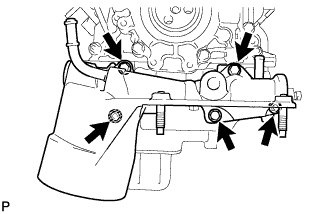
REMOVE OIL FILTER BRACKET SUB-ASSEMBLY
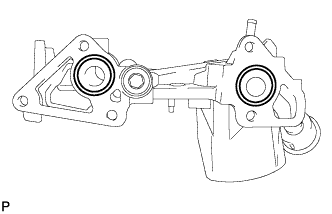
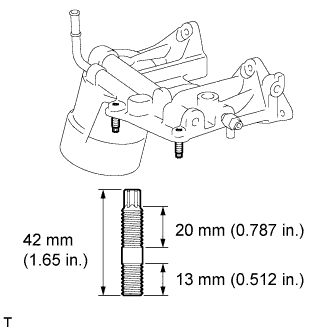
Remove the 3 bolts, 2 nuts and oil filter bracket.
Remove the 2 O-rings.
12.
REMOVE ENGINE OIL LEVEL SENSOR
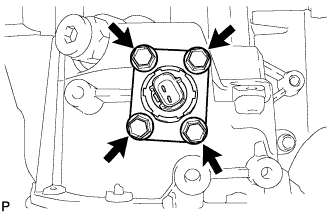
Remove the 4 bolts and engine oil level sensor.
Remove the gasket.
13.
REMOVE OIL PAN DRAIN PLUG
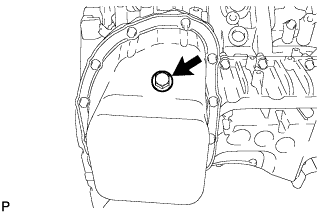
Remove the oil pan drain plug and gasket.
14.
REMOVE NO. 2 OIL PAN SUB-ASSEMBLY
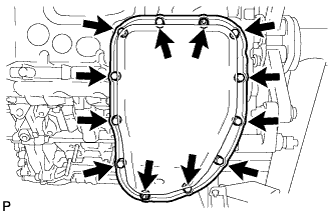
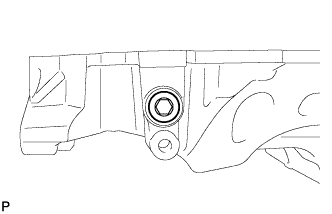
Remove the 10 bolts and 2 nuts.
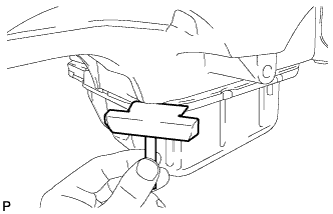
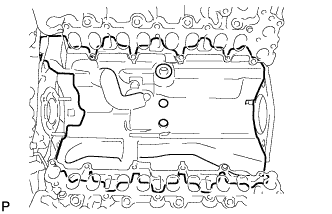
Insert the blade of an oil pan seal cutter between the oil pans. Cut through the applied sealer and remove the No. 2 oil pan.
NOTICE:
Be careful not to damage the contact surfaces of the oil pans.
15.
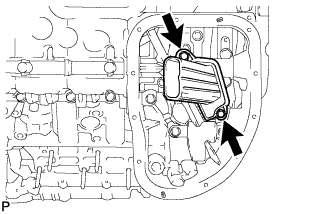
REMOVE OIL STRAINER SUB-ASSEMBLY
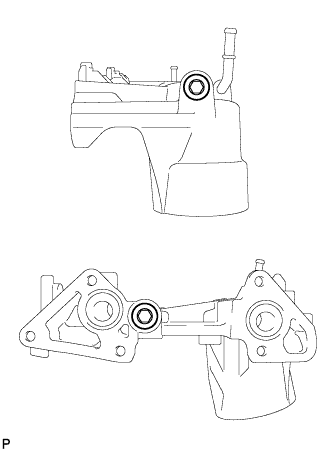
Remove the 2 bolts and oil strainer.
Remove the O-ring from the oil strainer.
16.
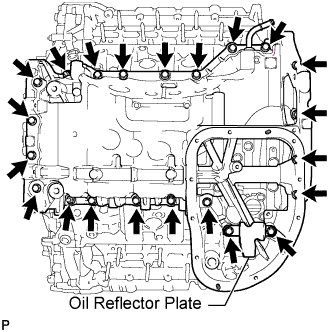
REMOVE NO. 1 OIL PAN SUB-ASSEMBLY
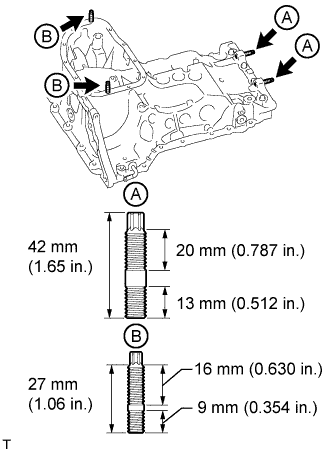
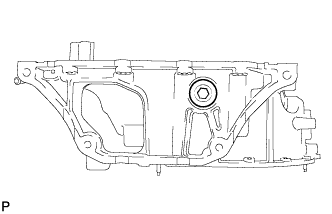
Remove the 20 bolts, 2 nuts and oil reflector plate.
NOTICE:
If the oil reflector plate is deformed, replace it.
HINT:
Be sure to clean the bolts and stud bolts, and check the threads for cracks or other damage.
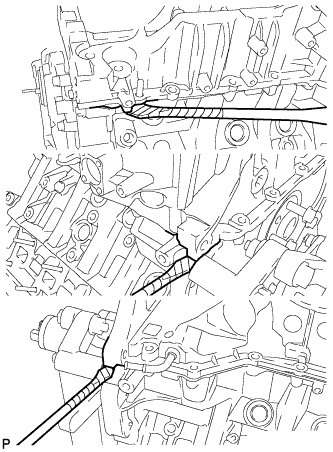
Remove the No. 1 oil pan by prying between the No. 1 oil pan and cylinder block with a screwdriver.
NOTICE:
Be careful not to damage the contact surfaces of the cylinder block and oil pan.
HINT:
Tape the screwdriver tip before use.
Remove the 3 O-rings.
Remove the cylinder block oil hole gasket.
17.
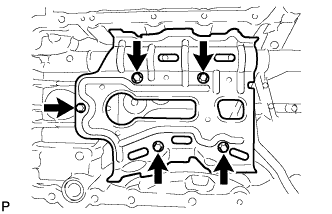
REMOVE NO. 1 OIL PAN BAFFLE PLATE
Remove the 5 bolts and No. 1 oil pan baffle plate.
18.
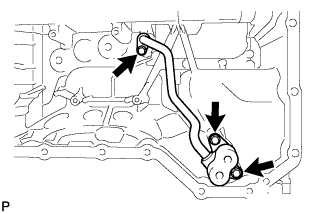
REMOVE INLET OIL PUMP PIPE
Remove the 3 bolts and inlet oil pump pipe.
Remove the O-ring from the inlet oil pump pipe.
19.
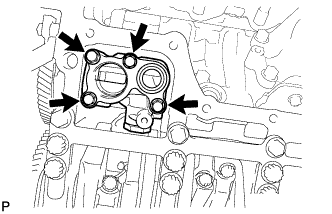
REMOVE OIL REGULATOR ASSEMBLY
Remove the 4 bolts and oil regulator.
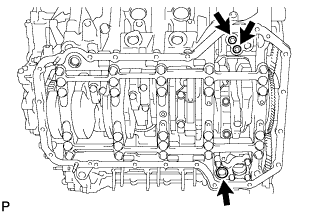
20.
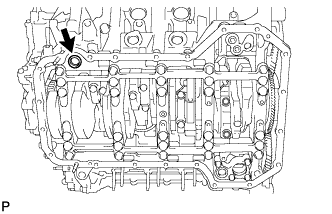
REMOVE REAR ENGINE OIL SEAL RETAINER
Remove the 10 bolts.
Remove the oil seal retainer by prying between the oil seal retainer and cylinder block with a screwdriver.
HINT:
Tape the screwdriver tip before use.
21.
REMOVE REAR CRANKSHAFT OIL SEAL
Place the oil seal retainer on wooden blocks.
Using a screwdriver and hammer, tap out the oil seal.
HINT:
Tape the screwdriver tip before use.
22.
REMOVE OIL PUMP ASSEMBLY
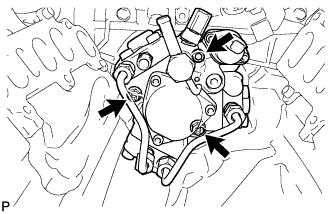
Remove the 4 bolts and oil pump.
23.
REMOVE SCAVENGING PUMP ASSEMBLY
Remove the 4 bolts and scavenging pump.
24.
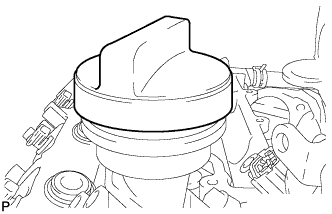
REMOVE OIL FILLER CAP SUB-ASSEMBLY
25.
REMOVE OIL FILLER CAP GASKET
26.
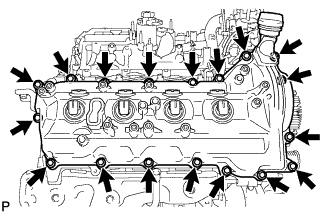
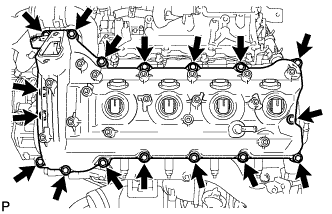
REMOVE CYLINDER HEAD COVER SUB-ASSEMBLY RH
Remove the 18 bolts, cylinder head cover and gasket.
27.
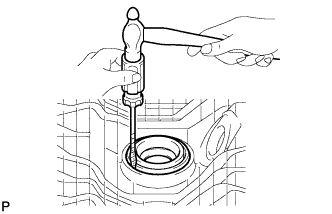
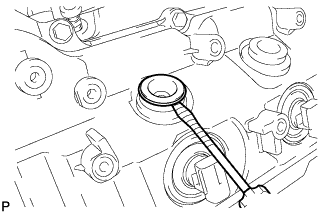
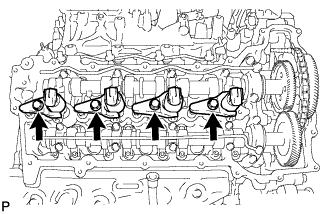
REMOVE NOZZLE HOLDER GASKET RH
Using a small screwdriver and hammer, remove the 4 nozzle holder gaskets.
HINT:
Tape the screwdriver tip before use.
28.
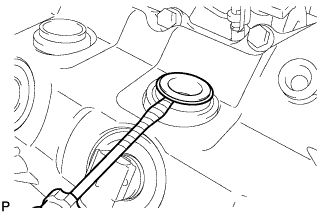
REMOVE NOZZLE HOLDER SEAL RH
Using a small screwdriver, remove the 4 holder seals by prying the portion between each holder seal and the cutout part of the cylinder head cover.
HINT:
Tape the screwdriver tip before use.
29.
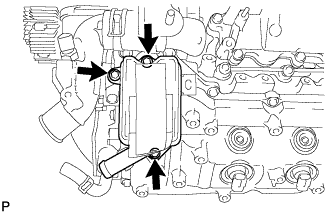
REMOVE OIL SEPARATOR ASSEMBLY
Remove the 3 bolts, oil separator and gasket.
30.
REMOVE CYLINDER HEAD COVER SUB-ASSEMBLY LH
Remove the 17 bolts, cylinder head cover and gasket.
31.
REMOVE NOZZLE HOLDER GASKET LH
Using a small screwdriver and hammer, remove the 4 nozzle holder gaskets.
HINT:
Tape the screwdriver tip before use.
32.
REMOVE NOZZLE HOLDER SEAL LH
Using a small screwdriver, remove the 4 holder seals by prying the portion between each holder seal and the cutout part of the cylinder head cover.
HINT:
Tape the screwdriver tip before use.
33.
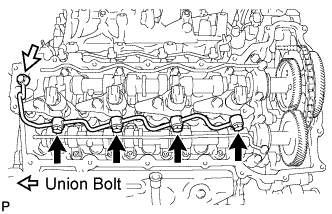
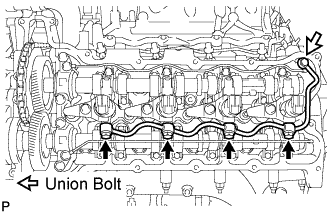
REMOVE FUEL INJECTOR RH
Remove the union bolt, 4 hollow screws, 5 gaskets and nozzle leakage pipe.
NOTICE:
When removing the nozzle leakage pipe, place a cushion under the pipe.
Be careful not to deform or scratch the union seal surface.
After removing the nozzle leakage pipe, put it in a plastic bag to prevent foreign matter from contaminating its injector inlet.
Remove the 4 bolts, 4 washers, 4 nozzle holder clamps and 4 injectors.
HINT:
Arrange the injectors, holder clamps, washers and bolts in the correct order.
Remove the O-ring from each injector.
Remove the 4 injection nozzle seats from the cylinder head.
34.
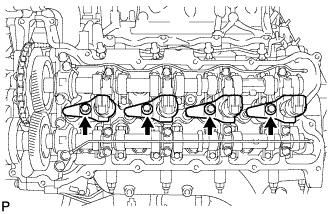
REMOVE FUEL INJECTOR LH
Remove the union bolt, 4 hollow screws, 5 gaskets and No. 2 nozzle leakage pipe.
NOTICE:
When removing the nozzle leakage pipe, place a cushion under the pipe.
Be careful not to deform or scratch the union seal surface.
After removing the nozzle leakage pipe, put it in a plastic bag to prevent foreign matter from contaminating its injector inlet.
Remove the 4 bolts, 4 washers, 4 nozzle holder clamps and 4 injectors.
HINT:
Arrange the injectors, holder clamps, washers and bolts in the correct order.
Remove the O-ring from each injector.
Remove the 4 injection nozzle seats from the cylinder head.
35.
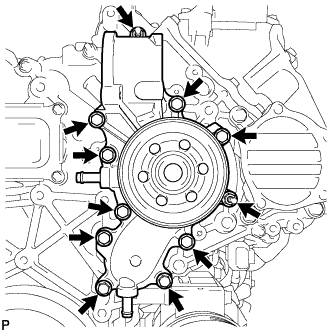
REMOVE WATER PUMP ASSEMBLY
Remove the 9 bolts, 2 nuts, water pump and gasket.
36.
REMOVE TIMING CHAIN COVER PLATE
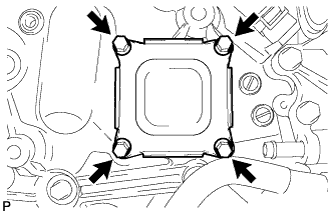
Remove the 4 bolts, timing chain cover plate and gasket.
37.
REMOVE TIMING CHAIN COVER SUB-ASSEMBLY
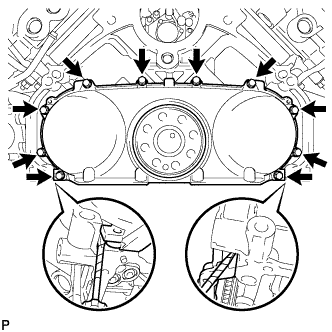
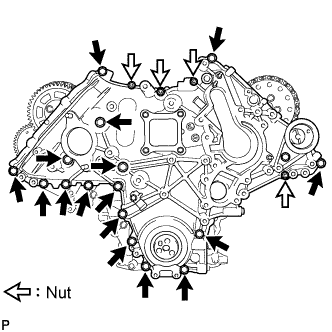
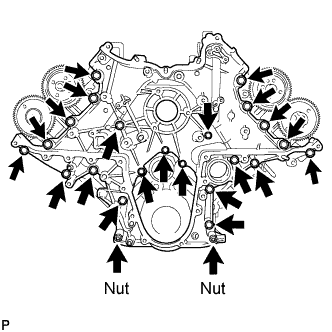
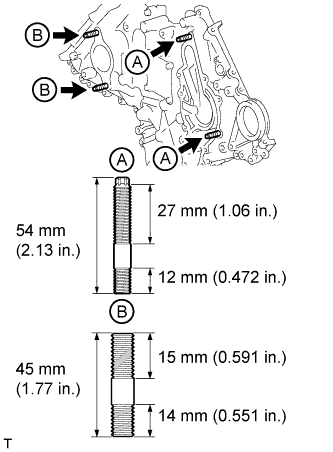
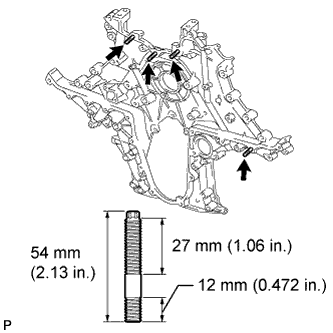
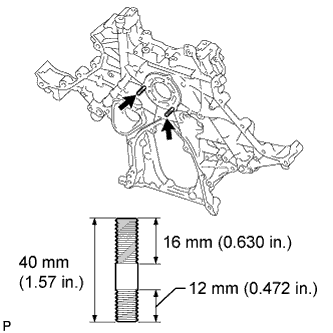
Remove the 4 nuts and 16 bolts.
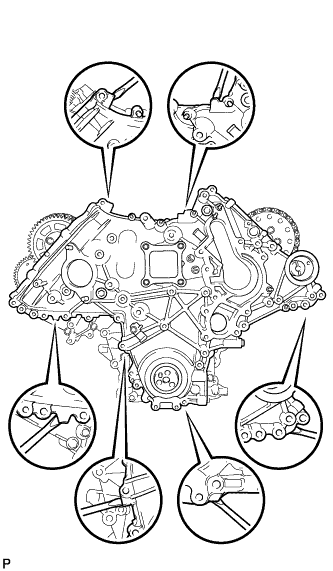
Using a screwdriver, remove the timing chain cover by prying between the timing chain cover and timing gear case.
HINT:
Tape the screwdriver tip before use.
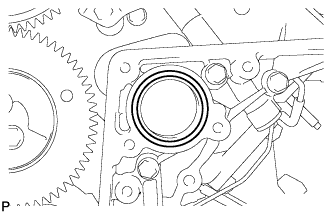
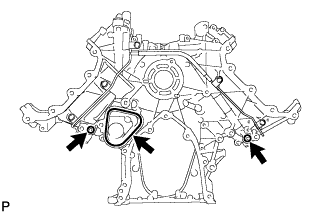
Remove the O-ring from the timing gear case.
38.
REMOVE FRONT CRANKSHAFT OIL SEAL
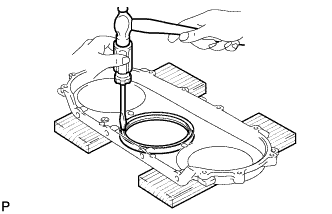
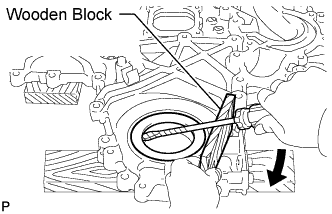
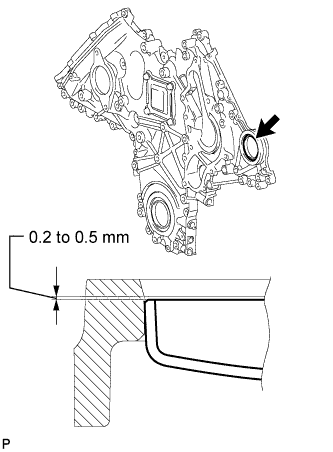
Place the timing chain cover on wooden blocks.
Using a screwdriver and wooden block, pry out the oil seal.
NOTICE:
Do not damage the surface of the oil seal press fit hole.
HINT:
Tape the screwdriver tip before use.
39.
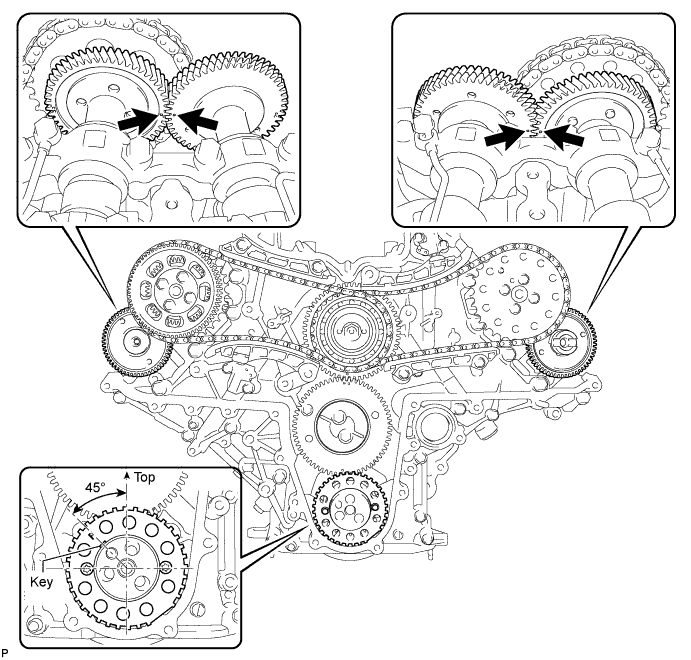
SET NO. 1 CYLINDER TO TDC/COMPRESSION
Temporarily install the 2 crankshaft pulley set bolts to the crankshaft.
Turn the crankshaft clockwise to set the No. 1 cylinder to TDC.
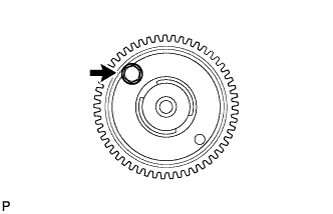
With the crankshaft key 45° counterclockwise from the top position, check that the timing marks of the RH and LH camshaft timing gears are aligned. If not as specified, turn the crankshaft 1 revolution (360°) and align the timing marks as shown below.
Remove the 2 crankshaft pulley set bolts.
40.
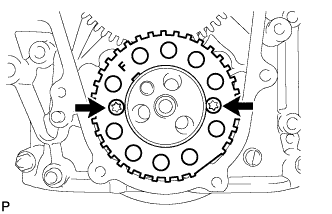
REMOVE NO. 1 CRANKSHAFT POSITION SENSOR PLATE
Using a T30 "TORX" wrench, remove the 2 screws and crankshaft position sensor plate.
41.
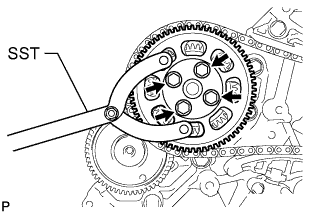
REMOVE PUMP DRIVE SHAFT GEAR
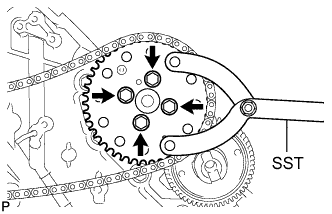
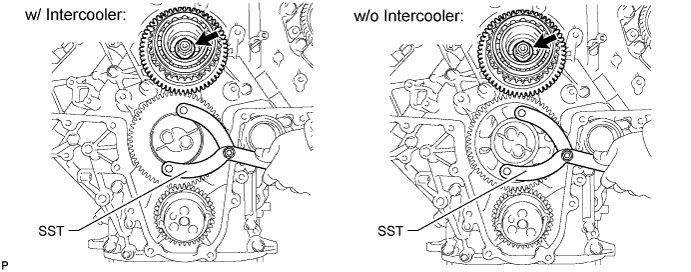
Using SST, hold the pump drive shaft gear.
SST
09960-10010
(09962-01000, 09963-01000)
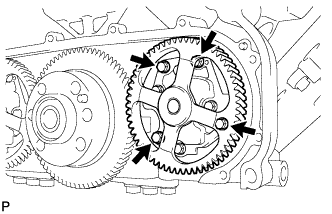
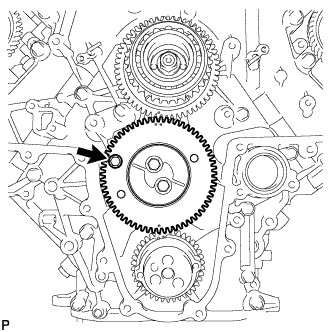
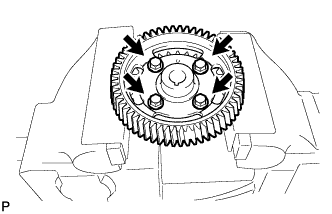
Remove the 4 bolts and pump drive shaft gear.
42.
REMOVE NO. 1 CHAIN TENSIONER ASSEMBLY
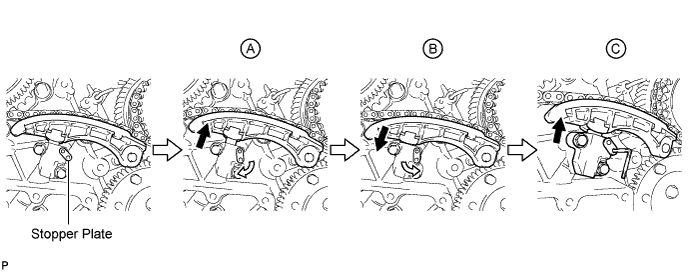
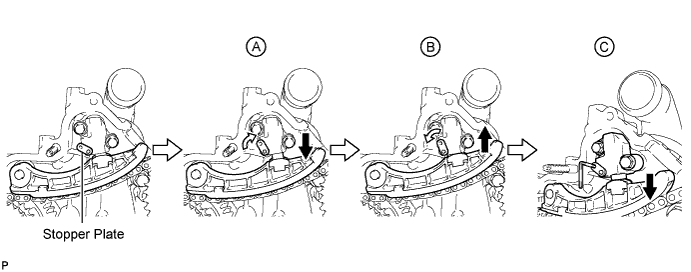
Push the tensioner slipper away from the tensioner, and move the stopper plate clockwise to release the lock as shown in A.
Push down the tensioner slipper and move the stopper plate counterclockwise to set the lock as shown in B.
Push the tensioner slipper away from the tensioner, and insert a hexagon wrench into the stopper plate hole as shown in C.
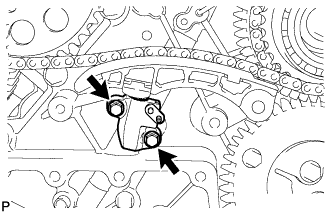
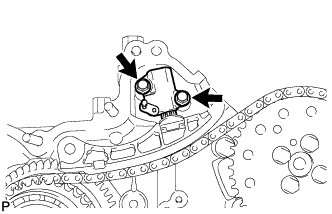
Remove the 2 bolts and No. 1 chain tensioner.
43.
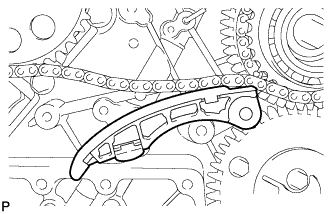
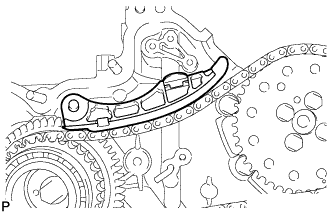
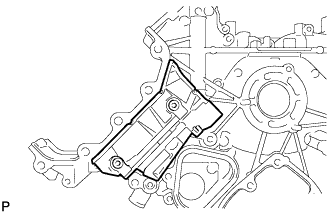
REMOVE NO. 1 CHAIN TENSIONER SLIPPER
44.
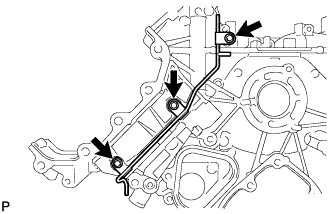
REMOVE NO. 1 CHAIN VIBRATION DAMPER
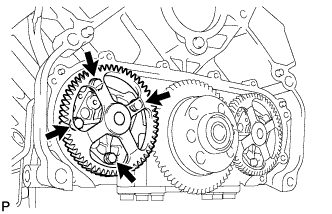
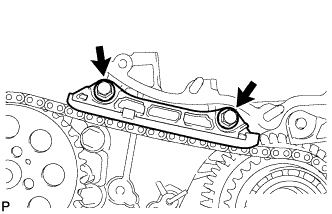
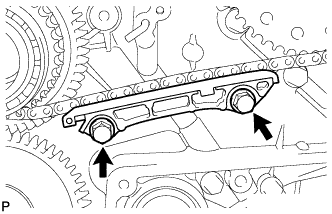
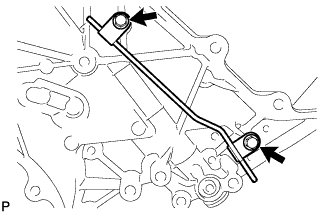
Remove the 2 bolts and No. 1 chain vibration damper.