2011-2013 Land Cruiser · Service Manual Audio / Visual / Telematics

REMOVAL

Removal / installation · Vehicles built from Jan 2012

Versions by build date: Sep 2011 – Dec 2011 from Jan 2012


1. PRECAUTION

NOTICE:
After turning the ignition switch off, waiting time may be required before disconnecting the cable from the battery terminal. Therefore, make sure to read the disconnecting the cable from the battery terminal notice before proceeding with work (Click here).


2. DISCONNECT CABLE FROM NEGATIVE BATTERY TERMINAL

NOTICE:
When disconnecting the cable, some systems need to be initialized after the cable is reconnected (Click here).


3. REMOVE ROOF HEADLINING ASSEMBLY (w/ Diversity)
  1. w/o Sliding Roof:
    Remove the roof headlining (Click here).

  1. w/ Sliding Roof:
    Remove the roof headlining (Click here).
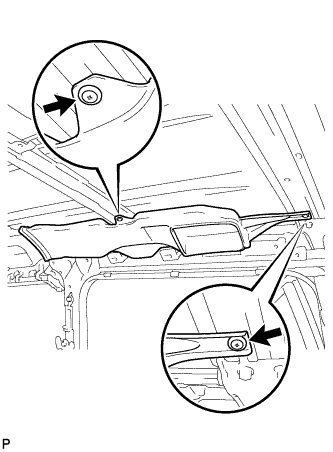

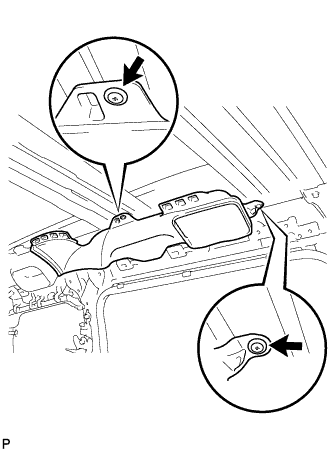
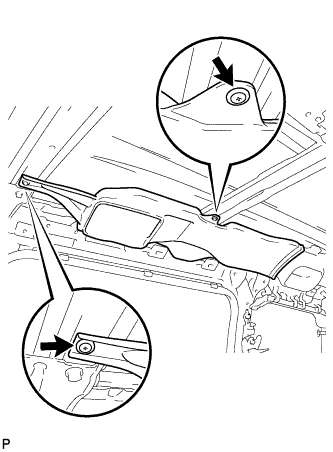
4. REMOVE REAR NO. 2 ROOF AIR DUCT (w/ Diversity)

  1. B181742
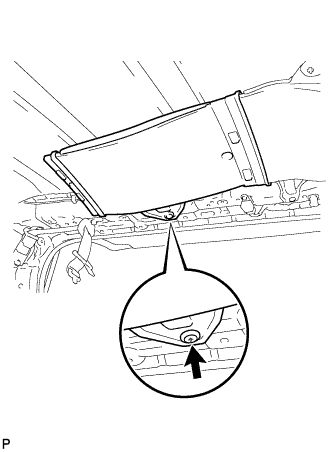
    w/o Sliding Roof:
    Remove the 2 clips and duct.

  1. B184106
    w/ Sliding Roof:
    Remove the 2 clips and duct.


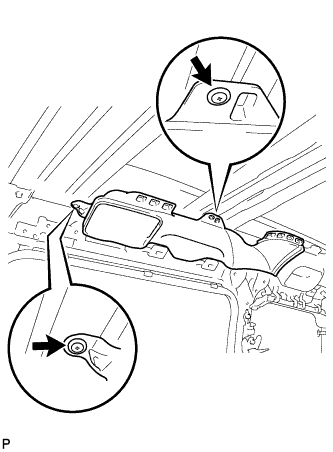
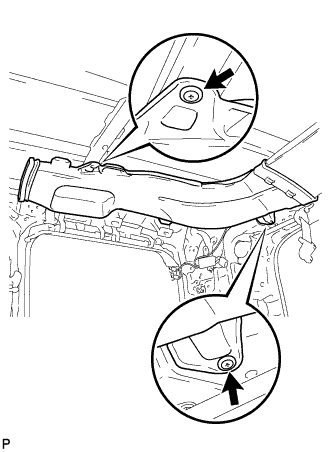
5. REMOVE REAR NO. 5 ROOF AIR DUCT (w/ Diversity)

  1. B181739
    w/o Sliding Roof:
    Remove the 2 clips and duct.

  1. B184105
    w/ Sliding Roof:
    Remove the 2 clips and duct.


6. REMOVE REAR NO. 4 ROOF AIR DUCT (w/ Diversity)

  1. B181740
    Remove the 2 clips and duct.


7. REMOVE REAR NO. 3 ROOF AIR DUCT (w/ Diversity)

  1. B181741
    Remove the clip and duct.


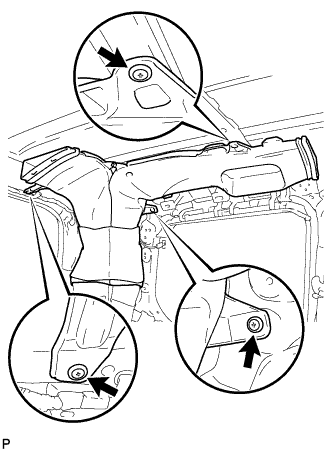
8. REMOVE REAR NO. 1 ROOF AIR DUCT (w/ Diversity)

  1. B181743
    Remove the 3 clips and duct.


9. REMOVE AMPLIFIER ANTENNA ASSEMBLY (w/ Diversity)

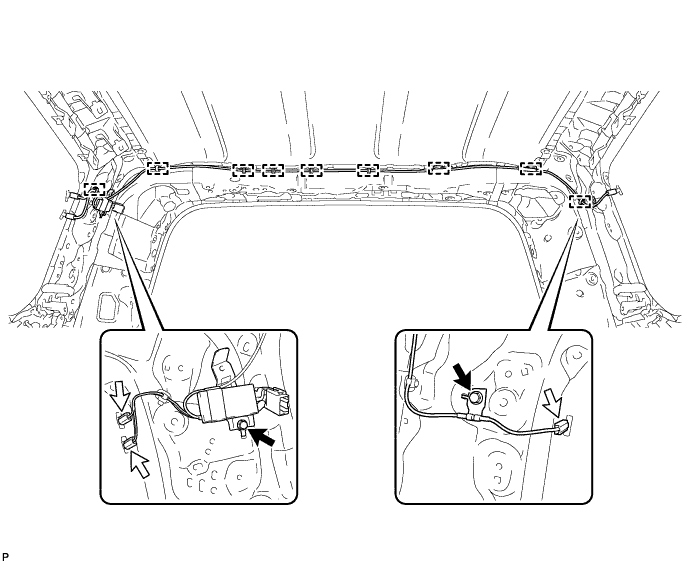
  1. Disconnect the 3 connectors and remove the 2 bolts.

    B181738

  1. Detach the 9 clamps and remove the antenna.


10. REMOVE AMPLIFIER ANTENNA ASSEMBLY (w/o Diversity)

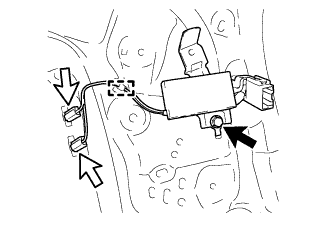
  1. B191388
    Disconnect the 2 connectors and detach the clamp.

  1. Remove the bolt and amplifier antenna.

← REMOVAL (Sep 2011 – Dec 2011)INSTALLATION (Sep 2011 – Dec 2011) →