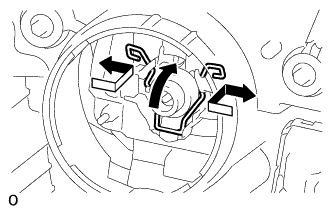
Install the discharge headlight bulb and lock the set spring as shown in the illustration.
NOTICE:
Do not touch the discharge headlight bulb glass.
2.
INSTALL HEADLIGHT GASKET
Install a new headlight gasket to the headlight light control ECU sub-assembly LH.
3.
INSTALL HEADLIGHT LIGHT CONTROL ECU SUB-ASSEMBLY LH
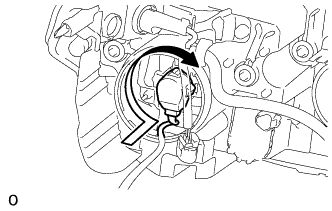
Turn the headlight light control ECU sub-assembly LH socket in the direction indicated by the arrow in the illustration to connect the headlight light control ECU sub-assembly LH socket.
NOTICE:
Check that the headlight gasket is installed on the headlight light control ECU subassembly LH.
Check that the headlight gasket is not damaged or contaminated with foreign matter. If there is any damage, replace the headlight gasket with a new one.
Do not pull the headlight light control ECU sub-assembly LH with the socket connected.
Turn the headlight light control ECU sub-assembly LH in the direction indicated by the arrow in the illustration to install the headlight unit.
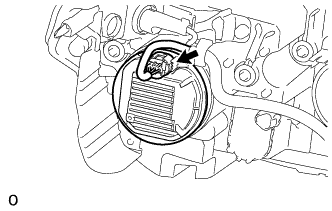
Connect the connector.
4.
INSTALL BATTERY
Install the battery.
Install the stay and bolt.
Connect cable to positive battery terminal.
5.
CONNECT CABLE TO NEGATIVE BATTERY TERMINAL
NOTICE:
When disconnecting the cable, some systems need to be initialized after the cable is reconnected (Click here).