SEAT BELT OCCUPANT DETECTION SENSOR(for Manual Seat) REMOVAL
CAUTION / NOTICE / HINT
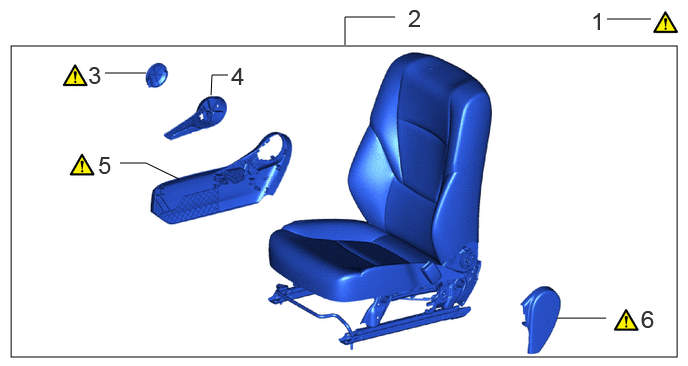
| Procedure | Part Name Code |

|

|

|
|
|---|---|---|---|---|---|
| 1 | PRECAUTION | - | ( ) |
- | - |
| 2 | FRONT SEAT ASSEMBLY RH | - | - | - | - |
| 3 | RECLINING HINGE COVER RH | 72551K | () |
- | - |
| 4 | RECLINING ADJUSTER RELEASE HANDLE RH | 72525M | - | - | - |
| 5 | FRONT SEAT CUSHION SHIELD RH | 71811T | () |
- | - |
| 6 | FRONT SEAT INNER CUSHION SHIELD RH | 71861K | () |
- | - |
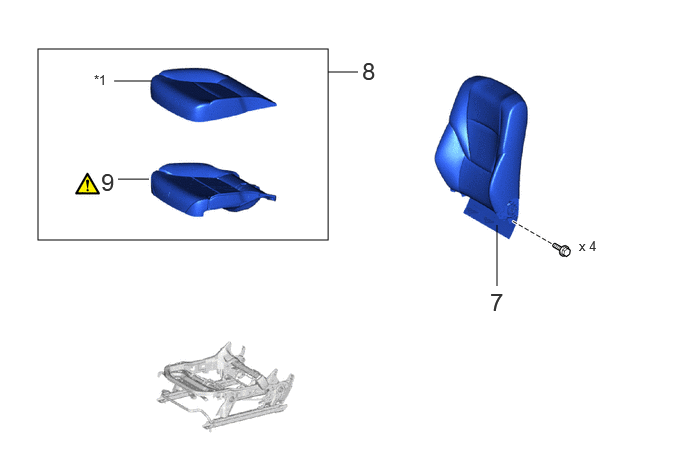
| Procedure | Part Name Code |
|
|
|
|
|---|---|---|---|---|---|
| 7 | FRONT SEATBACK ASSEMBLY RH | - | - | - | - |
| 8 | SEAT CUSHION COVER WITH PAD | - | - | - | - |
| 9 | FRONT SEAT CUSHION PAD RH (OCCUPANT DETECTION SENSOR) | 71511A | () |
- | - |
| *1 | FRONT SEAT CUSHION COVER SUB-ASSEMBLY RH | - | - |
CAUTION / NOTICE / HINT
The necessary procedures (adjustment, calibration, initialization or registration) that must be performed after parts are removed, installed or replaced during the front seat assembly removal/installation are shown below.
| Replaced Part or Performed Procedure | Necessary procedures | Effect/Inoperative Function when Necessary Procedure not Performed | Link |
|---|---|---|---|
| Disconnect cable from negative (-) battery terminal | Memorize steering angle neutral point | Parking assist monitor system | () |
| Multi-terrain monitor system | () |
||
| Panoramic view monitor system | () |
- CAUTION:
-
·
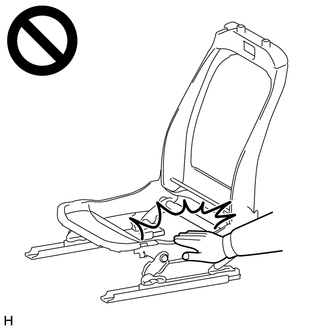
·Wear protective gloves. Sharp areas on the parts may injure your hands.
·There is risk of injury.
- HINT:
-
·
When the cable is disconnected/reconnected to the battery terminal, systems temporarily stop operating. However, each system has a function that completes learning the first time the system is used.
-Learning completes when vehicle is driven
Effect/Inoperative Function When Necessary Procedures are not Performed Necessary Procedures Link Stop and start system Drive the vehicle until stop and start control is permitted (approximately 5 to 60 minutes) ( )Lighting system (EXT) Cornering ilghts Drive the vehicle straight ahead at 35 km/h (22 mph) or more for 5 seconds or more. ( )Pre-collision system Lane tracing assist system Lane departure alert system Adaptive high beam system
-Learning completes when vehicle is operated normally
Effect/Inoperative Function When Necessary Procedures are not Performed Necessary Procedures Link Power back door system Fully close the back door by hand.
- HINT:
-
Initialization is not necessary if the above procedures are performed while the back door is closed.
( )Air conditioning system After the ignition switch is turned to ON, the servo motor and expansion valve standard position is recognized. -
·Use the same procedure for RHD and LHD vehicles.
·The procedure listed below is for LHD vehicles.
PROCEDURE

 1. PRECAUTION
|
|
|
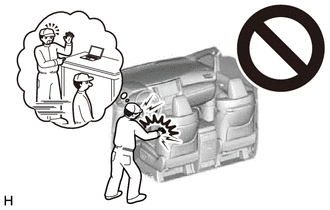
2.REMOVE FRONT SEAT ASSEMBLY RH
Use the same procedure described for the LH side.
Click hereVehicle Interior>SEAT>FRONT SEAT ASSEMBLY (for Manual Seat)>REMOVAL
72551K 3.REMOVE RECLINING HINGE COVER RH
|
|
·
Use the same procedure described for the LH side. ( |
72525M 4.REMOVE RECLINING ADJUSTER RELEASE HANDLE RH
Use the same procedure described for the LH side.
Click hereVehicle Interior>SEAT>FRONT SEAT ASSEMBLY (for Manual Seat)>DISASSEMBLY
71811T 5.REMOVE FRONT SEAT CUSHION SHIELD RH
|
|
() |
71861K 6.REMOVE FRONT SEAT INNER CUSHION SHIELD RH
|
|
() |
7.REMOVE FRONT SEATBACK ASSEMBLY RH
Use the same procedure described for the LH side.
Click hereVehicle Interior>SEAT>FRONT SEAT ASSEMBLY (for Manual Seat)>DISASSEMBLY
8.REMOVE SEAT CUSHION COVER WITH PAD
Use the same procedure described for the LH side.
Click hereVehicle Interior>SEAT>FRONT SEAT ASSEMBLY (for Manual Seat)>DISASSEMBLY
71511A 9.REMOVE FRONT SEAT CUSHION PAD RH (OCCUPANT DETECTION SENSOR)
|
|
|
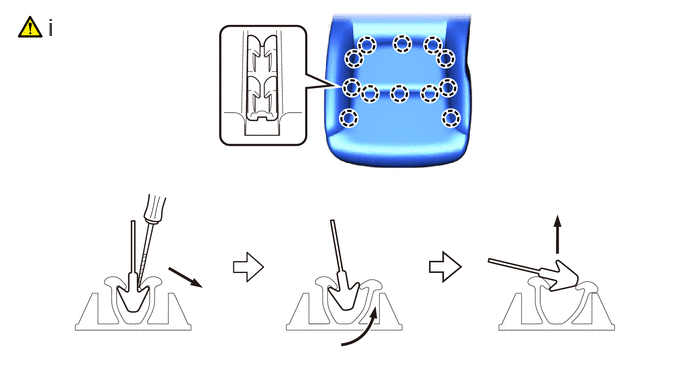
Using a thin-bladed screwdriver, detach the claw to remove the front seat cushion cover sub-assembly RH from the front seat cushion pad RH (occupant detection sensor) as shown in the illustration.
- HINT:
-
Tape the thin-bladed screwdriver tip before use.