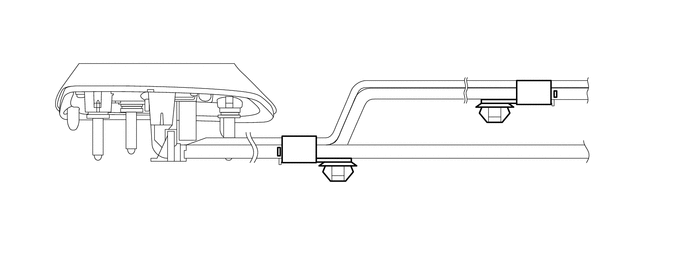
MIRROR (EXT) OUTER REAR VIEW MIRROR REMOVAL
CAUTION / NOTICE / HINT
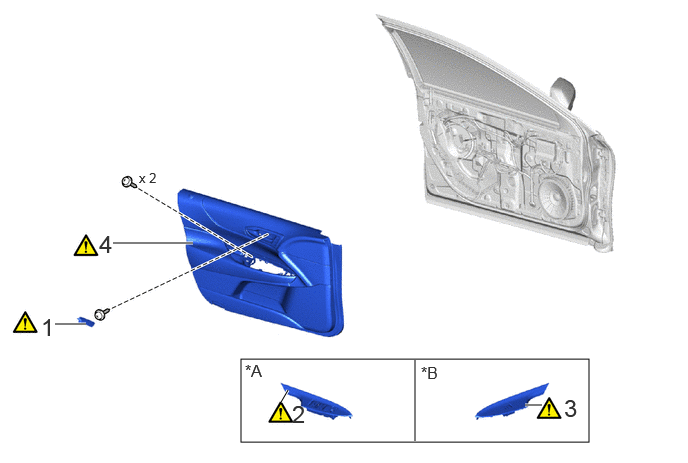
| Procedure | Part Name Code | 
|

|

|
|
|---|---|---|---|---|---|
| 1 | REMOVE FRONT DOOR INSIDE HANDLE BEZEL PLUG LH | 69284C | ( ) |
- | - |
| 2 | MULTIPLEX NETWORK MASTER SWITCH ASSEMBLY WITH FRONT DOOR ARMREST BASE PANEL | - | ()
|
- | - |
| 3 | POWER WINDOW REGULATOR SWITCH ASSEMBLY WITH FRONT DOOR ARMREST BASE PANEL | - | ()
|
- | - |
| 4 | FRONT DOOR TRIM BOARD SUB-ASSEMBLY LH | 67602 | ()
|
- | - |
| *A | for Driver Side | *B | for Front Passenger Side |
| Procedure | Part Name Code |
|
|
|
|
|---|---|---|---|---|---|
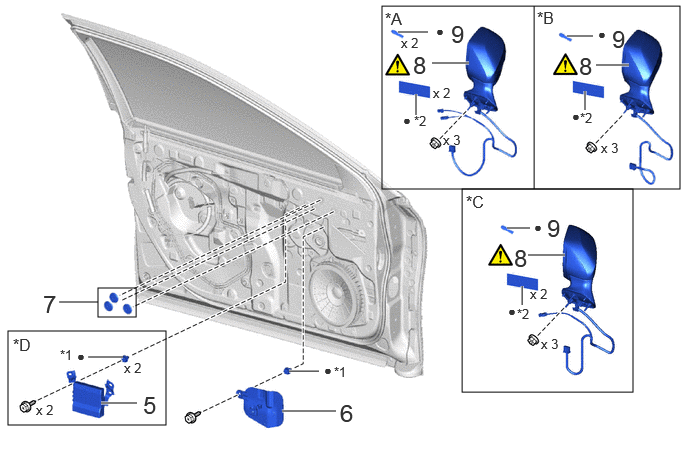
| 5 | FRONT MULTIPLEX NETWORK DOOR ECU LH | 89223 | - | - | - |
| 6 | FRONT DOOR NO. 2 SERVICE HOLE COVER LH | 67834 | - | - | - |
| 7 | HOLE PLUG | - | - | - | - |
| 8 | OUTER REAR VIEW MIRROR ASSEMBLY LH | 87940 | ()
|
- | - |
| 9 | WIRE HARNESS CLAMP | - | - | - | - |
| *A | w/ Advanced Park | *B | w/o Advanced Park |
| *C | w/ Panoramic View Monitor System | *D | w/ Reverse Shift-linked Mirror |
| *1 | GROMMET | *2 | TAPE |
| ● | Non-reusable part | - | - |
CAUTION / NOTICE / HINT
The necessary procedures (adjustment, calibration, initialization, or registration) that must be performed after parts are removed and installed, or replaced during outer rear view mirror assembly removal/installation are shown below.
| Replaced Part or Performed Procedure | Necessary Procedure | Effect/Inoperative Function When Necessary Procedures are not Performed | Link |
|---|---|---|---|
·
Side television camera assembly LH (Including removal and installation) ·
Side television camera assembly RH (Including removal and installation) ·
Outer rear view mirror assembly with cover LH (Including removal and installation) ·
Outer rear view mirror assembly with cover RH (Including removal and installation) |
Side television camera view adjustment | Panoramic view monitor system | ()
|
·
Side television camera assembly LH or outer rear view mirror assembly LH ·
Side television camera assembly RH or outer rear view mirror assembly RH |
·
Television camera view adjustment
·
Rear television camera view adjustment (for Rear camera detection system) |
- HINT:
- ·
Use the same procedure for RHD and LHD vehicles.
·The procedure listed below is for LHD vehicles.
·Use the same procedure for the RH and LH sides.
·The following procedure is for the LH side.
PROCEDURE

 69284C
1.REMOVE FRONT DOOR INSIDE HANDLE BEZEL PLUG LH
|
|
Click here()
|
2.REMOVE MULTIPLEX NETWORK MASTER SWITCH ASSEMBLY WITH FRONT DOOR ARMREST BASE PANEL (for Driver Side)
|
|
Click here()
|
3.REMOVE POWER WINDOW REGULATOR SWITCH ASSEMBLY WITH FRONT DOOR ARMREST BASE PANEL (for Front Passenger Side)
|
|
Click here()
|
67602
4.REMOVE FRONT DOOR TRIM BOARD SUB-ASSEMBLY LH
|
|
Click here()
|
89223
5.REMOVE FRONT MULTIPLEX NETWORK DOOR ECU LH (w/ Reverse Shift-linked Mirror)
67834
6.REMOVE FRONT DOOR NO. 2 SERVICE HOLE COVER LH
7.REMOVE HOLE PLUG
87940
8.REMOVE OUTER REAR VIEW MIRROR ASSEMBLY LH
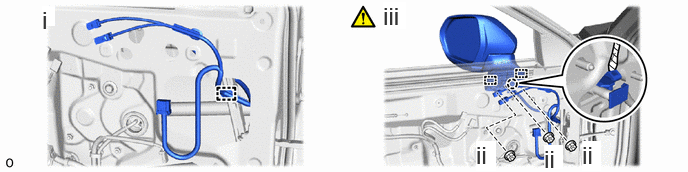
Detach the wire harness clamp.
Remove the 3 nuts.
Using a thin-bladed screwdriver, detach the claw and guide and remove the outer rear view mirror assembly LH.
- NOTICE:
-
Hold the outer rear view mirror assembly LH with one hand so that it does not drop.
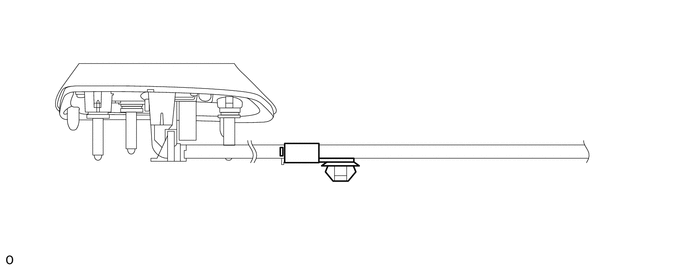
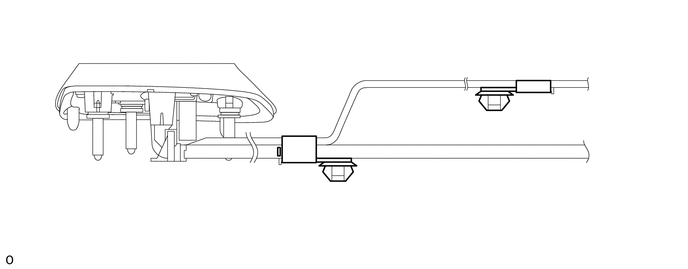
9.REMOVE WIRE HARNESS CLAMP
w/o Panoramic View Monitor System:
w/ Panoramic View Monitor System:
w/ Advanced Park: