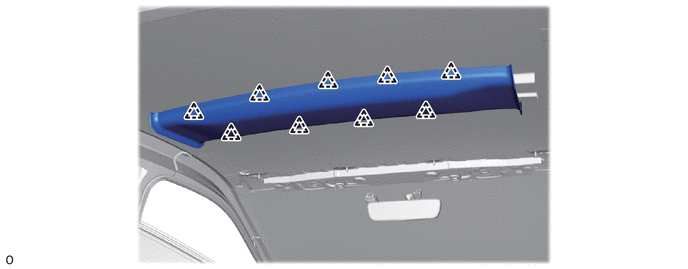
WINDOW / GLASS ROOF WINDOW FIX GLASS REMOVAL
CAUTION / NOTICE / HINT
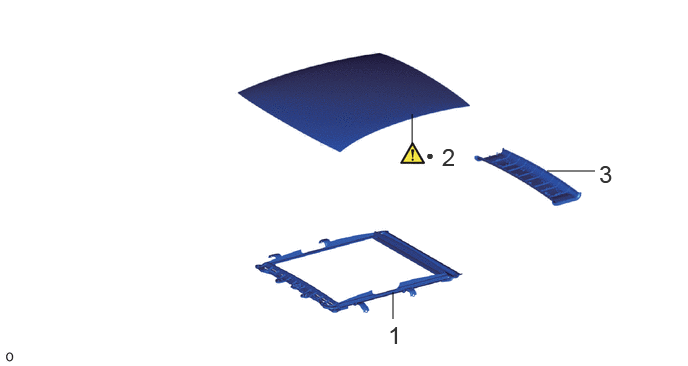
| Procedure | Part Name Code | 
|

|

|
|
|---|---|---|---|---|---|
| 1 | SLIDING ROOF OR REMOVABLE ROOF HOUSING SUB-ASSEMBLY | 63203A | - | - | - |
| 2 | NO. 1 ROOF WINDOW GLASS SUB-ASSEMBLY | 63201M | ( ) |
- | - |
| 3 | ROOF CENTER REINFORCEMENT PROTECTOR | 63331C | - | - | - |
| ● | Non-reusable part | - | - |
CAUTION / NOTICE / HINT
The necessary procedures (adjustment, calibration, initialization or registration) that must be performed after parts are removed and installed, or replaced during No. 1 roof window glass sub-assembly removal/installation are shown below.
| Replaced Part or Performed Procedures | Necessary Procedure | Effects/Inoperative when are not Performed | Link |
|---|---|---|---|
| Auxiliary battery terminal is disconnected/reconnected | Memorize steering angle neutral point | Parking Assist Monitor System | ()
|
| Panoramic View Monitor System | ()
|
- HINT:
- ·
When the cable is disconnected / reconnected to the auxiliary battery terminal, systems temporarily stop operating. However, each system has a function that completes learning the first time the system is used.
-Learning completes when vehicle is driven
Effect/Inoperative Function When Necessary Procedures are not Performed Necessary Procedures Link Lane tracing assist system Drive the vehicle straight ahead at 35 km/h (22 mph) or more for 5 second or more. ( )
Pre-collision system Adaptive high beam system
-Learning completes when vehicle is operated normally
Effect/Inoperative Function When Necessary Procedures are not Performed Necessary Procedures Link Air conditioning system After the ignition switch is turned to ON, the servo motor and expansion valve standard position is recognized. -
·Use the same procedure for the RH and LH sides.
·Use the same procedure described for the LH side.
- NOTICE:
- ·
Be sure to use the windshield glass adhesive (specialized for high-rigidity specification vehicles) as the adhesive for replacing the windshield glass.
·Be sure to use the windshield glass adhesive (specialized for high-rigidity specification vehicles) as the adhesive for adjusting the windshield glass.
PROCEDURE

 63203A
1.REMOVE SLIDING ROOF OR REMOVABLE ROOF HOUSING SUB-ASSEMBLY
63201M
2.REMOVE NO. 1 ROOF WINDOW GLASS SUB-ASSEMBLY
|
|
|
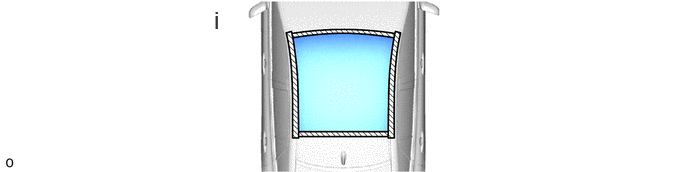
Apply protective tape on the body surface around the outer edge of the No. 1 roof window glass sub-assembly.
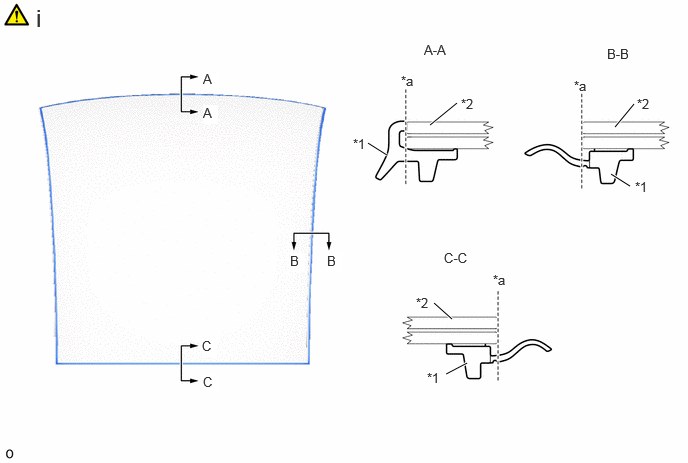
| *1 | Roof Window Outside Moulding | *2 | No. 1 Roof Window Glass Sub-assembly |
| *a | Cut | - | - |
Using a utility knife, cut the position of the roof window outside moulding shown in the illustration.
- NOTICE:
- ·
Do not damage the No. 1 roof window glass sub-assembly or body surface.
·No. 1 roof window glass sub-assembly.
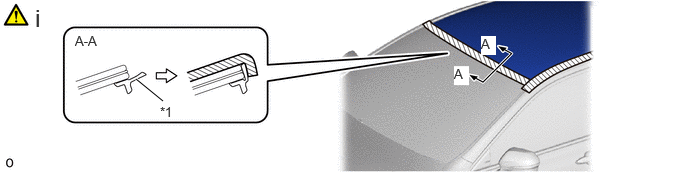
| *1 | Windshield Outside Moulding | - | - |
Apply protective tape to the windshield glass surface by lifting up the windshield outside moulding.
- NOTICE:
-
When applying the protective tape, do not damage the windshield outside moulding.
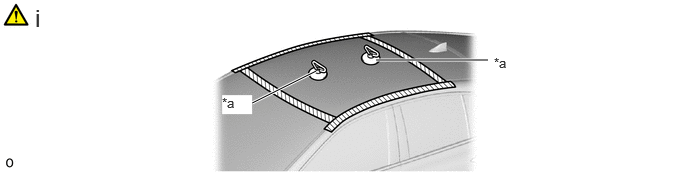
| *a | Suction Cups | - | - |
Install the suction cups to the No. 1 roof window glass sub-assembly.
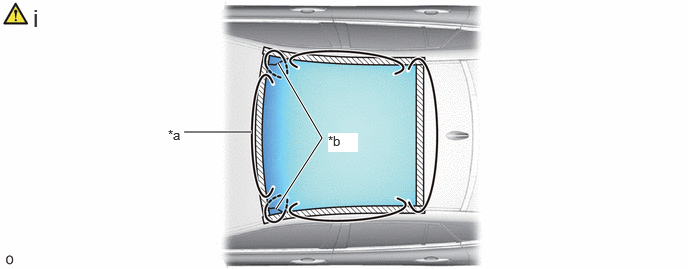
| *a | Piano Wire | *b | Adhesive |
Using a piano wire, cut through the adhesive in the position shown in the illustration.
1. Pass piano wire (appropriate diameter: 0.6 mm) and install both ends on the mighty puller as shown in the illustration.
2. Pull the piano wire back and forth and cut through the adhesive.
- NOTICE:
- ·
Do not forcefully allow the piano wire to come to contact with the edges of the No. 1 roof window glass sub-assembly.
·Be careful as the piano wire will break if it crosses itself.
Holding the suction cups, remove the No. 1 roof window glass sub-assembly.
- NOTICE:
- ·
Perform this procedure with 2 or more people, as the part is a heavy component.
·Be careful not to drop the No. 1 roof window glass sub-assembly.
63331C
3.REMOVE ROOF CENTER REINFORCEMENT PROTECTOR