Home › HEATER & AIR CONDITIONING SYSTEM › AIR CONDITIONING › AIR CONDITIONING UNITREMOVAL
Removal / installation · Vehicles built from Jan 2007
Versions by build date: Nov 2005 – Dec 2006 from Jan 2007
1.
DISCHARGE REFRIGERANT FROM REFRIGERATION SYSTEM
Start up the engine.
Turn the A/C switch ON.
Operate the cooler compressor with an engine speed of approximately 1,000 rpm for 5 to 6 minutes to circulate the refrigerant and collect the compressor oil remaining in each component into the cooler compressor.
Stop the engine.
Using SST, discharge the refrigerant gas.
SST
07110-58060
(07117-58060, 07117-58070, 07117-58080, 07117-58090, 07117-78050, 07117-88060, 07117-88070, 07117-88080)
2.
DISCONNECT CABLE FROM NEGATIVE BATTERY TERMINAL
CAUTION:
Wait at least 90 seconds after disconnecting the cable from the negative (-) battery terminal to prevent airbag and seat belt pretensioner activation.
3.
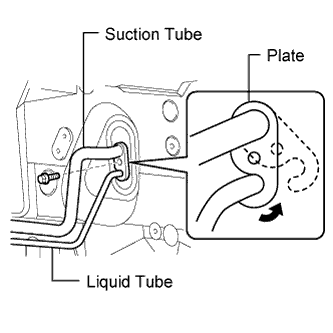
REMOVE TUBE SUB-ASSEMBLY
Remove the bolt. Remove plate, as shown in the illustration.
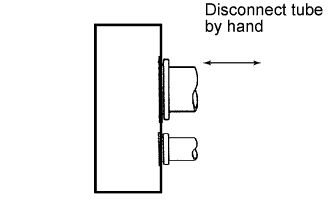
Disconnect the suction tube and liquid tube.
NOTICE:
Do not use a screwdriver or similar tool to disconnect the tube.
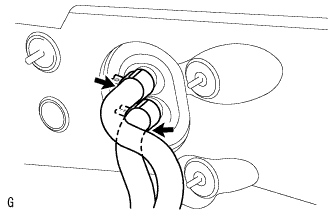
Seal the opening of the disconnected parts using vinyl tape to prevent moisture and foreign matter from entering them.
Remove the 2 O-rings from the suction tube and liquid tube.
4.
DISCONNECT INLET HEATER WATER HOSE
Using pliers, grip the claws of the clip and slide the clip. Disconnect the heater water inlet hose.
5.
DISCONNECT OUTLET HEATER WATER HOSE
HINT:
Disconnection of the heater water outlet hose is the same as for the heater water inlet hose.
6.
REMOVE STEERING COLUMN ASSEMBLY
Remove the steering column (Click here ).
7.
REMOVE UPPER INSTRUMENT PANEL
Remove the upper instrument panel (Click here ).
8.
REMOVE LOWER INSTRUMENT PANEL
Remove the lower instrument panel (Click here ).
9.
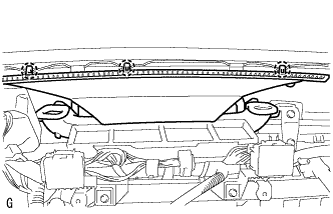
REMOVE DEFROSTER NOZZLE ASSEMBLY
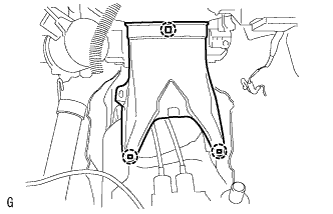
Detach the 3 claws and remove the defroster nozzle.
10.
REMOVE NO. 1 INSTRUMENT PANEL BRACE SUB-ASSEMBLY
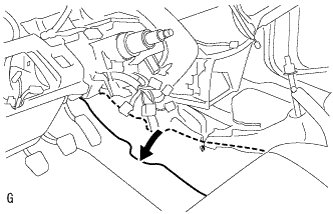
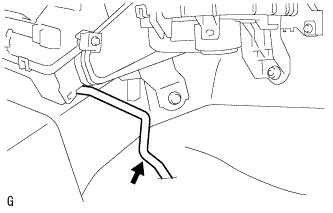
Fold the floor carpet back.
Disconnect the clamp and disconnect the wire harness.
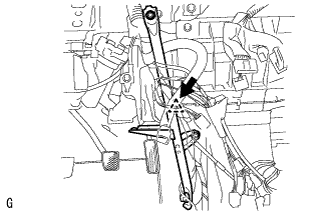
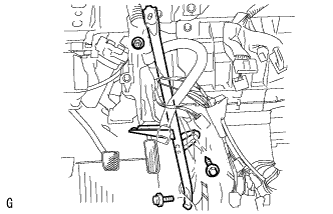
Remove the bolt, nut, screw, and instrument panel brace.
11.
REMOVE AIR DUCT REAR
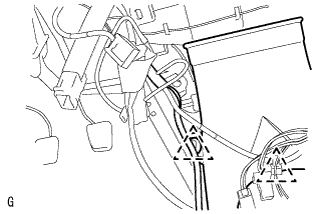
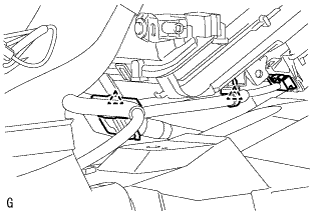
Disconnect the 2 clamps and disconnect the wire harness.
Detach the 3 claws and remove the air duct rear.
12.
REMOVE AIR DUCT
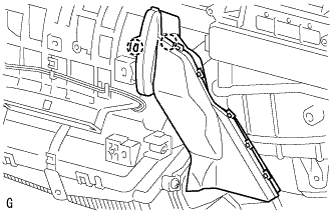
Detach the 2 claws and remove the air duct.
13.
REMOVE AIR CONDITIONING AMPLIFIER ASSEMBLY
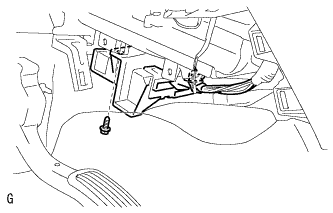
Detach the 2 clamps. Disconnect the connector.
Remove the screw and amplifier.
14.
REMOVE DRAIN COOLER HOSE
Remove the drain hose.
15.
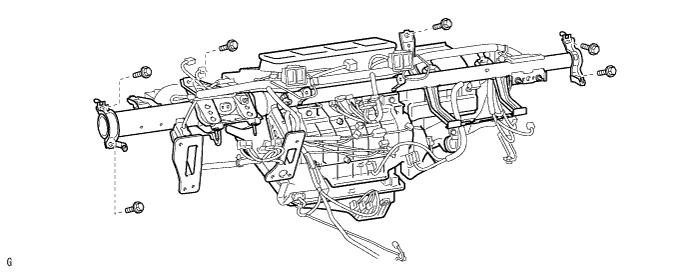
REMOVE INSTRUMENT PANEL REINFORCEMENT
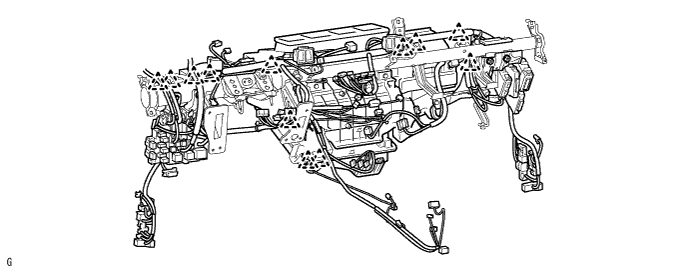
Disconnect the 12 clamps.
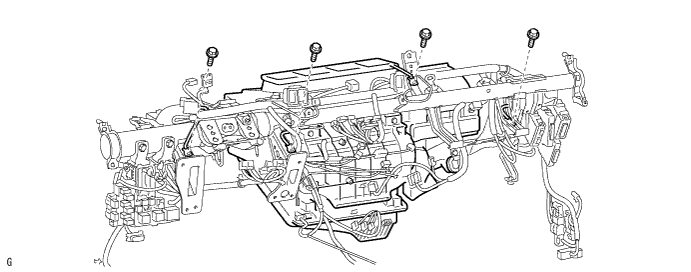
Remove the 4 bolts and disconnect the ground wire.
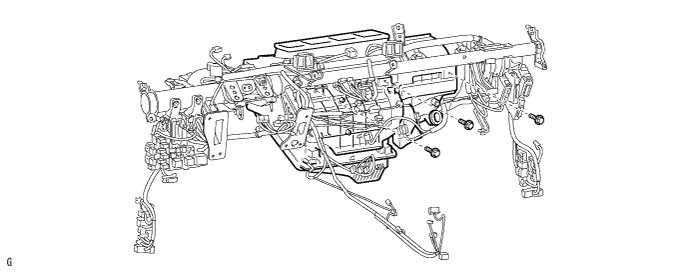
Remove the 3 bolts.
Remove the 6 bolts and instrument panel reinforcement.
16.
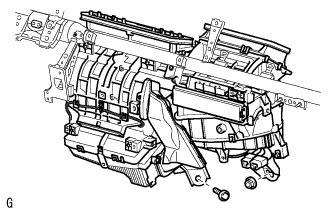
REMOVE AIR CONDITIONING UNIT ASSEMBLY
Remove the bolt, nut and A/C unit.